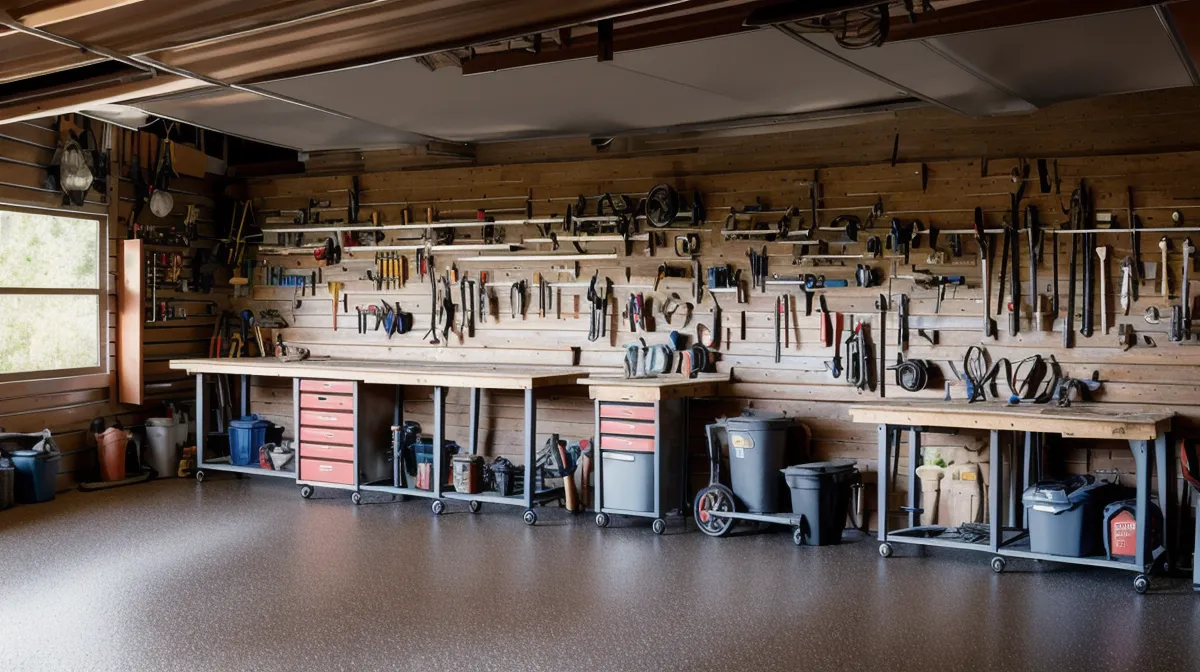
One-sixteenth of an inch decides whether a shop-built picture frame survives a Minnesota summer or cracks its own glass by August. That's the gap left between the photo stack and the inside edge of the rabbet, and it matters more than the miter angle, the wood species, or which glue sits on the shelf. DIY framing gets treated like a throwaway beginner woodworking project, four sticks, four corners, done in an afternoon, but the tolerances are tighter than most garage shop tips posts let on, and getting them wrong is how a frame ends up with a visible gap at the fourth corner that no amount of clamping will close.
Six years into building things in a converted half of my garage, framing turned out to be the project that exposed every bad habit picked up cutting boards and bookshelves. The forgiveness margin is smaller. A quarter-inch error on a coffee table leg disappears; the same error on a frame corner is impossible to hide. What follows is the process that actually holds up, not the version where everything goes right the first time.
The Miter Joint Isn't Mandatory for DIY Framing
A miter joint is two pieces of wood cut at 45 degrees to form a 90-degree corner, and most framing tutorials online treat it as the only real option worth using. It works, right up until the saw's angle stop is off by a fraction of a degree. A 45.1-degree cut instead of a true 45 doesn't look wrong on one corner, but the error compounds around the frame, and by the fourth joint there's a visible gap that no amount of glue disguises. My Essential Woodworking Tools for Beginners Starting a Garage Workshop post covers what an accurate angle gauge actually buys a garage shop, if the goal is stocking one from scratch.
There's a whole family of joints beyond miters and butt joints — laps, box joints, splined miters — and where each one earns its keep is really its own subject, covered properly in a separate joinery breakdown; framing just doesn't need most of them.
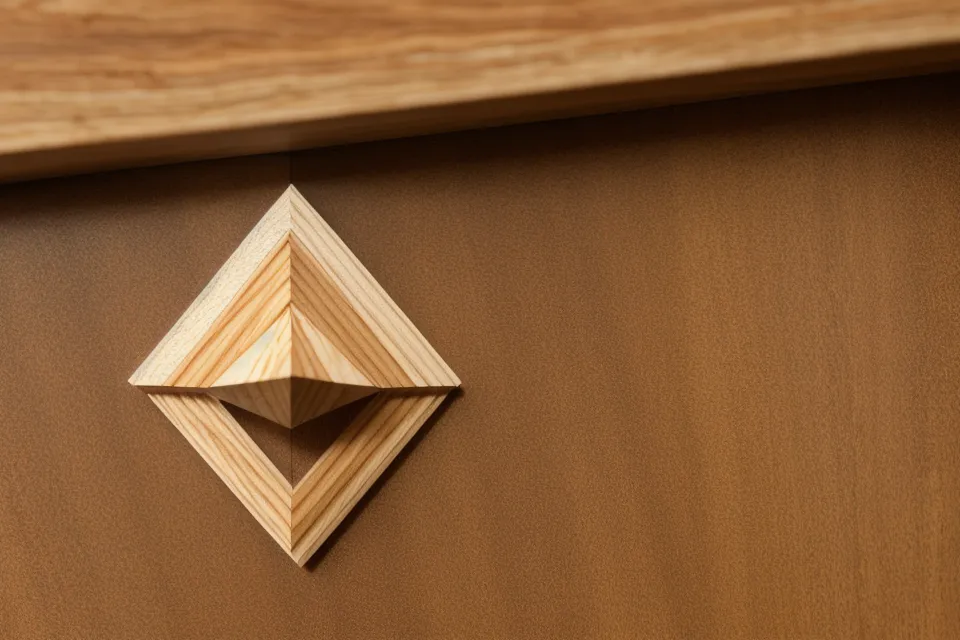
Splines Instead of Perfect Angles
Butt joints sidestep the miter problem entirely. The end of one board meets the face of another at a plain 90-degree corner — weak on its own, and a little rough-looking, until a contrasting wood spline gets glued into a slot cut across the joint. The spline turns a weak corner strong and turns a plain corner into something that reads as an intentional design choice instead of a shortcut. Cutting square ends is far more forgiving than nailing a 45-degree angle four times in a row, and it shifts the hard part from angle precision to length precision, a problem a tape measure and a stop block solve without drama.
Corner splines follow the same logic as a Building a DIY Elevated Dog Feeder Using Scrap Wood and Simple Plans build from scrap — square cuts first, decoration second, and let the joinery do double duty as both structure and detail.
Cutting a Rabbet With Tools You Already Own
The rabbet is the groove cut into the back of the frame that holds the glass, the photo, and the backing board. A router table does this cleanly in a single pass. Without one, a table saw handles it in multiple shallow passes — slower, a bit like mowing a lawn with scissors, but accurate as long as the fence gets set once and never bumped. Routing kicks up a surprising amount of fine dust for such a small cut, and taming that is its own separate writeup on dust collection for a garage shop.
Somewhere in that process a hand plane earns its keep. A clean pass across the edge shaves the whole surface off in one unbroken curl instead of a pile of dust, which is the clearest sign the blade is sharp and the cut is true. Set the router bit down on the bench right after a pass and it gives off a low metallic ping as the carbide cools. A small detail, but one that only registers once the cut itself stops requiring full attention.
Size the rabbet an eighth of an inch larger than the glass and backing board, not an exact match. Wood moves with humidity, and a dead-tight fit in a dry Minneapolis winter can crack under a swampy July — the mechanics of that are covered properly in a separate dining table post. For an 8x10 photo, that means cutting the rabbet to roughly 8-1/8 by 10-1/8 inches rather than trusting the nominal size printed on the box. Glass and backing board came pre-cut from Rockler Woodworking & Hardware in Minnetonka, which sidesteps the one framing mistake — a bad glass score — that basic shop tools can't fix after the fact.
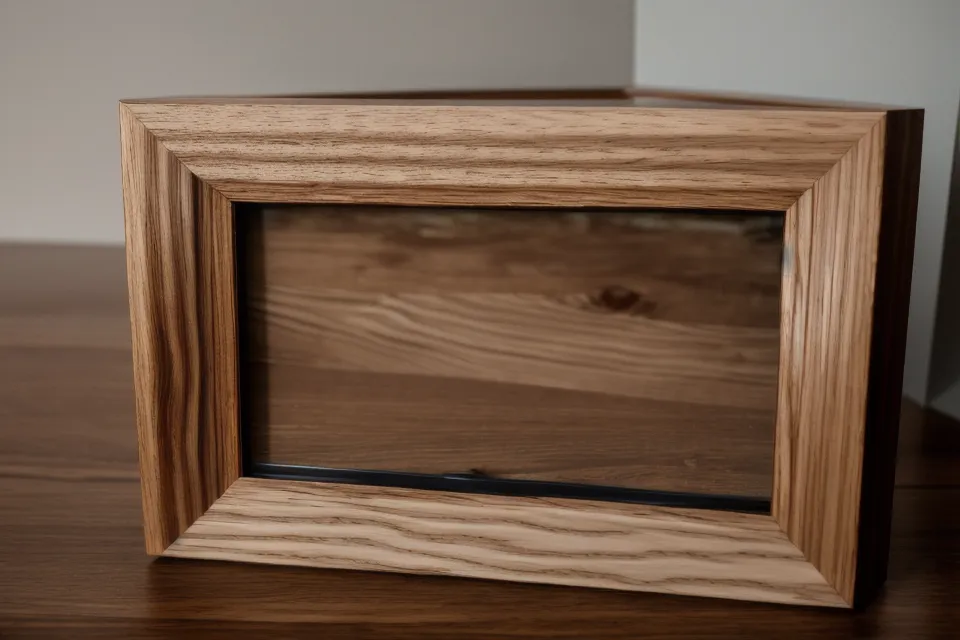
Does Wood Species Actually Matter for a Frame?
Walter Schiemann, a regular at the Rockler store who spent three decades in finish carpentry, can identify most domestic species by scent alone before he even looks at the grain — cherry smells almost sweet under the blade, walnut goes flatter and a little bitter. Grain direction matters more for how a board machines and looks than species does, and that's really a separate conversation covered on a cutting board post. For framing specifically, straight, boring grain with no cathedral figure is usually the easier board to work with, especially on a first attempt, and it hides small joint errors better than anything with dramatic figure.
Glue, Clamp Time, and the Rest of the Timeline
Standard PVA glue needs a full 24 hours to reach real strength, and that number doesn't shrink just because a joint feels dry to the touch after twenty minutes. Cold slows it down further — glue cures on chemistry, not just evaporation, and a garage sitting well under room temperature through a Minnesota winter brings its own separate set of problems, worth its own guide. Clamping doesn't need to be fancy: a ratcheting strap or even heavy rubber bands hold a small frame square while the glue sets, and a dead-flat surface underneath — a section of countertop, a cast iron saw table — matters more than the clamp itself.
A stable, flat workbench earns its keep on a project this small just as much as it does on furniture, and what actually makes one worth building is its own topic covered elsewhere; a wobbly assembly surface is a fast way to glue a twist into an otherwise square frame.
Building the Miter Sled That Fixes Everything
Building a miter sled solves the accuracy problem at the root instead of fighting a stock miter gauge that flexes under pressure. The sled itself is simple: a piece of half-inch plywood with a fence attached, riding in the miter slots of a table saw, holding the workpiece so it can't creep mid-cut. It also fixes a different problem — ripping long frame stock down to width with a jigsaw, which is what happened before owning a circular saw or a table saw with a trustworthy fence, and which left every board with a wavy edge that needed a hand plane just to rescue. Not a technique worth repeating.
My friend Ray Ambrosio — an IT colleague who got into furniture refinishing as his own hobby — is obsessed with router jigs, to the point of building a second jig just to hold the first one steady, and he's the one who talked me into the sled instead of a nicer miter gauge. He was right.
That same build-the-jig-first habit carried over from a Organizing My Garage: How to Build a Sturdy Wooden Bike Rack project, where storage and structure ended up solving each other. The same logic applies to clamps and squares, which are worth a proper wall-mounted system rather than a drawer somewhere — a subject covered in more depth in a separate storage post.
What This Setup Actually Costs You
None of this requires an expensive cabinet saw. A contractor saw, a router or a chisel, clamps, and glue cover it, and what a realistic budget garage workshop setup actually runs is broken down in a separate post for anyone stocking a shop from nothing. Free plans online vary wildly in quality — the ones worth trusting spell out actual dimensions and a cutting order, not just video of someone else's finished project.
Which Joint Should You Actually Use?
Pick the joint based on the tools already in the garage, not the other way around. A dialed-in miter sled and a sharp blade make miters worth the trouble; without one, corner splines on a butt joint reach the same strength and square up faster, with far less fuss over fractions of a degree. Either way, the number that actually determines whether the frame survives the year is the rabbet allowance — leave the wiggle room, let the wood move, and the joint choice stops mattering nearly as much.