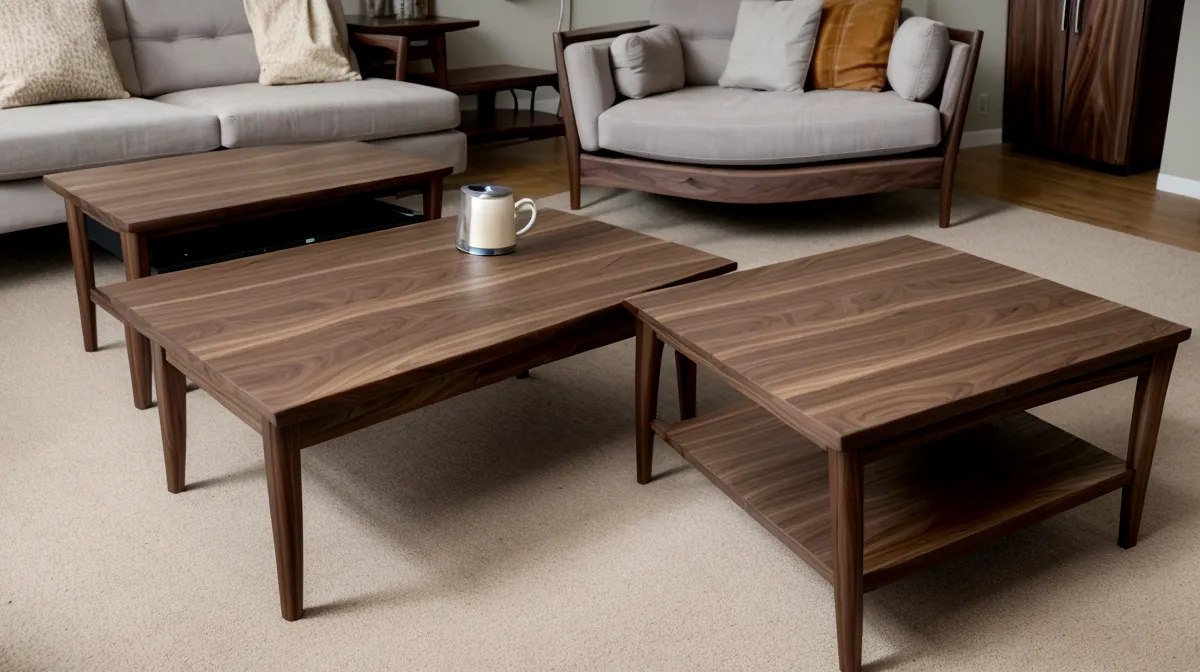
One humid afternoon in July, I sat in my garage staring at a walnut coffee table that looked flawless until I wiped on the first coat of oil, only to see a galaxy of tiny 'pigtail' swirl marks screaming back at me. It was a classic project management failure: I had focused on the 'deployment' phase without properly vetting the 'infrastructure.' Those little curls, left behind by my random orbital sander, were basically the woodworker's equivalent of a critical bug found only after the software goes live.
I am a 44-year-old IT project manager by trade, which means I spend my days staring at Gantt charts and spreadsheets. When I started woodworking during the 2020 lockdowns, I thought I could out-logic the wood. My first lopsided bookshelf proved me wrong, but it was the sanding that truly humbled me. Sanding is the unloved middle child of woodworking. It is loud, it is incredibly dusty, and it requires a level of patience that most people—myself included—frequently try to bypass. However, after about three hours of sanding that walnut table for the second time to fix my mistakes, I realized that the finish doesn't hide your errors; it acts like a high-definition spotlight on them.
The Mechanics of a Smooth Surface
To get a professional finish, you have to understand what sanding actually does. We aren't just 'smoothing' the wood; we are replacing deep, jagged scratches with progressively smaller, shallower scratches until the human eye can no longer perceive them. Most consumer-grade random orbital sanders run at about 12,000 OPM (Orbits Per Minute). If you move too fast across the board, those orbits don't overlap correctly, leaving behind the dreaded spiral pigtails I found on my walnut table.
Late last winter, while I was huddled in the garage trying to finish a maple vanity, I learned a hard lesson about dust. The fine, flour-like white dust of maple wood tastes strangely sweet and coats the back of my throat if I lift my mask too early. It’s a sensory reminder that if you aren't managing your dust, you aren't just making a mess—you're actually ruining your sanding. Dust acts like ball bearings under your sanding disk, preventing the grit from actually cutting the wood fibers. I now treat my shop vacuum with more respect than my primary workstation at the office.
The Rule of 50 and the Logic of Grits
In IT, we don't jump from Version 1.0 to Version 5.0 without testing the versions in between. Woodworking has a similar protocol called the 'Rule of 50.' This suggests that you should never increase your grit size by more than 50% of the current grit. For example, if you start at 80 grit, the next logical step is 120 (80 + 40). From 120, you go to 180. If you jump straight from 80 to 220, the 220-grit paper will polish the tops of the 80-grit ridges but will never reach the bottom of the valleys, leaving deep scratches that show up the moment you apply a finish.
My standard progression for a project that needs to be guest-ready is 80, 120, 150, 180, and sometimes 220. However, here is where my 'engineer' brain deviated from the standard YouTube advice: I’ve found that skipping certain intermediate grits—if done intentionally—can actually lead to a better finish. Most people will tell you to hit every single stop on the ladder: 80, 100, 120, 150, 180, 220. I’ve found that by moving from 80 to 120 and then 180, I minimize the risk of 'burnishing' the wood.
Burnishing happens when you sand a surface so much that you essentially crush and polish the wood fibers, closing the 'ports' of the wood grain. When the grain is burnished, stains and oils can’t penetrate uniformly. By using a slightly more aggressive jump (while still respecting the Rule of 50), the wood remains receptive to color. It’s like keeping the firewall ports open just enough for the data—or in this case, the walnut oil—to get through. This approach has significantly improved the color uniformity on my builds, especially on tighter-grained woods like maple or cherry.
The Pencil Trick and Quality Assurance
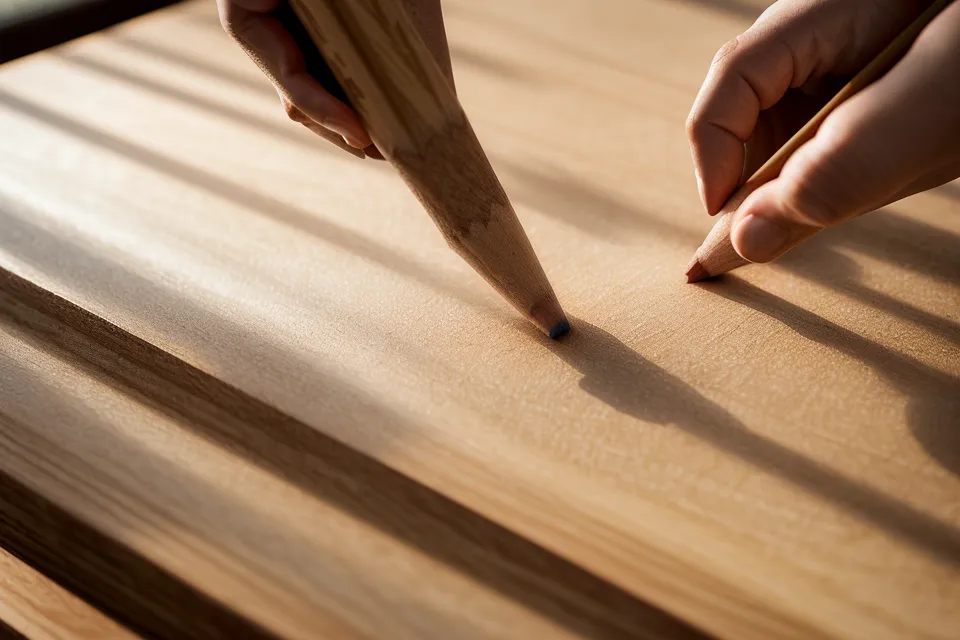
Since I don't have a professional's 'feel' for the wood yet, I rely on a visual debugging method called the pencil trick. Before I start with a new grit, I scribble a light grid of pencil marks across the entire surface. If I’m using 120 grit, I sand until every single pencil mark has vanished. This ensures I haven't missed a spot or lingered too long in one area, which can create a dip in the wood. It’s a binary check: if the pencil is there, the task isn't done.
I also learned to use a raking light. This is just a cheap work light held at a very low angle across the surface of the wood. It’s amazing—and depressing—what a low-angle light reveals. Scratches that look invisible under overhead garage lights suddenly look like the Grand Canyon. I usually do this check early autumn, when the natural light in the garage starts to fade early, and I’m forced to rely on my shop's artificial lighting. If you want to see how well you actually did on that mobile workshop assembly table you just finished, turn off the overheads and hit it with a side light.
Dealing with Moisture and Wood Grain
One thing my spreadsheets never accounted for was the humidity in Minnesota. Wood is a living material, and its moisture content fluctuates. For indoor furniture, you’re looking for a target of 6% to 8% moisture content. If the wood is too 'wet,' sanding it feels like trying to sand a block of cheese—the paper just gums up instantly. I’ve learned to let my lumber sit in the garage for at least two weeks before I even think about the final sanding stages.
Between my final two grits, I always perform a 'grain raise.' I take a damp (not soaking) rag and wipe down the piece. This makes the wood fibers stand up. Once it’s dry, I hit it with my final grit (usually 180 or 220). This prevents the finish itself from raising the grain and making the piece feel like sandpaper after the first coat. It’s a small step, but it’s the difference between a project that feels 'DIY' and one that feels like it came from a high-end showroom. It's especially important if you plan on using something like a wipe on poly, which is my go-to for a thin, durable protection layer.
The Sinking Feeling of the 80-Grit Gouge
Despite all my methodical checklists, I still make mistakes. There is no worse feeling than the sinking sensation in my stomach when the first drop of walnut oil hits a hidden 80-grit gouge I missed two hours ago. It glows. It mocks you. At that point, you have two choices: live with the shame or go back to the beginning. As a project manager, I know that 'technical debt' always has to be paid eventually. In the workshop, that payment is usually another hour of sanding.
I’ve also realized that my tools matter, but my technique matters more. I used to press down hard on the sander, thinking I was being more efficient. In reality, I was just bogging down the motor and creating more pigtails. Now, I let the weight of the sander do the work, moving it at a pace of about one inch per second. It’s slow. It’s boring. It’s the exact opposite of the fast-paced environment of an IT scrum, but it’s exactly what the wood requires.
Woodworking has taught me that you can't rush the foundation. Whether you’re learning table saw safety or prepping a tabletop, the effort you put into the parts no one notices is what makes the final product shine. My garage is still a disaster area covered in sawdust, and my clothes are permanently stained, but when I run my hand over a finished surface that feels like glass, the spreadsheets and the stress of the day job just disappear. The table might have a few mistakes only I can see, but at least now, they’re guest-ready.