Standing in the backyard late last August at sunset, I was squinting at a patch of grass and trying to visualize a 'cute' chicken coop. My wife was pointing at a Pinterest photo of a structure that looked more like a miniature Victorian mansion than a bird house, and I was mentally cross-referencing my IT project management spreadsheets with the reality of actual lumber. In my day job, I manage software deployments; in my garage, I usually manage to turn expensive walnut into very expensive sawdust. The gap between a digital plan and a physical structure that won't make the neighbors call the HOA is wider than a Minneapolis pothole.
The challenge wasn't just building a box. In our corner of suburban Minneapolis, building a coop is an exercise in diplomacy. We have a residential hen limit of 6, and while the city code allows it, the unwritten code of suburban aesthetics is much more demanding. 'Rustic' is often just a polite word for 'eye-sore' to the guy next door who mows his lawn in perfectly straight lines. If I was going to do this, it couldn't look like a scrap heap. It needed to be a 'Tier 1' deployment—clean, functional, and aesthetically integrated into the backyard environment.
The Design Phase: Translating Pinterest to Plywood
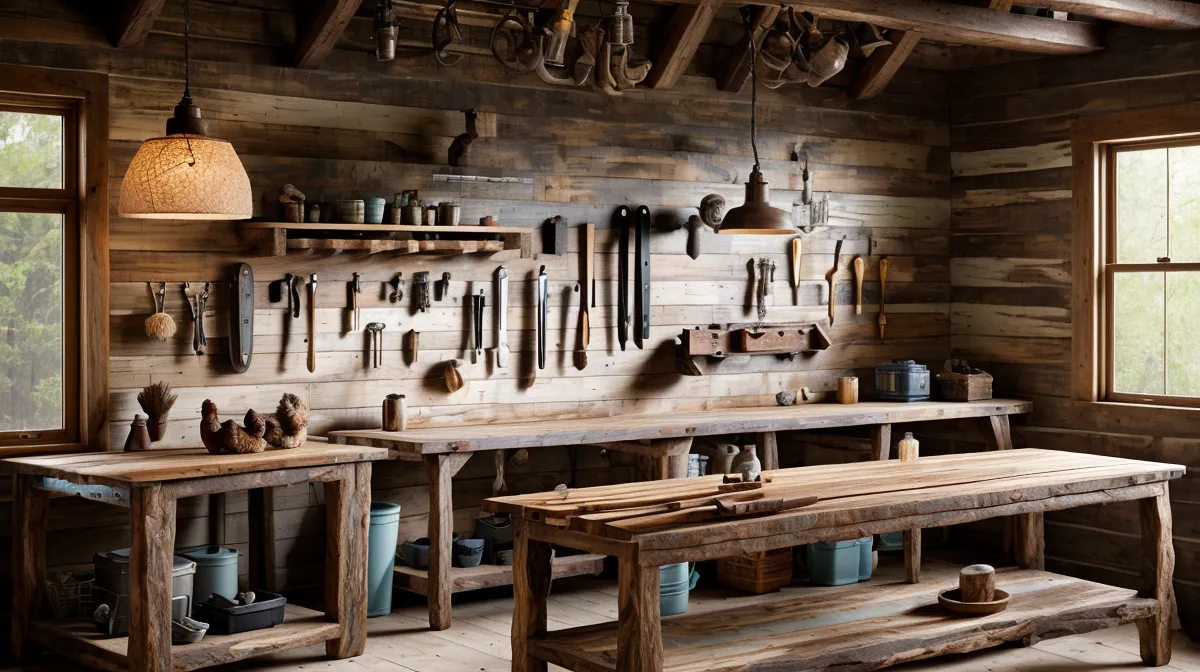
I spent one chilly October morning in the garage workshop—which currently occupies exactly half of our two-car garage—trying to design a structure that followed the rules of geometry rather than the whims of social media. I had a stack of standard plywood sheet dimensions (4 feet by 8 feet) and a head full of YouTube advice. The goal was to provide at least the minimum indoor space per bird, which is about 2 square feet for the heavy breeds we were considering, while keeping the footprint manageable.
As an engineer by trade, I tend to over-complicate things. I started thinking about the coop like a server rack. It needed ventilation (cooling), easy access for egg collection (maintenance), and a secure perimeter (firewall). I spent way too much time drawing rafters in SketchUp, forgetting that wood is a living material that doesn't always appreciate being forced into a digital grid. I also had to account for the fact that pressure-treated lumber contains chemicals that should not be used in direct contact with poultry nesting areas. That meant my 'bill of materials' was getting complicated before I even made the first cut.
The 'inner truth' of the design phase is that you never actually feel ready. You just reach a point where your wife asks when the chicks—who are currently living in a cardboard box in the laundry room—can move out. That’s the 'Go-Live' date you can't push back.
The Parallelogram Incident
Construction began in earnest as the leaves started to turn. One of the first things I learned is that my garage floor, while appearing flat, has a subtle slope for drainage. This is great for melting snow in January, but it is a nightmare for building a square frame. I was halfway through the base assembly when I noticed something was off. I was staring at the level bubble that was clearly not centered, realizing my garage floor is slanted and my coop was now officially a parallelogram.
In IT, we call this a 'legacy environment issue.' You build on a shaky foundation, and everything downstream fails. I had to spend a whole afternoon 'debugging' my joinery, using shims and a lot of swearing to get the frame back to something resembling a 90-degree angle. It was a humbling reminder that no matter how many woodworking videos you watch, the wood will always find a way to remind you that you're just a guy with a miter saw and a dream.
I eventually got the floor leveled out, but that mistake cost me a weekend. If you are building in a garage, check your floor. Don't trust the concrete. Trust your square, and maybe a few pieces of scrap wood to level the playing field. If you're interested in how I've dealt with other shop-floor disasters, I wrote about debugging my joinery and fixing common woodworking mistakes after a particularly rough experience with a dining table legs project.
The Suburban Secret: The Mobile Tractor Advantage
Here is where I'm going to go against the grain of most 'standard' coop plans. Most people build a stationary coop with a fixed run. In a suburban setting, this is a recipe for a 'localized odor event' that will eventually lead to a tense conversation with your neighbor over the fence. A fixed run becomes a mud pit. A mud pit becomes a smell. A smell becomes a phone call to the city inspector.
Instead of a monolithic stationary architecture, I opted for a mobile 'chicken tractor' design. Think of it as a bottomless, portable unit. By moving the coop every few days, the birds get fresh grass, the manure is distributed as fertilizer rather than accumulating in a heap, and the ground stays healthy. It’s the difference between a decentralized microservices architecture and a single, bloated legacy server. It keeps the yard looking like a yard, not a farm, which is the primary key to neighborly peace.
To make this work in a suburb, you have to be obsessive about the 'predator-proof' aspect. I used 1/2 inch hardware cloth mesh size for the entire lower perimeter. Unlike standard chicken wire, which a determined raccoon can rip through like wet tissue paper, hardware cloth is the 'enterprise-grade encryption' of the poultry world. It’s more expensive and a total pain to cut—I have the tiny wire-poke scars on my palms to prove it—but it’s the only way I can sleep at night when the local foxes are prowling.
The Mid-Winter Rafter Crisis
By mid-February, I was working in an unheated garage, which is a classic Minneapolis woodworking experience. I was trying to finish the roof structure when I hit a major 'versioning error.' I had cut all my rafters based on my original digital plans, but because of the 'parallelogram incident' earlier in the build, the actual physical dimensions of the coop had drifted. The rafters didn't line up. Not even close.
I remember standing there, the fine yellow dust of pine settling on my eyelashes as I made the final rip cuts for the nesting boxes, feeling the cold seeping through my boots. The chicks in the laundry room were getting bigger and louder. They were literally chirping for their new home, and I was staring at a roof that looked like a jagged mountain range. This was the moment I realized I couldn't just 'patch' the plan. I had to do a late-night redesign in the garage, recalculating angles on a scrap piece of plywood because my fingers were too cold to use a smartphone.
I ended up tossing the pre-cut rafters and starting over, measuring each one individually to fit the *actual* coop, not the *theoretical* one. It was a lesson in 'Agile Woodworking.' Sometimes you have to pivot based on the current state of the build, even if it means admitting your initial documentation was wrong.
Deployment and First Harvest
The coop was finally ready for 'deployment' in early April, just as the ground was starting to thaw. I spent three weekends sanding every exterior surface because in our suburb, any rough edge is an invitation for criticism. I painted it to match our shed, using a high-quality exterior trim paint that would withstand a Minnesota winter. If you’re already looking at your yard and thinking about layout, you might want to check out my post on why I built my own raised garden beds this spring—it’s the same 'neighbor-friendly' logic applied to vegetables.
When we finally moved the hens in, the neighbors didn't complain. In fact, they were curious. Because it’s a mobile unit that moves across the lawn, it doesn't look like a permanent structure that’s going to depreciate their property value. It looks like a high-end gardening project.
A few weeks ago, I walked out in the early morning to the nesting boxes. I reached in and found the first egg. It was small, perfectly brown, and still warm. If I do the math—including the cost of the cedar, the hardware cloth, the specialized 'chicken-safe' paint, and the eight months of garage time—that was probably the most expensive egg I’ve ever eaten. I could have bought several high-end espresso machines for the price of this 'free' protein.
But as I sat there on the back porch, watching the hens scratch at the fresh grass in their mobile home, I realized the coop actually looks like it belongs there. It’s square (mostly), it’s secure, and it hasn't triggered a single HOA notification. For an IT guy who started out building a lopsided bookshelf, that feels like a successful rollout. My garage might still be covered in sawdust, and I might still make a mistake on every project, but for now, the system is stable.
1. **Check your floor.** Seriously. Use a level on the ground before you use it on the wood. 2. **Buy more hardware cloth than you think.** You will mess up a cut, and those sharp edges are unforgiving. 3. **Go mobile.** If you live in a suburb, the ability to move the odor and the 'wear and tear' around the yard is your best defense against unhappy neighbors. 4. **Sand the exterior.** It makes a DIY project look like a professional installation, which buys you a lot of goodwill with the folks next door.