I was standing in my Minneapolis garage on a Saturday morning in mid-February, staring at a gap in a mortise and tenon joint that was supposed to be the structural foundation of a new cherry coffee table. In my day job as an IT project manager, we call this technical debt. You ignore a small logic error early in the sprint, and by the time you reach deployment, the whole system crashes. In woodworking, the 'crash' usually involves a lot of wood glue, a few choice words, and the realization that you just spent nearly two hundred dollars on lumber that currently looks like high-end kindling.
I started this project back in late January after a trip to my local hardwood dealer. I picked up about twenty board feet of cherry at around $8.50 per board foot. It was beautiful stuff—creamy sapwood, deep reddish heartwood, and that distinct scent that makes you forget you’re working in a freezing suburban garage. But beauty doesn't compensate for a lack of precision. By the time I reached the assembly phase in late March, I had accumulated a series of 'bugs' in my joinery that required some serious refactoring before the final finish could even be considered.
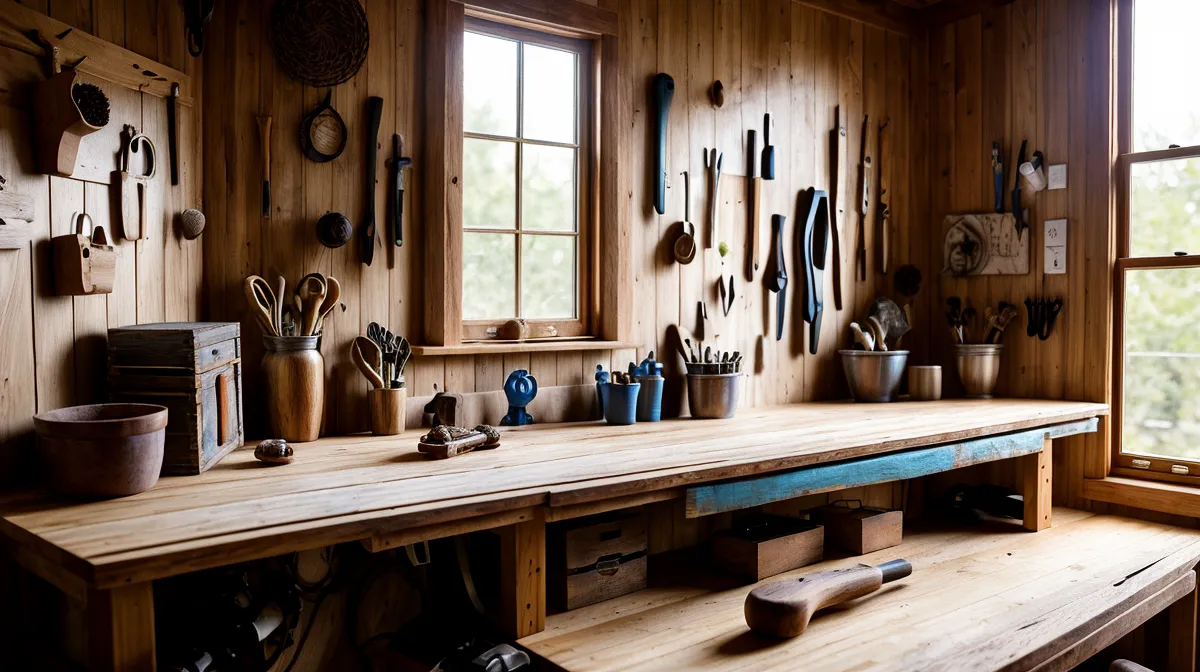
As someone who spent the first year of this hobby building a bookshelf so lopsided it looked like it was melting, I’ve learned that the difference between a failed project and one with 'character' is often just a clever patch. I’m not a master carpenter; I’m just a guy who watches too many YouTube videos and has the sawdust-covered clothes to prove it. Here are the five specific joinery mistakes I made on the cherry table and the hardware hotfixes I used to get it into production.
1. The 'Off-by-One' Tenon (The Loose Fit)
In programming, an off-by-one error is a classic. In the shop, it’s what happens when you get a little too aggressive with your shoulder plane and suddenly your tenon slides into the mortise like a hand into an oversized glove. A good joint should have a 'piston fit'—it should slide in with firm hand pressure and hold its own weight. This one? It rattled. If I had glued it as-is, the joint would have relied entirely on the glue's gap-filling properties, which is a recipe for a wobbly table by mid-summer.
The Debug: I treated this like a shim. I took a shaving of the same cherry scrap from my bench—literally a paper-thin translucent curl from my hand plane—and glued it to the face of the tenon. Once the glue dried, I carefully pared it back down with a chisel until the fit was snug. If you use the same wood species, the patch is virtually invisible because the grain orientation matches. It’s essentially a hardware hotfix that restores structural integrity without having to recut the entire rail. I’ve had to do this more times than I care to admit, especially when I'm rushing to finish a build before my wife notices how much time I've spent in the garage.
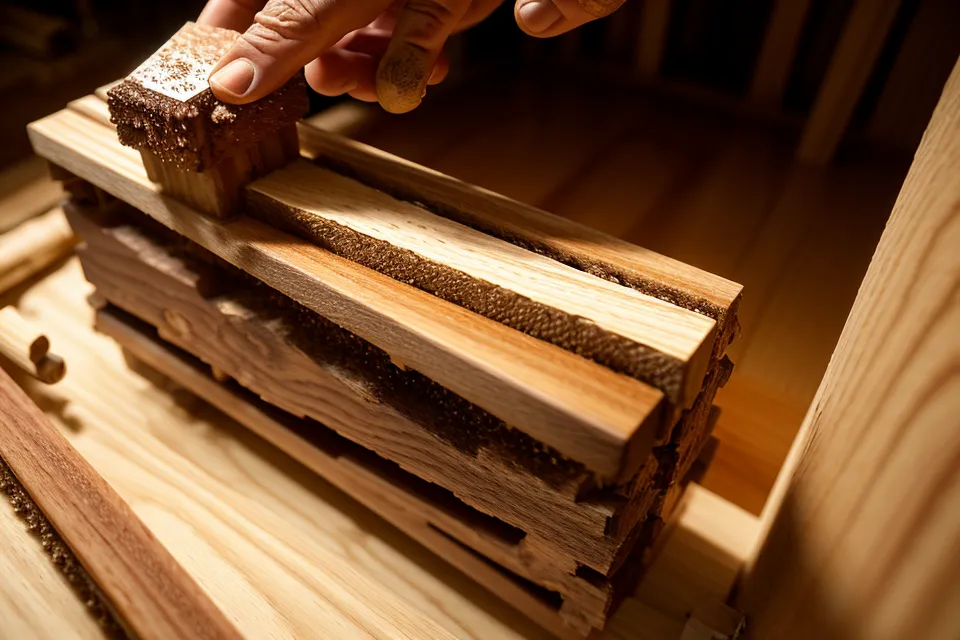
2. The 'Syntax Error' Gap (The Visible Void)
On a Tuesday evening in late March, I was dry-fitting the base assembly when I noticed a glaring gap where the apron met the leg. It was wide enough to slide a credit Module_root__BamsY through, likely caused by a slight twist in the leg that I hadn't accounted for during the initial milling. In the IT world, this is a syntax error—the components are there, but they aren't speaking the same language. I realized I had made similar errors during my mistakes building a DIY modern coffee table last year, and I wasn't about to let it happen again.
The Debug: For gaps this size, the old 'sawdust and glue' trick often looks like a dark, muddy scar, especially on a light wood like cherry that darkens over time. Instead, I used a 'Dutchman'—a thin wedge of matching wood. I cut a tiny sliver of cherry, tapered it slightly, and tapped it into the gap with a bit of glue. After it dried, I flushed it up with a sharp chisel. Because it’s actual wood grain filling the void rather than a paste, it takes finish naturally. It’s a bit like refactoring code—it takes longer, but the end result is much cleaner than a quick-and-dirty patch.
3. Out-of-Square Glue-Ups (The Systemic Failure)
There is nothing quite as soul-crushing as applying glue to a complex assembly, tightening the clamps, and realizing the entire structure is skewed by a quarter inch. This usually happens because the clamps aren't parallel or my garage floor—which is definitely not level—is throwing off my perspective. I learned early on that having a dedicated space for tools helps, and I actually spent a few weekends building a DIY woodworking clamp rack just to keep my gear organized, but even the best organization can't fix bad geometry.
The Debug: If the glue is still wet, you can use a 'diagonal clamp' to pull the assembly back into square. I measure the diagonals of the table base; if one is longer, I place a clamp across that long diagonal and apply pressure until the measurements match. If the glue has already set, you’re looking at a structural redesign. On a previous project, I actually had to plane the bottoms of the legs to different heights just to make the table sit flat on the floor—a shameful 'hard-coded' fix that I hope no one ever notices when they come over for coffee.
4. The 'Buffer Overflow' (Too Much Clamp Pressure)
I have a tendency to over-tighten. I think it’s the engineer in me—if tight is good, tighter must be better. But too much pressure can actually starve a joint of glue or, worse, bow the wood. On this cherry table top, I clamped the boards so hard that the center of the panel began to lift off the workbench. I was essentially creating internal stress that would eventually lead to a crack once the humidity in Minnesota inevitably spikes in July.
The Debug: The fix here is preventative maintenance. Use 'cauls'—straight pieces of scrap wood wrapped in packing tape—placed across the width of the panel to keep it flat while the pipe clamps do the heavy lifting. If you’ve already bowed the panel and the glue has dried, the only real fix is to rip the glue line on the table saw and try again. It feels like a rollback to a previous version, but it’s better than a tabletop that looks like a Pringles chip. Wood is constantly moving, so any stress you 'build in' with clamps will only be magnified when the seasons change.
5. The 'End-of-Life' Snipe (The Planer Scars)
Snipe is that annoying gouge at the very end of a board caused by the planer’s rollers. It’s like a legacy bug that you forget about until the very end of the project. I had some nasty snipe on the undersides of the cherry aprons. I thought I could sand it out, but cherry is notorious for showing every scratch and dip once the oil hits it. Trying to sand out snipe usually just results in a divot that looks even worse under the light.
The Debug: If the board is already cut to length, you can't just lop the end off. My solution was to use a hand plane to 'blend' the snipe into the rest of the board. It requires a very light touch and constant checking with a straightedge. In the future, I’ve learned to feed a 'sacrificial' piece of scrap wood through the planer immediately before and after my actual project pieces. This tricks the machine into 'sniping' the scrap instead of my expensive cherry. It’s the woodworking equivalent of a sandbox environment—test the dangerous stuff on non-production data first.
Lessons from the Workbench
By early May, the table was finally finished. It’s not perfect. If you look closely at the bottom of the left rear leg, you can see where I shimmed that tenon. If you crawl under the table with a flashlight—which I don't recommend—you might find a trace of that Dutchman patch. But to my wife and our guests, it looks like a solid, professional piece of furniture. I usually end up with a pile of these off-cuts and shims, which is how I started doing that 4-hour gift challenge using only scrap wood when I need a quick win after a long furniture build.
- Woodworking is 10% cutting and 90% problem-solving. No project goes perfectly. The skill isn't in being perfect; it's in knowing how to hide the evidence.
- Cherry is a forgiving teacher but a harsh critic. It machines beautifully, but it shows every glue fingerprint and every uneven sanding stroke.
- Documentation matters. I keep a notebook in the garage where I record my 'bugs' so I don't repeat them. It’s my own personal version of a ReadMe file that saves me from making the same measurement error twice.
Woodworking in a suburban garage involves a lot of trial and error, especially when you're self-taught via late-night video marathons. But every time I fix a gap or shim a joint, I’m building a mental library of solutions. If you’re just starting out, don’t let a mistake stall your project. Most 'bugs' in the shop can be patched with a little patience, some matching scrap wood, and the willingness to admit that your first attempt wasn't quite 'production-ready.'