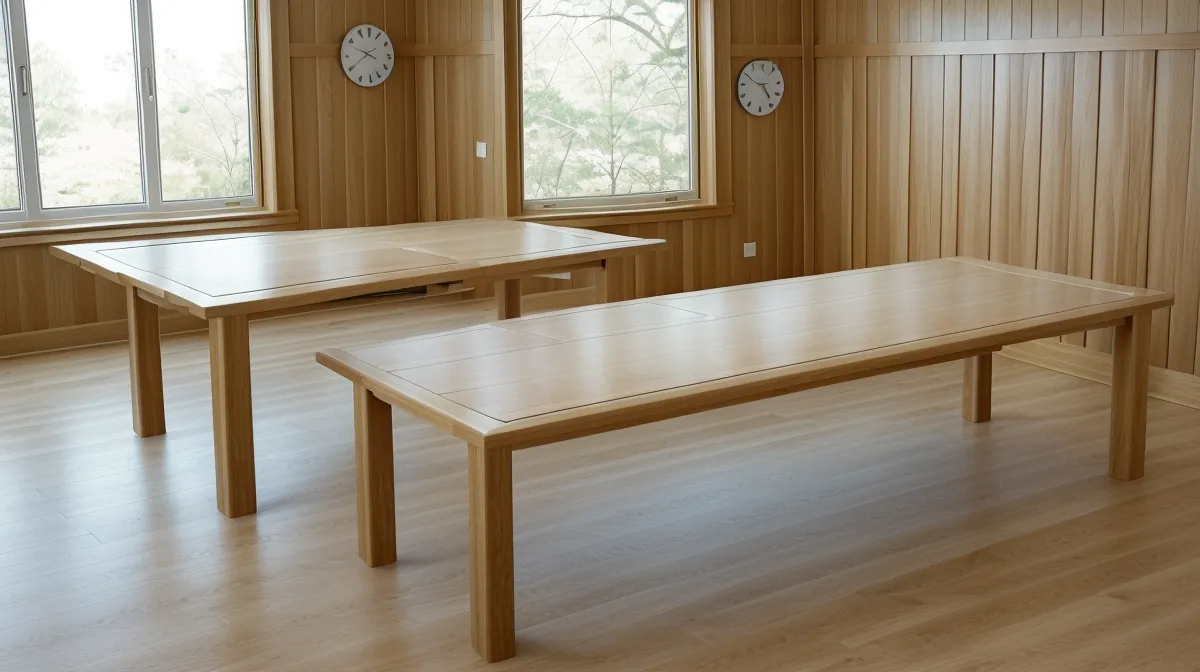
Nine days. That's how long a coat of oil-based polyurethane sat tacky on top of my white oak dining table before I gave up and scraped it back to bare wood with a Module_root__BamsY scraper. An unheated garage workshop in a Minnesota January will do that to a finish — the can says it cures in hours, and in that garage it simply refused. That failure is the reason I'm writing this one differently. I get roughly the same handful of questions every time I post photos of this table, so instead of another week-by-week diary of the build, I'm answering them straight, project-management style, the way I'd walk a coworker through a postmortem.
Quick disclosure before any of that: some of the links below are affiliate links, including the one for the plan library I built this table from. Click through and buy something, and I get a small commission at no extra cost to you. I only link to plans and tools that have actually lived in my garage — the nine-day poly disaster included, since that's exactly the kind of thing I want you to avoid repeating.
How Long Does a White Oak Dining Table Actually Take on Weekends?
Realistically, budget somewhere around twelve weekends for a 72-inch table if you're milling rough lumber yourself instead of buying it pre-surfaced. That number assumes a two-car garage workshop, weekends only, and a Minnesota winter that will steal a few of those Saturdays for shoveling instead of sanding. Most of that time isn't glamorous — it's milling, waiting on glue, and sanding, not the parts that make good photos.
I built mine off a set of blueprints from TedsWoodworking rather than winging the joinery and dimensions myself — guessing on a stack of hardwood this expensive felt like deploying straight to production without a staging environment. The wood itself is White Oak, chosen because it matched the chairs already in the dining room, not because I understood yet how stubborn it is to mill.
Milling and flattening the rough boards ate the first few weekends by itself, especially with a 6-inch benchtop jointer trying to true up boards wider than its own bed — it never failed outright, it just turned what should've been one clean pass into three passes and a lot of hand-planing to finish what the jointer couldn't. Cutting joinery, gluing the top, and finishing split the rest of the weekends roughly into thirds, with finishing dragging out longest because oak this dense punishes any shortcut in sanding. Cutting the leg-to-apron joinery is its own decision tree — which joint you pick shifts with your tool set and patience, and that comparison deserves a post of its own rather than a paragraph here.
What Does a Garage Workshop Actually Need Before You Start?
A workbench that doesn't rack sideways under clamping pressure matters more than any single power tool, and getting mine solid enough for glue-ups was a project in itself. Dust control is a close second — hardwood throws off a shocking volume of fine dust, and I spent several evenings dialing in dust collection on a budget just to keep from breathing it and to keep the garage from looking like a snow globe. Cutting parts to consistent length needs a fixed reference too, not just a tape measure and good intentions — a tape measure alone, repeated four times for four legs, is exactly how someone ends up with a table shorter on one corner than the other three. A miter saw station with a built-in stop block solves that. And once you own more than a handful of clamps, you need somewhere to hang them besides the floor — mine live on a French cleat wall, which turned clamp storage from a chore into a five-second grab.

Specialty Hardwood or Big-Box Lumber for a Project Like This
Home centers are built around dimensional softwood — pine, cedar, fir — cut to standard widths and lengths, and even then the two-by-four you buy is never actually two inches by four inches. I learned that the annoying way wandering the lumber aisle at the Menards on American Blvd in Bloomington, looking for eight-quarter white oak that simply isn't stocked there. Hardwood like oak, maple, walnut, and cherry shows up in random widths and lengths at specialty lumber yards instead, sold by the board foot rather than pulled pre-cut off a rack. If your project needs to look good in a dining room rather than hold up a roof, that's where you need to be shopping, even if it's a longer drive. Oak isn't the only option worth weighing, either — how it stacks up against maple, walnut, and cherry for hardness, grain, and how each one takes a finish is a reference topic on its own, closer to a chart than a paragraph.
Wood Movement Is Why Tabletops Crack, Not Bad Glue
Wood keeps moving after it leaves the tree, expanding and shrinking across the grain as humidity swings through the seasons — it barely moves at all along its length. A flat panel glued up from several boards moves as one unit, and if you bolt that panel down rigidly on all four sides, it has nowhere to go when a Minnesota summer pushes humidity up or a dry winter pulls it back down. That's the actual mechanism behind a cracked panel or a tabletop that's pulled itself loose from its base, and it has nothing to do with cheap glue, whatever the reviews on a bottle of wood glue might imply.
Tabletops need to float on their base — slotted metal clips, or screw holes elongated into slots, so the top can shrink and swell without fighting the apron underneath it. I understood this properly on an earlier build, flipping over a walnut cutting board I'd just finished sanding and catching the end grain glowing back in a tight, glossy checkerboard — a grain-direction lesson for a different post, but also the moment I stopped thinking of wood as a fixed material and started treating every glue-up like something that would keep changing shape long after the clamps came off. A friend of mine spends his weekends brewing all-grain IPAs in his basement, chasing mash temperatures within a couple of degrees, and when I described this to him he just shrugged and said wood sounded like fermentation on a much slower clock — still responding to its environment, just over months instead of hours. Wood warping is the more dramatic cousin of the same problem, and it's why stacking and stickering lumber properly while it acclimates in your garage matters as much as anything you do with a saw.

The Unheated Garage Problem Nobody Warns You About
My shop takes up half of a two-car attached garage in a 1970s rambler in Brooklyn Park, concrete block on two sides, and that block wall doesn't climb out of the thirties from November through March no matter what the space heater is doing. Glue and finish both care about that in ways I didn't appreciate until I'd already burned a table's worth of curing time on it. That's where the nine-day tacky poly from the start of this came from — oil-based polyurethane wants somewhere in the sixty-five to seventy-five degree range, and a January garage running on a single space heater can't hold that line once the sun goes down. Water-based finishes and hard-wax oils tend to forgive a cold shop more easily, though nothing cures fast when the slab itself is cold, not just the air around it. Running a heater for an hour before any glue-up or finish coat, and letting the wood come up to temperature rather than trusting the thermostat on the wall, is the difference between a finish that skins over properly and one you're still scraping off a week and a half later.
Should You Buy a Plan Library, or Wing It From YouTube?
A good set of blueprints earns its cost the first time it saves you from cutting an expensive board wrong because a video skipped a dimension or assumed you already knew it. The plan library I used, TedsWoodworking, is less a single set of table plans and more a sprawling catalog — something like sixteen thousand-plus projects covering everything from birdhouses to this table, with step-by-step cut lists instead of just glamour photos of a finished piece. That volume is also the honest downside: if you only want one project, wading through a catalog that size to find it feels like searching a shared drive with no folder structure, and a few of the plans assume you already own a table saw or router you might not have yet. Judging whether a plan is actually worth following, versus just nicely photographed, is its own skill, and it's worth developing before you commit a stack of hardwood to someone else's cut list. The joinery a plan calls for matters too — how the legs attach to the apron changes with your tools and patience, and picking the right joint for your skill level is a decision tree deep enough for its own post. Whatever finish a plan recommends, treat it as a starting point, not gospel — dialing in the right finishing process for your own shop conditions took me an entire separate project to actually get right.
Running This Like a Project Management Exercise, Not Just a Hobby
Every stage of this build has a real dependency chain, the same way a software release does — you can't sand before you glue, and you can't finish before you sand, no matter how much you'd rather skip to the fun part. Treating each weekend like a sprint, with one clear deliverable instead of a vague goal of "work on the table," is the single biggest reason this project didn't stall out the way a couple of earlier ones did. Cost-wise, factoring in lumber, finish, sandpaper, and every mistake along the way, building your own solid hardwood table still comes in well under what a comparable table costs at a furniture showroom, even before you count your own labor as free. Whether that math works for you depends on how much you value your Saturdays, and whether your garage workshop gets cold enough in January to turn a simple finish coat into a nine-day standoff.