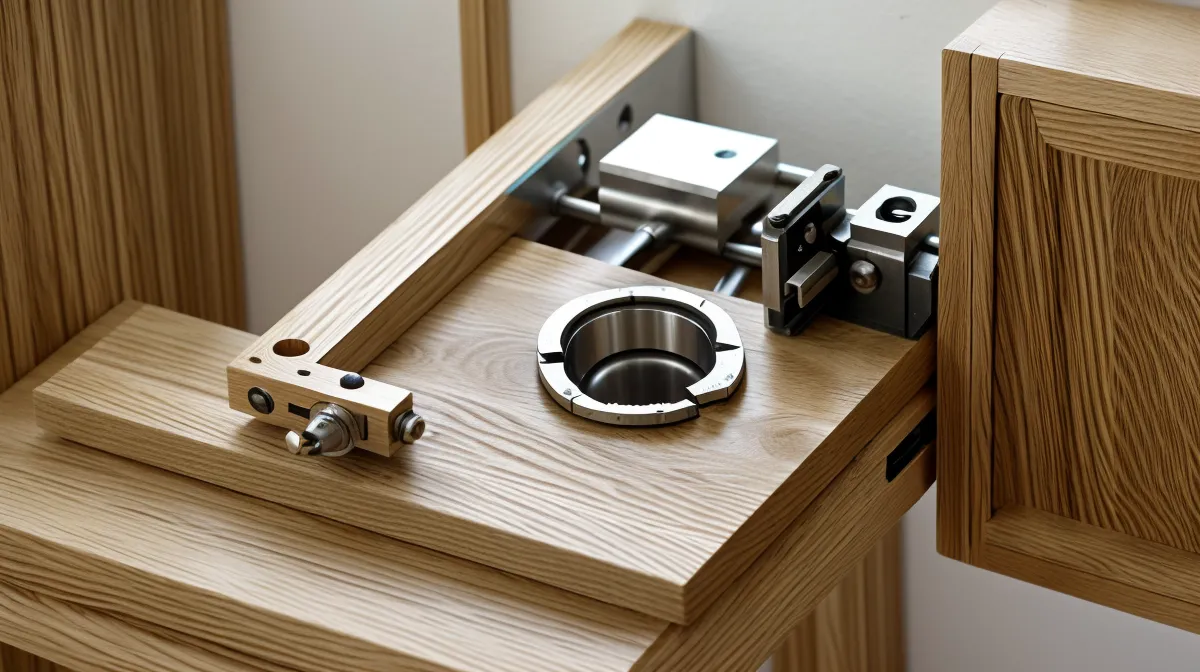
One freezing February morning, I stood in my suburban Minneapolis garage, staring at a split piece of oak on a coffee table project. It was one of those moments where the 'quick and easy' promise of DIY woodworking felt like a flat-out lie. I’d spent the previous hour carefully measuring and drilling, only to have the wood shatter the moment I drove the screw home. It was like a failed server migration—everything looked good in the staging environment, but the moment we went live, the whole system crashed.
I’m a 44-year-old IT project manager by day, which means I spend most of my time managing spreadsheets and navigating corporate bureaucracy. Woodworking was supposed to be my escape. I started during COVID with a bookshelf that was so lopsided it looked like it was leaning away from a bad smell. Since then, I’ve converted half my two-car garage into a workshop, and while I’ve graduated to building things my wife actually lets guests see, I still make mistakes on every single project. That morning in February was a reminder that even 'simple' tools like a pocket hole jig require a bit more nuance than the YouTube pros lead you to believe.
The Myth of the Pocket Hole 'Cheat'
When I first started, I thought pocket hole joinery was a shortcut—a way to bypass the 'real' woodworking skills like mortise and tenon joints. In IT terms, it felt like copy-pasting code from Stack Overflow. It works, but if you don't understand the underlying logic, you're going to run into bugs. My early projects were riddled with these 'bugs': misaligned faces, split ends, and joints that felt about as stable as a beta release on a Friday afternoon.
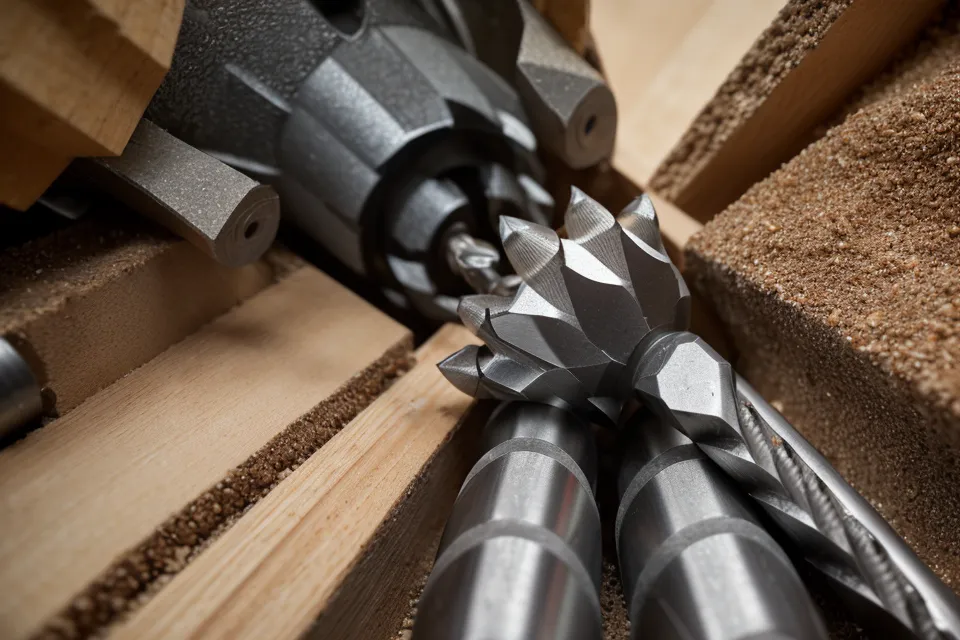
Reflecting on my transition from that first lopsided bookshelf to the dining table sitting in our kitchen right now, I’ve realized that pocket holes aren't a cheat. They are a mechanical fastening system that demands its own kind of precision. The first thing I had to learn was that my 3/8 inch stepped drill bit wasn't just a 'hole maker'; it was a precision instrument. If that bit isn't set perfectly, your project is doomed before you even pick up a screwdriver.
I remember early last spring, I was working on a small cabinet. I was rushing, skipping the 'boring' parts like checking my depth collar. That’s when it happened—the sinking feeling in my gut when I heard the wood crack because I didn't adjust the depth stop on my drill bit. I had bored too deep, and the screw had nowhere to go but through the face of my finish-grade maple. It’s the woodworking equivalent of a 'syntax error' that you don't catch until the final build.
Mastering the 3/8 Inch Precision Game
The core of the system is that 3/8 inch diameter bit. It’s a stepped bit, meaning it drills two holes at once: a pilot hole for the screw and a shoulder for the screw head to sit against. If you’re using standard 3/4 inch material, which is the bread and butter of most garage projects, you have to be obsessive about your settings. I’ve learned to treat my jig like I treat my essential woodworking tools—with a level of respect that borders on the neurotic.
One of the most common mistakes I made was ignoring the thickness of the wood. Not all 3/4 inch wood is actually 3/4 inch. If you’re working with common plywood nominal thickness of 3/4 inch, it’s often a hair thinner. If you don't calibrate your jig to the *actual* thickness of the board, your screw will either not have enough bite or it will poke through the other side like a digital artifact in a bad render. I now keep a set of calipers on my workbench just to verify my stock before I touch the drill.
Then there’s the sensory experience of it. There is a specific smell of toasted oak and the fine, pale dust settling on my glasses as the stepped bit bites into the wood. If you smell burning, you’re either pushing too hard or your bit is dull. In IT, we call that 'thermal throttling.' In the garage, it’s just a sign that you’re about to ruin a twenty-dollar board.
The 'Creeping Joint' and Why Clamping Isn't Optional
The biggest frustration I encountered during my first year was the 'creeping joint.' You align two boards perfectly, you start driving the screw, and suddenly the top board shifts an eighth of an inch. It ruins the flush finish and makes you want to throw your impact driver into the snowbank outside the garage door. This happens because the screw is essentially acting like a wedge, pushing the boards apart before it pulls them together.
I spent months trying to hold the boards together with my hands, thinking I was strong enough to fight physics. I wasn't. The turning point was realizing that clamping isn't an optional step; it’s the most important part of the assembly. I now use a heavy-duty face clamp that locks the two pieces of wood into a single, immovable unit. It’s like a 'read-only' lock on a database—nothing moves until the transaction is complete.
Last weekend, while working on a small side table, I noticed that even with a clamp, things can shift if your workbench isn't perfectly flat. I’ve started using my assembly table as a reference plane, clamping the boards down to the table itself rather than just to each other. It’s an extra thirty seconds of work that saves thirty minutes of sanding later. If you're looking for a good project to practice these clamping techniques, I'd suggest looking into some Best Farmhouse Console Table Plans for a Weekend Woodworking Project, as they rely heavily on clean, flush joints.
Hardware Logic: Choosing the Right Fastener
In project management, using the wrong tool for the job is a recipe for a budget blowout. In woodworking, using the wrong screw for a pocket hole is a recipe for structural failure. You cannot just use a standard wood screw. Pocket hole screws have a flat-bottomed head (a washer head) that seats against the ledge created by the 3/8 inch bit. A regular tapered screw head will act like a wedge and split the pocket, which is exactly what happened to my oak coffee table back in February.
The math here is simple but rigid. For 3/4 inch material, you use 1 1/4 inches screws. If you’re joining 1/2 inch material to 3/4 inch, you have to drop down to a 1-inch screw. I keep a chart taped to the side of my tool cabinet because my brain doesn't have enough RAM to store these measurements while I’m also trying to remember if I turned the space heater off.
Also, consider the thread type. Coarse threads are for softwoods like pine or plywood, while fine threads are for hardwoods like oak or maple. Fine threads have more surface area per inch, which prevents them from acting like a drill and stripping out the hole in dense wood. It’s like choosing the right protocol for a data transfer—use the wrong one, and the connection drops.
The Controversial Choice: Why I Stopped Using Glue
Now, here is where I usually get some side-eye from the 'purists' on the internet. I’ve stopped using glue in my pocket hole joints. I know, I know—every YouTube video tells you to 'slather it on.' But after a few years of building in the wildly fluctuating humidity of Minnesota, I’ve seen what happens to glued pocket hole joints. They crack.
Wood is a living material; it expands and contracts. A pocket hole is a mechanical fastener that provides more than enough strength for most household furniture. When you add glue to a pocket hole joint, you’re creating a rigid, permanent bond in a joint that was designed to have a tiny bit of 'give.' In late July, when the humidity hits 90%, that wood is going to move. If the joint is glued tight but the screw is also holding it, the wood often loses the battle and splits right down the grain line.
By relying solely on the mechanical fastener, I’m allowing the furniture to breathe. It’s like building a software architecture that is loosely coupled—it’s much more resilient to changes in the environment. My dining table has been through a full cycle of Minneapolis seasons now—from the bone-dry -10 degree winters to the swampy summers—and the joints are still as tight as the day I built them. No cracks, no splitting, just solid engineering.
Reflections from the Garage Floor
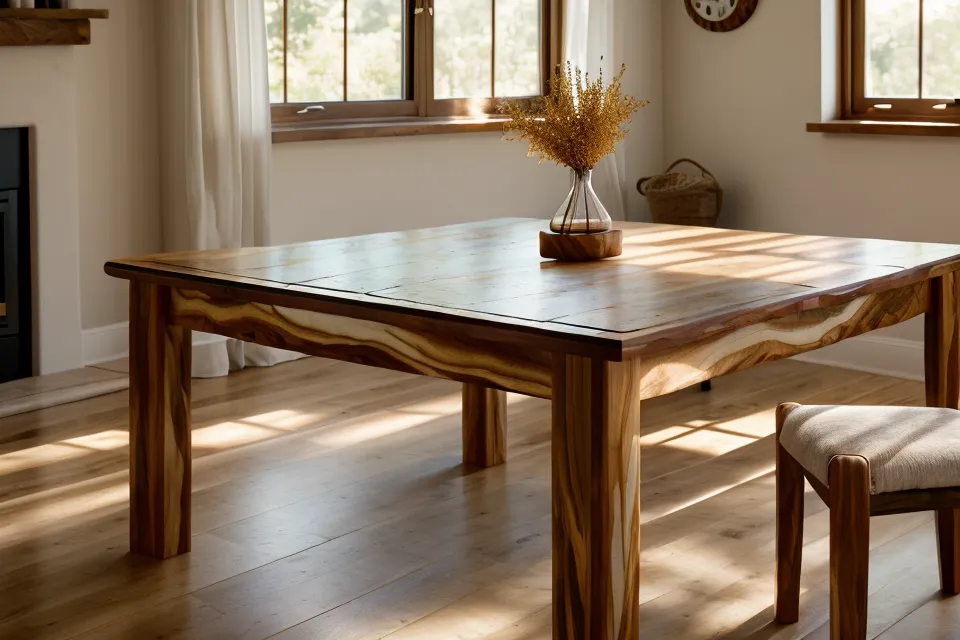
Looking at the finished dining table that my wife actually lets guests see, I realize that the secret to pocket holes isn't the jig itself—it's the prep work. It’s the thirty seconds spent checking the bit depth, the minute spent properly clamping the boards, and the discipline to use the right screw for the job. It’s about managing the small details so the big project doesn't fall apart.
I still make mistakes. Just last month, I drilled a pocket hole on the 'show' side of a board because I was distracted by a podcast. I had to pivot and turn that 'mistake' into a 'design feature' (which is just IT speak for 'I’m not fixing it, so let's pretend I meant to do that'). But that’s the beauty of the hobby. Every project is a new set of requirements, a new series of bugs to squash, and a new chance to get a little bit more sawdust on my clothes.
If you're just starting out in your own garage, don't let the fear of a split board stop you. Just remember to clamp like your life depends on it, double-check your math, and maybe—just maybe—leave the glue bottle on the shelf next time you're reaching for the pocket hole jig. Your wood (and your future self) will probably thank you for it.