One rainy evening last fall, I tripped over a tangled web of chargers on my garage floor while trying to find my impact driver. It was basically the physical manifestation of a server room backplane that hasn't been cable-managed since the early 2000s—a 'charger graveyard' that had officially reclaimed my limited workbench space. To make matters worse, my wife's car was parked inches away from where a heavy drill was teetering on a pile of scrap wood. I realized my 'organization' was just a pile of plastic and lithium-ion batteries, and I needed to stop winging my designs before I accidentally customized the hood of our SUV with a 20V battery.
I decided I needed a dedicated station that could hold five drills and their chargers without looking like a scrap wood accident. Being an IT project manager by day, my natural instinct was to approach this like a hardware refresh. I needed a blueprint that didn't involve me sketching on the back of a napkin and hoping for the best. I spent hours digging through the woodworking archives in the TedsWoodworking database—which, with 16,000 plans, is basically the GitHub of sawdust—to find a specific drill station plan that fit my narrow wall space. I specifically looked for a design with a power strip housing and cooling vents, because lithium-ion tool batteries actually perform best when stored and charged in temperatures between 32 and 105 degrees Fahrenheit, and trapped heat is the enemy of battery longevity.
In mid-November, I finally pulled the trigger on the build. I picked up some birch plywood and got to work. The sharp, sweet smell of freshly cut birch plywood mixing with the cold, damp air of a Minneapolis garage in November is a very specific kind of sensory therapy that almost makes the frost on the windows worth it. I opted for standard cabinet-grade plywood thickness—exactly 0.75 inches—to ensure the shelf could handle the weight of five heavy batteries without bowing over time. It felt like over-engineering, but as I always tell my team, it’s better to have too much overhead than a system crash.
However, the build wasn't without its 'bugs.' Just after the first big snow, I found myself staring at a 1/8-inch gap in a dado joint and debating whether to start over or just fill it with sawdust and glue. It was a classic failure in my execution—I’d rushed the table saw setup. I stood there in the freezing garage, debating if I could live with the gap. In the end, I chose the sawdust-and-glue 'patch' because, let’s be honest, this is a garage shop, not a museum. If the joint holds the weight, it passes the user acceptance testing.
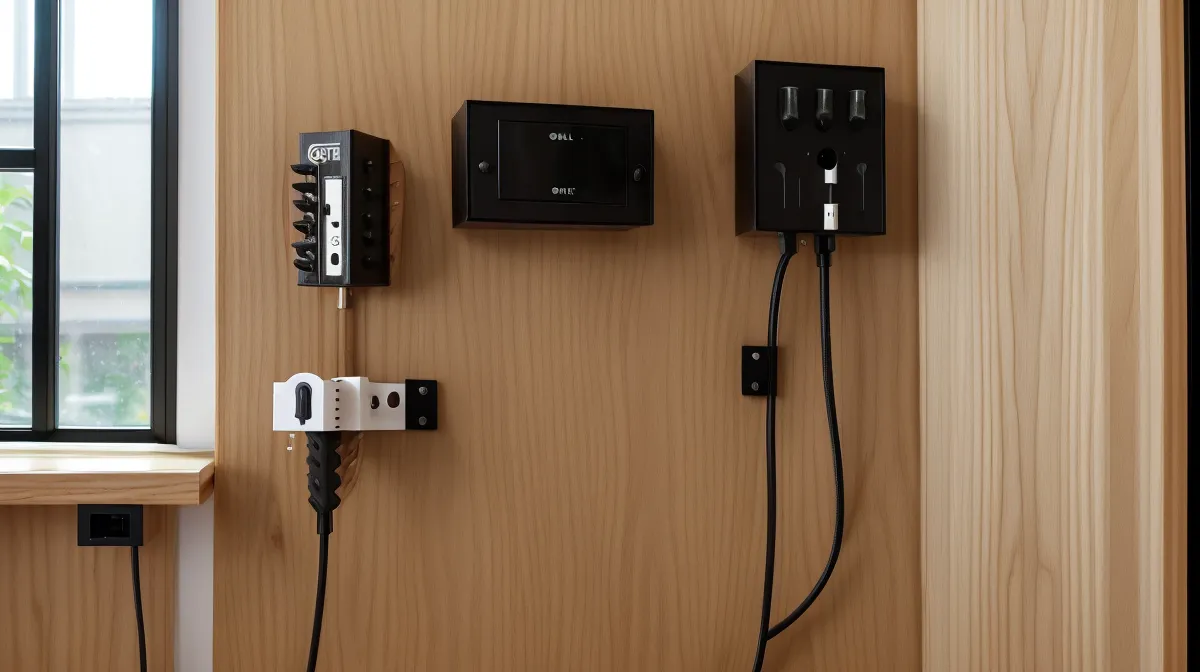
Then came the mounting phase. I used a French cleat system, which involves a standard French cleat bevel angle of 45 degrees. It’s a brilliant bit of physics where the weight of the object actually pulls the joint tighter against the wall. But I hit a major snag when I realized my garage wall wasn't even remotely plumb. It’s a common 'suburban garage floor' leveling nightmare where the wall leans out at the top. I had to shim the entire station with thin strips of cedar to keep the drills from sliding forward out of their slots. It was a humbling reminder to check the environment (the wall) before deploying the hardware.
During the process, I had a bit of a contrarian realization. Almost every YouTube video tells you to mount your charger station on the wall. But as I was walking back and forth from my assembly table to the wall to swap batteries, I realized that for some shops, this is a mistake. If I had the floor space, I might have preferred building a mobile tool cart instead. Bringing the power directly to the workspace reduces the 'latency' of your workflow. Since my two-car garage is shared with actual cars, the wall was my only option, but it’s worth considering a mobile version if you have the square footage.
By late March, the project was finally wrapped up. Seeing five drills hanging neatly in their slots with the chargers plugged into a single hidden power strip was incredibly satisfying. It’s the first project in my garage that doesn't look like a 'before' photo in a home improvement magazine. I finally have my workbench back for more important things, like making a mess on the next project. One Saturday morning last month, I even used the leftover material to knock out a few quick woodworking projects using only scrap wood, which felt like a nice 'bonus feature' to the main build. My drills are charged, the floor is clear, and for once, the garage looks like a place where work actually gets done.