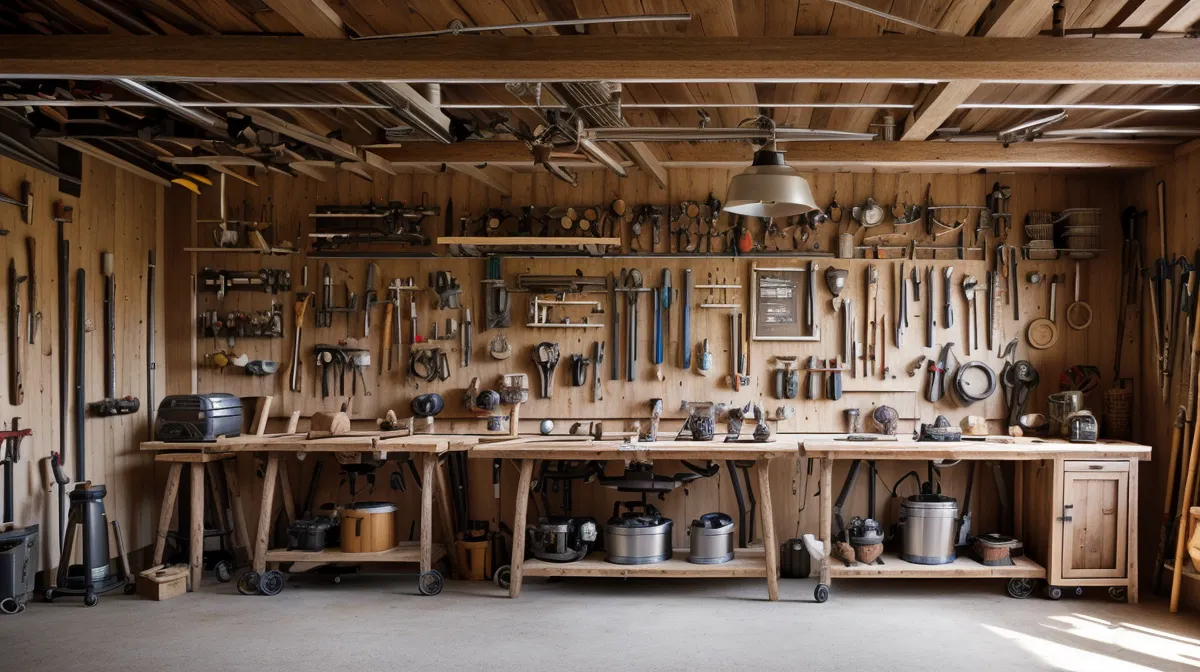
A sixteenth of an inch doesn't sound like much, until you've stacked that error eight times across a cabinet carcass and watched the last joint refuse to sit flush. That's roughly where my first year as a beginner woodworker landed — plenty of tools, none of them reliably accurate, and no clue that measuring, not cutting, was the real gap in my beginner woodworking essentials.
Most beginner tool lists get the shop setup order backwards. They rank the saw first and the measuring tools as an afterthought, when nothing you cut matters if the mark you started from was already wrong. Getting this garage workshop right taught me that lesson the expensive way — buy the saw, spend months chasing an accuracy problem, and only then trace it back to a lying tape measure.
Why Your Tape Measure Might Be Lying to You
Precision in woodworking is cumulative in a way that reminds me of a spreadsheet full of small rounding errors: invisible on any single line, disastrous by the time you sum the column. You need a tape measure you actually trust and a twelve-inch combination square, because the square is what tells you whether your saw blade is really sitting at ninety degrees instead of just looking close.
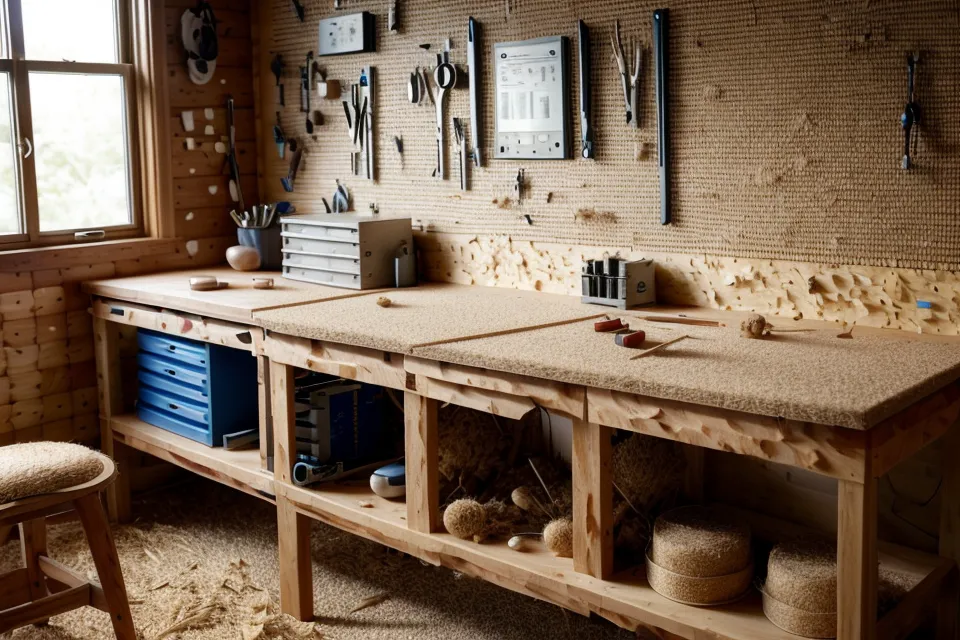
The tape measure that burned me came from the impulse rack at the Costco in Eden Prairie, grabbed on a random errand because I needed one that afternoon and didn't feel like making a special trip to a real hardware store. It turned out to be just far enough off that a face frame I'd already squared up on paper never quite sat flush once I cut it for real, and I didn't figure out why until I checked it against the combination square weeks later. Lumber dimensions compound the same problem: a standard two-by-four isn't actually two inches by four inches, it's closer to an inch and a half by three and a half, and if your math doesn't account for that, the whole project is off before the first cut.
Six weeks into replacing every measuring tool I didn't trust, I spent three hours straight out there without checking my phone once; the longest stretch all year the garage had managed to hold my attention.
Track Saw vs. Miter Saw: The Garage Space Trade-off
Here's where I part ways with most beginner guides, which push a miter saw as the first big purchase. I did that, and regretted it almost immediately. A two-car garage that still has to fit my wife's SUV doesn't have room for the long outfeed wings a miter saw needs to be useful, and mine ended up folded against a wall more often than it ever got set up.
A track saw solves the space problem differently. It breaks down a full plywood sheet on the floor, riding a rigid track over a sacrificial layer of foam insulation, and it packs away flat against a wall when you're done with it. Getting the workbench itself dead flat and properly anchored is its own project I won't get into here, but a good track saw forgives a bench that isn't perfect in a way a table saw never will.
Respecting the Table Saw
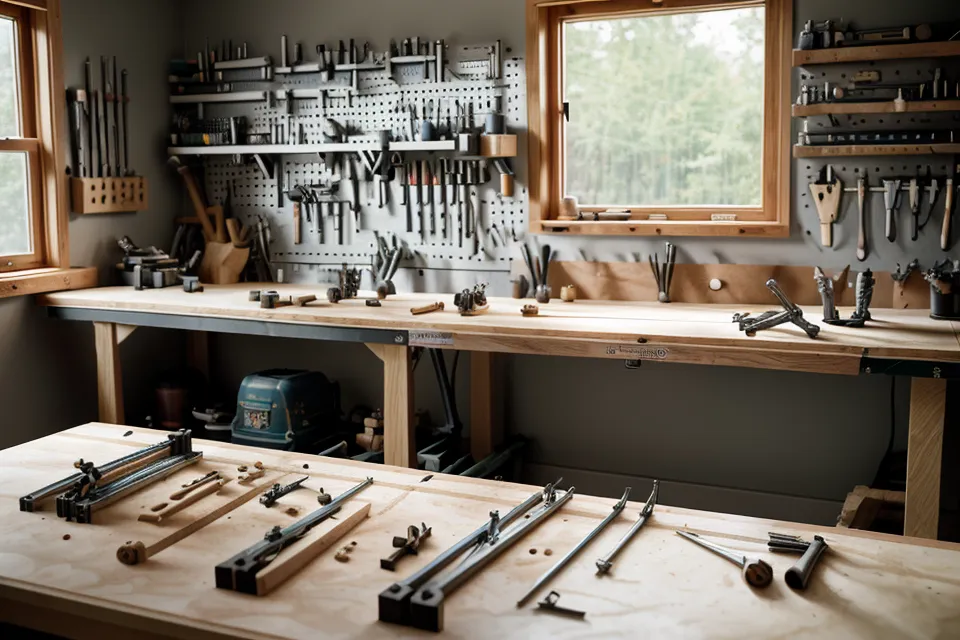
None of that replaces a ten-inch table saw for everything that isn't breaking down sheet goods. Getting a genuinely square cut out of mine was the turning point in how every later project came together, from simple boards to furniture that actually squares up in the corners. It's also the one machine in the garage that will hurt you if you stop paying attention, which in IT terms is the difference between a server going down and an actual trip to urgent care.
You have to build in the kerf — the sliver of material the blade actually removes, usually around an eighth of an inch — or your math is wrong before you start cutting. I learned this while building DIY nightstands for the master bedroom using pro wood plans, when I came up an inch short on an apron piece because I hadn't accounted for the kerf across eight separate cuts. Reading which way the grain runs before committing to a cut has saved me from more tear-out than any blade upgrade ever has, and it's a skill nobody puts on a shopping list.
The first time I tried to build something straight off a YouTube video, I skipped downloading the creator's actual cut list and just paused the video every few seconds to eyeball measurements off the screen — the face frame never squared up, and I spent an afternoon figuring out why. My wife's book-club friend Darlene taught me a related version of that lesson when she asked me to build her a set of floating shelves and then changed the width after I'd already cut the first board; a cut list only protects you if the dimensions actually hold still.
Keeping the Air You Breathe Under Control
Fine dust in the air after a long session at the saw is worse for you than it looks, and it doesn't go away just because you swept the floor. Dust collection turned into its own rabbit hole once I started taking it seriously, complicated enough that it deserves its own write-up rather than a paragraph here, but the short version is that a garage without any air management is a bad idea regardless of budget.
Eye protection is the one place I won't cut corners regardless of what it costs. Offcuts come off that blade like shrapnel more often than any safety video warns you about, and glasses rated to the ANSI Z87.1 impact standard are the only reason I can still see well enough to stare at a monitor for my actual job the next morning.
A Glued Joint Is Stronger Than the Wood Around It
Modern wood glue is engineered to end up stronger than the wood fibers on either side of the joint once it's fully cured, so a properly glued board usually snaps somewhere else before the glue line ever fails. Knowing that took real pressure off worrying about things falling apart later, though it doesn't help if you never had enough clamping pressure to close the joint in the first place.
Clamps are where the old joke about never having enough turns out to be completely true. Four felt like trying to build a bridge out of toothpicks, and a handful of twelve-inch and twenty-four-inch parallel clamps covers most weekend projects without turning into a storage problem of its own. That lesson came back around when I was organizing my garage and decided to build a sturdy wooden bike rack, and the right clamping pressure was the entire difference between a rack that held up and one that folded the first time the lawnmower bumped it.
Wood shifting with the seasons is a separate headache from anything a clamp or a glue bottle can fix, and it matters more on a big glue-up than most beginners expect. A reader named Priya emailed me after a different post asking very specific questions about finish safety before she'd commit to a product, which is exactly the kind of caution more people should have before they walk into the finishing aisle — finishing is its own long conversation I'm not trying to compress into a sentence here.
The Beginner Woodworking Essentials Worth Buying Again
Building out a shop setup is an iterative process, not a shopping list you complete in one trip. Nobody needs the five-thousand-dollar cabinet saw or a hand-planed workbench on day one — what you need is whatever gives you enough confidence to make the next cut. Picking the right wood species for a project turns out to matter more than most beginner lists let on, and figuring out what order to spend in is a real budgeting exercise, not just a tool question.
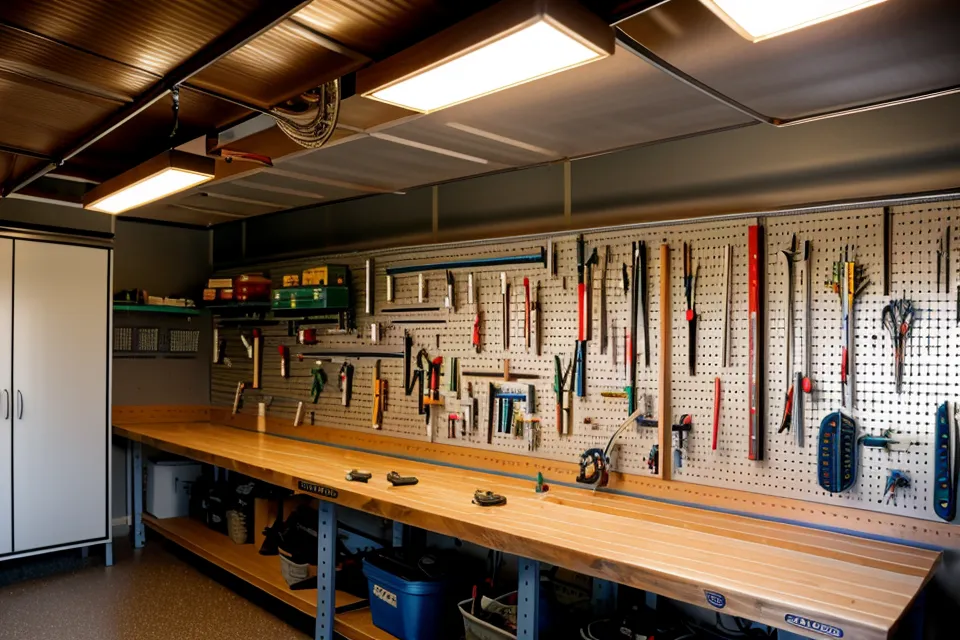
Light is a tool nobody puts on the essentials list, and mine improved the moment I stopped squinting at pencil marks in bad lighting. Where everything actually lives when you're done using it is a bigger organizational puzzle than it looks like on day one, and evaluating whether a downloaded plan was actually written by someone who built the piece is its own skill worth developing before you trust one blindly.
Minnesota winters add a whole extra layer of complications that a beginner list written in a warmer climate just doesn't cover, from glue that won't cure below a certain temperature to lumber that needs time to acclimate before you trust a measurement against it. None of the scrap pile mistakes along the way were wasted, either — every one of them was a very specific, very expensive lesson in what not to do on the next build.
The best tool in that garage still isn't the table saw or the track saw — it's being willing to walk back in after something goes wrong and figure out which tool actually failed you, instead of blaming the whole project. That's the one thing I'd tell any beginner before they buy anything: chase accuracy before you chase capability, because every other mistake on this list traces back to a measurement nobody double-checked.