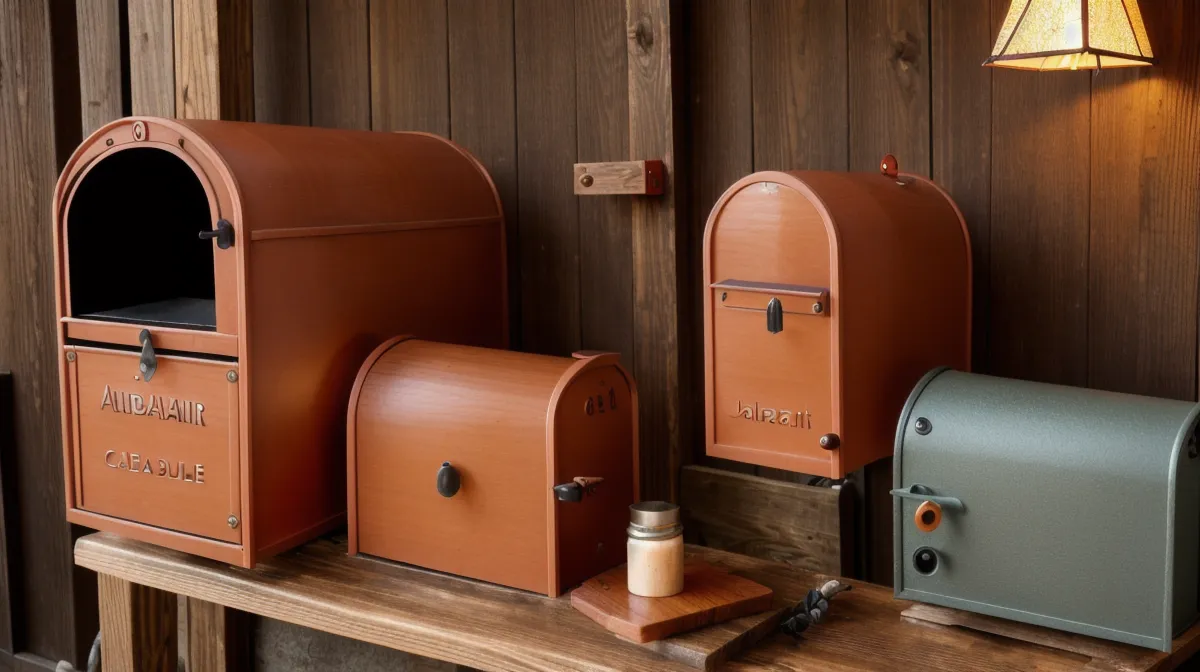
Forty-one inches. That's the minimum height the U.S. Postal Service wants between the road surface and the bottom of a mailbox, and it's the number that decided how tall I cut the post before anything else got built on this weekend project. Get it wrong and the carrier just stops delivering, curb appeal or not.
Quick disclosure up front, since this is going to cover outdoor DIY questions and a couple of product mentions along the way: some links below are affiliate links, and I earn a small commission if you buy through them at no extra cost to you. I only link to things I've used myself, like the TedsWoodworking plan library this particular design came from.
I went looking through the TedsWoodworking library specifically because a plain treated 4x4 from the hardware aisle wasn't going to satisfy anyone's sense of design, least of all mine. It's a lot like browsing a huge internal wiki at work, where you scroll past a thousand pages that don't apply until you find the one doc that actually answers your question. I landed on a design with a heavy main post, a decorative corbel, and a mortised cross-arm for the mailbox itself, mostly because it looked sturdy enough for a Minnesota winter without turning into a fence post that got dressed up for a wedding.
Why Does the Mailbox Height Actually Matter?
This is the question I get asked most, so let's answer it before anything else: your mailbox needs to sit 41 to 45 inches above the road surface, with the door set back 6 to 8 inches from the curb. Miss either number and you're not dealing with an aesthetic problem, you're dealing with a USPS compliance problem — the carrier simply won't stop. Measure from the road surface itself, not the sidewalk or the crown of your driveway, since those two points can be off by a couple of inches depending on how your street was graded. I wrote both numbers in marker on a scrap board and propped it against the porch so I didn't have to keep pulling out my phone every time I checked the level.
Picking a Wood That Won't Rot in Two Years
Western red cedar was the obvious call for the visible post — it resists rot without any chemical treatment, which matters because the base sits close to grade no matter how good your drainage is. For the section that actually goes below grade, ground-contact rated lumber earns the extra cost; a decorative cedar post over a treated, buried base is a common hybrid, and it looks far better than an all-green post sunk straight into the dirt. My friend Ray Ambrosio, an IT colleague who dabbles in furniture refinishing on the side, keeps a shared spreadsheet tracking lumber prices across a few different yards. He's the guy I text before buying anything, since he usually already knows which yard has decent cedar in stock that week.
How Much Joinery Skill Do You Really Need?
Less than you'd think, but more than a plain butt joint. The design calls for a mortised cross-arm and a corbel bracket, which sounds intimidating until you realize it's really just two kinds of joints repeated — there's a whole spectrum of joinery types out there, from simple lap joints to full dovetails, and this project sits comfortably in the easy-to-moderate range. What matters more than joint complexity is fit. When I pulled the blue tape off the glue-up on the corbel joint, I ran a finger across the seam and couldn't tell where one piece of cedar stopped and the other started — that's the standard to aim for, not perfection on the first try, just a seam your finger can't find.
The Tools This Project Actually Demands
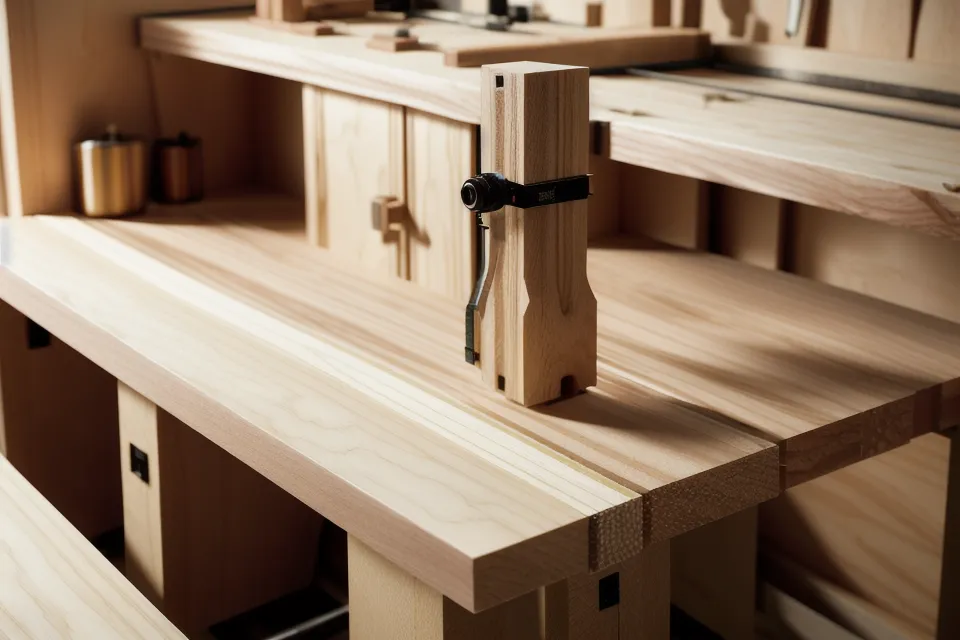
You need a saw that makes straight, repeatable cuts, a drill, clamps, and a router if you want the decorative chamfer on the post. That's genuinely most of it. Dust management matters more here than people expect, since routing cedar throws a surprising amount of fine dust for a project that's mostly outdoors — I run a shop vac hooked to the router base instead of sweeping up afterward, and it's saved me from tracking sawdust through the house more than once. I did try one of those cheap corner clamps advertised for exactly this kind of joint, and it never actually held the post square under clamping pressure; I went back to scrap blocks and painter's tape, which sounds primitive but works. As for the bench itself, a stable, flat surface at a comfortable height matters far more than anything expensive bolted to it.
Grain Direction and the Dado I Ruined
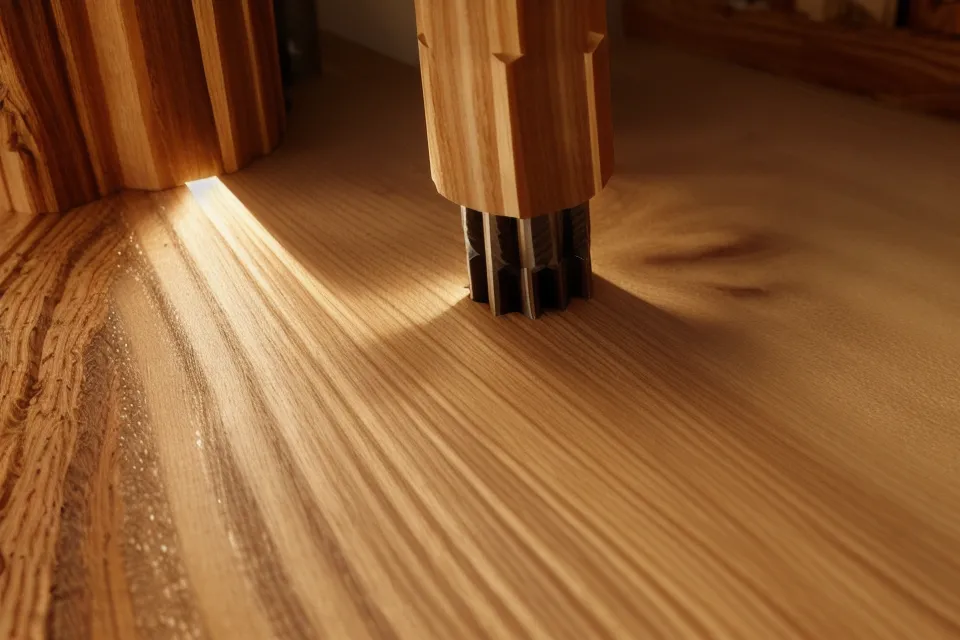
Here's the mistake, since every one of these projects has one. I tried to rout the dado for the cross-arm freehand instead of clamping a fence to guide the router, figuring I had a steady enough hand after enough practice. I didn't. The bit caught against the grain about two-thirds of the way through and blew out a chunk of the edge, right where the cross-arm was supposed to sit flush against the post. Grain direction is one of those things that seems minor until it isn't — route with the grain and the cut stays clean, route against it and the wood tears instead of shearing. I actually walked a loop around Minnehaha Falls Regional Park to cool off before coming back to fix it, which tells you exactly how annoyed I was over one chunk of cedar. The fix ended up being a deeper, shouldered mortise that hid the blowout entirely, and it looks more deliberate now than the original plan did. If you want to make these kinds of mistakes somewhere lower-stakes first, building a DIY picnic table is a much more forgiving place to learn the difference between routing with a fence and routing on hope.
Getting a Finish That Isn't Blotchy
Finish before you assemble, not after — that's the one piece of advice I'd underline twice. Working stain or oil into the tight corner of a mortise-and-tenon joint once it's already glued up is how you end up with drips and missed spots. I use a Danish oil on cedar because it's forgiving, though the first wet coat always leaves that tacky drag against bare fingertips as you wipe off the excess, a texture you don't really forget once you've felt it. Walter Schiemann, a regular at the Rockler store on Nicollet Avenue who spent decades in finish carpentry before retiring, watched me wipe a coat onto a scrap piece once and pointed out — quietly enough that I didn't feel like an idiot about it — that I was going back over spots that had already flashed off, which just drags the finish uneven. For durability by species, I put together a separate wood species glossary that breaks down grain and workability if you want the longer version.
Does Minnesota Winter Change the Build?
It changes the installation more than the build itself. Cold-weather woodworking mostly means finishes take longer to cure and glue takes longer to set, so I did the actual construction indoors during the colder stretch and waited for the ground to thaw before digging. Try to set a post before the frost is fully out and you're fighting soil that won't compact properly around the base, and everything ends up loose. Waiting felt slow at the time, but a post that's still standing straight years later is worth the extra patience.
Digging the Hole: Footings, Frost, and Bigger Projects
Twenty-four inches deep is the standard hole depth in a frost-prone climate like this one, with the post base set and anchored so the whole thing doesn't heave out of the ground the first hard winter. That same footing-depth logic scales up — bigger freestanding outdoor structures follow the same basic rule, just with bigger numbers, and that's really its own topic for another day. For a single mailbox post, a post-hole digger, a level, and some patience while everything sets up is genuinely all you need (no fancy equipment required, just time). Plumb matters more than people think; a post that's a degree off looks crooked from the street even when it's structurally sound.
Is a Paid Set of Woodworking Plans Worth It for Something This Small?
Honestly, for a single mailbox post, you could probably sketch this out yourself with a tape measure and twenty minutes. Where a paid plan library earns its keep is the cut list and the joinery detail — knowing your mortise widths and post dimensions before you touch a saw, instead of discovering a fit problem halfway through a cut. That's the main thing I judge a plan on: does it give you real measurements and a real cut list, or is it just a photo and a vague description (the kind that just says "make it nice" and leaves you guessing). The TedsWoodworking library is the one I keep coming back to because the plans I've used have held up to that standard, even if browsing the full catalog can feel like more than you need for one weekend project. If you're trying to figure out where a set of woodworking plans fits into a garage budget that's still mostly hand tools and one good saw, start with a single plan purchase before committing to anything bigger.
A Straight Post Beats a Fancy One
If there's one answer that covers most of the questions above, it's this: get the height and setback right first, get the post plumb and the footing deep enough second, and treat the decorative details as everything after that. The corbel and the cross-arm are what make people slow down when they drive past, but none of it matters if the mailbox sits crooked or too low for the carrier to reach comfortably. Mine still has a quietly hidden repair in the corbel where I covered up my own routing mistake, and from the street nobody has ever noticed. That's really the goal with curb appeal projects like this one — not flawless joinery, just something straight, solid, and a good deal better than the rusted metal post it replaced.