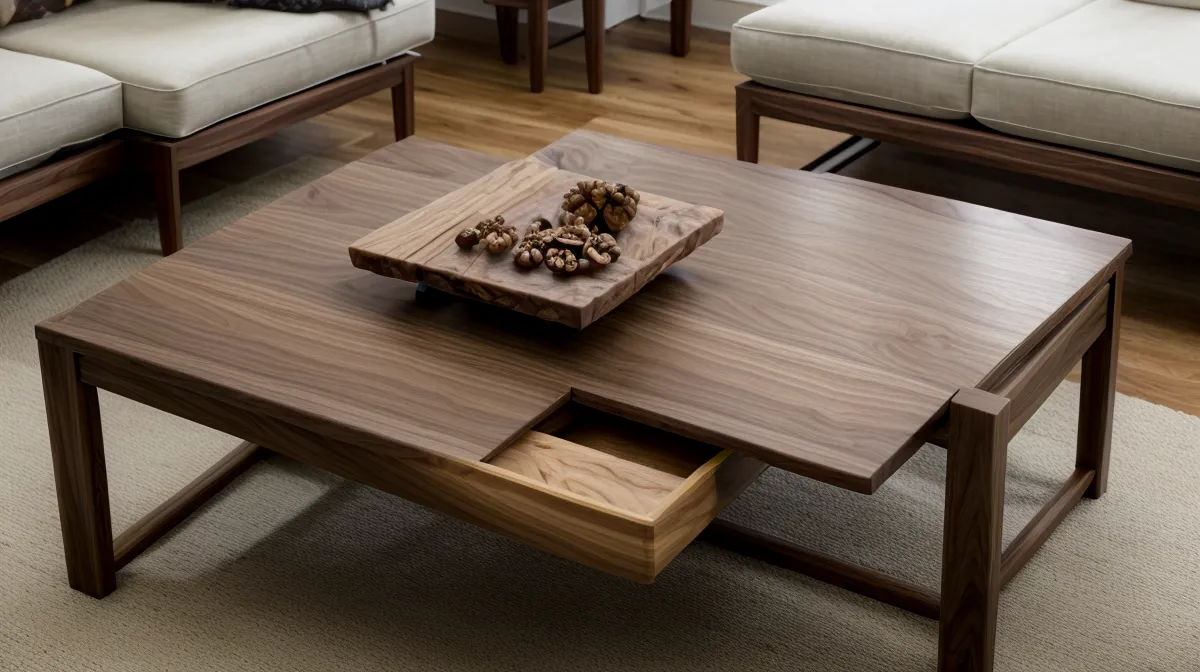
Late one evening in my garage, staring at a beautiful slab of black walnut I’d just cut two inches too short because I thought I had the Teds Woodworking plan memorized, I realized that woodworking is exactly like software deployment. You can have the most detailed documentation in the world, but if the guy at the keyboard—or the table saw—ignores the specs, you’re going to end up with a very expensive bug. In this case, the bug was a 40-inch piece of black walnut that was supposed to be 42 inches. There is no 'undo' button in the workshop, and walnut doesn't have a 'revert to previous version' feature once the blade has passed through the fibers.
I’m a 44-year-old IT project manager by day, and for the last few years, I’ve been trying to translate that methodical 'engineer' brain into something tangible. It started during COVID with a bookshelf that was so lopsided it looked like it was trying to escape the room. Since then, I’ve reclaimed half of our two-car garage in suburban Minneapolis, filling it with a growing collection of tools and enough sawdust to make my wife wonder if we’ll ever see the concrete floor again. This coffee table was supposed to be my masterpiece—the piece that proved I wasn't just 'lopsided bookshelf guy' anymore.
The Digital Archive and the Perfection Trap
When I decided to build a mid-century modern coffee table, I didn't just wing it. I went straight to my digital archive of 16,000 plans. Having that many options is a blessing and a curse for someone with an IT background. It’s like having access to every GitHub repository ever created; you spend three days just 'architecting' the project before you even buy the lumber. I finally settled on a clean, modern design with tapered legs and a minimalist frame. It looked simple on the screen—clean lines, no ornate carvings, just the raw beauty of the wood.
My first mistake was the 'Perfection Trap.' In my day job, everything is precise. In woodworking, wood is a living, breathing, frustratingly inconsistent material. I spent way too much time obsessing over the wood grain matching on the top, trying to ensure the cathedral patterns lined up perfectly. I was treating it like a spreadsheet where every cell must balance. But the more I obsessed over the 'perfect' board, the more paralyzed I became. I was terrified of wasting the expensive walnut I’d hauled home from the local lumber yard.
The Construction-Grade Sprints
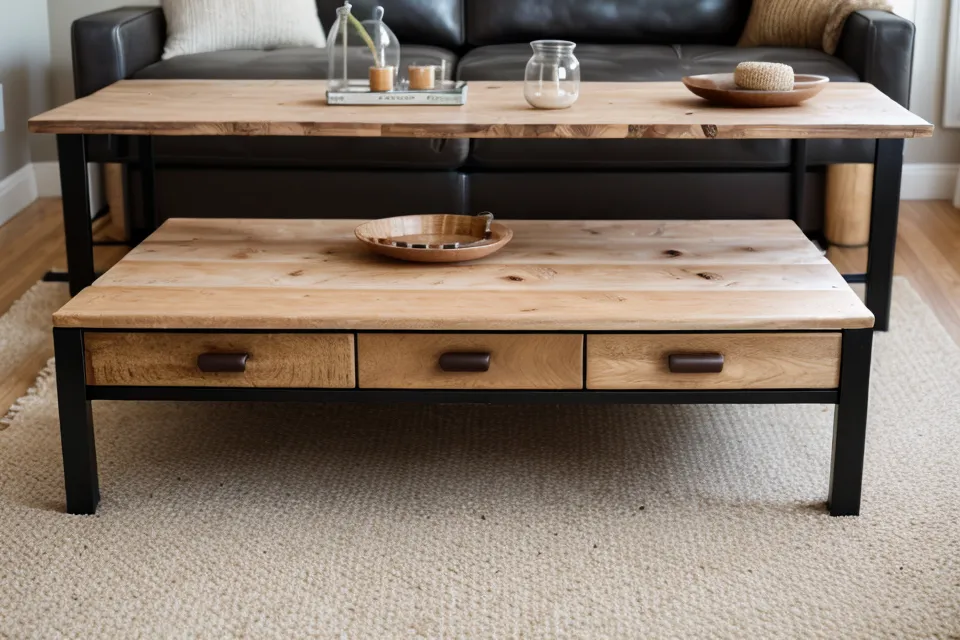
This brings me to my first piece of advice for anyone starting out: stop obsessing over high-end hardwoods for your initial 'hero' projects. I’ve realized that using construction-grade pine for your first build prevents the paralysis of perfection. It’s the 'Beta version' of your furniture. If you screw up a $5 piece of pine, you shrug and try again. If you screw up a $150 walnut board, you spend the next three days in a state of mourning. I should have built this entire table in pine first to work out the joinery kinks. Instead, I dove headfirst into the hardwood, and the stakes felt unnecessarily high.
I started the build in early November, just as the Minneapolis air was beginning to turn crisp. My garage isn't fully climate-controlled, which is a detail I’ll come to regret later. I was focused on the 'Modern' aesthetic—standard coffee table height of 16 to 18 inches, which pairs ergonomically with our sofa. I was also working with standard furniture-grade lumber, which is surfaced on four sides to a thickness of 0.75 inches. Most people call it 'one-inch' lumber, but like a lot of things in life (and IT marketing), the actual reality is a bit thinner than the label suggests.
The Minneapolis Freeze and the Warping Disaster
During the mid-winter freeze, things started to go sideways. If you’ve never lived through a Minnesota winter, the humidity drops to near zero inside a heated garage. Wood is essentially a bunch of microscopic straws that hold moisture. When the air dries out, those straws shrink. I had my base all cut and ready for assembly, but I left it sitting on my workbench for a week while I was buried in year-end project reports at work.
When I finally got back to the shop, my perfectly flat apron pieces had turned into hockey sticks. They had warped so badly that my joinery wouldn't line up. My 'IT PM' brain wanted to force them into submission, but wood doesn't care about your deadlines. I had to learn the hard way that wood movement is a critical factor; wood expands and contracts across the grain, not along it. Because I hadn't accounted for the rapid change in humidity, my table base was now a massive misalignment issue. I had to spend an entire Saturday afternoon at my DIY woodworking clamp rack trying to pull the pieces back into some semblance of square, which was about as successful as trying to fix legacy code with a single patch.
The Sensory Reality of a Failed Project
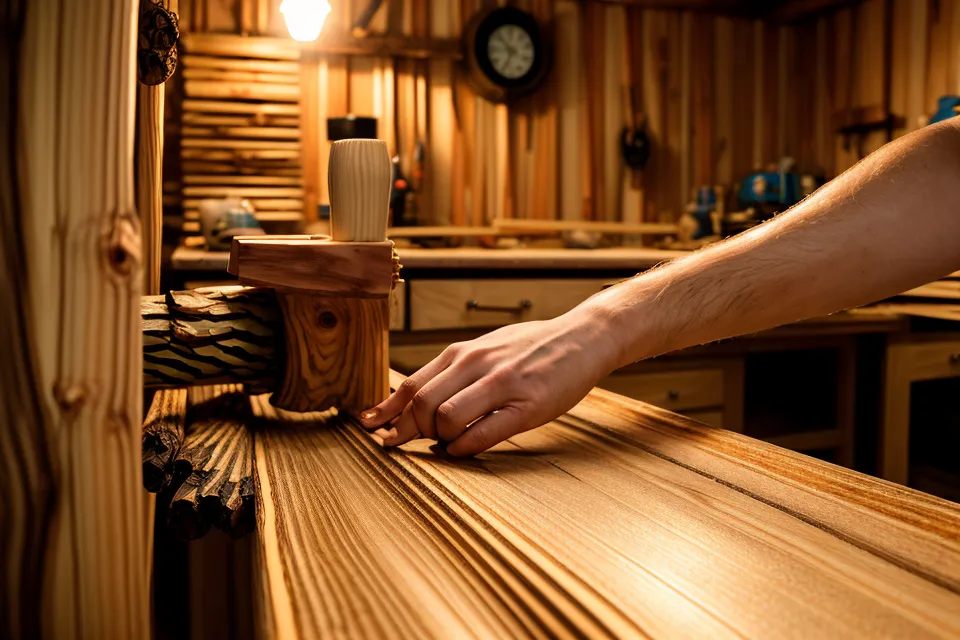
There was one specific moment in late February that really drove home my lack of focus. I was sanding down the underside of the table top, lost in thought about a budget meeting the next day. I forgot to turn on the dust collector. Within minutes, the sharp, sweet scent of walnut sawdust hitting the back of my throat made me cough so hard I dropped the sander. It was a visceral reminder that in the shop, you have to be present. You can't multi-task here. The dust collector is like your firewall; once you forget to enable it, the environment gets contaminated fast.
Then came the 'sinking feeling.' I was finally ready for the final glue-up of the table base. I applied the glue, positioned the clamps, and started tightening. About ten minutes into the dry time, I realized I had glued the table apron upside down. The pocket holes I’d carefully drilled were now facing the floor instead of being hidden under the table top. The sinking feeling in my stomach when I realized I had glued the table apron upside down and the wood glue had already set was worse than any 'server down' notification I’ve ever received. I had to use a mallet to break the bond, which ended up splintering the wood and requiring even more repairs.
Fixing the Wobble and Final Deployment
By late February, I was in the 'debugging' phase. The table was assembled, but it had a persistent wobble. In IT, we call this an intermittent bug. In woodworking, it’s just a leg that’s an eighth of an inch too short. I spent hours shimmying and sanding, trying to get the table to sit flat on our living room floor. I also had to deal with the messy pocket holes I’d made earlier in the project. My hands aren't as steady as the YouTube pros, and my 'hobbyist hands' often leave marks that my 'PM brain' finds unacceptable.
I kept my tools organized using my DIY cordless drill charging station, which at least kept the battery management side of the project from failing. One Saturday afternoon in late March, I finally applied the finish. Seeing the walnut grain pop under a coat of oil-based finish is the closest thing to a successful software launch I’ve found in the physical world. The mistakes are still there—if you look closely under the apron, you can see where I patched the splintered wood from the glue-up disaster—but the table is solid.

Observations from the Garage Floor
- The 10% Rule: Always buy 10% more lumber than you think you need. You will cut something short. You will hit a knot you didn't see. You will need a 'sacrificial' piece for testing your finishes.
- Humidity is a Variable: If you're building in an unheated or partially heated garage, you aren't just fighting the wood; you're fighting the atmosphere. Acclimate your wood to the room where it will live, not just the room where it’s built.
- Documentation Matters: Even with a library of 16,000 plans, you need to write down your own 'as-built' measurements. I stopped relying on my memory and started keeping a physical notebook on the bench.
- Pine is Your Friend: I cannot stress this enough—build the prototype in cheap pine. It’s the best education you can buy for twenty bucks.
The table now sits in our living room. My wife actually lets guests see it, which is the highest praise I can receive. It’s not perfect. It’s a 1.0 release with a few known bugs and some 'character' in the joinery. But every time I put my coffee mug down on it, I’m reminded that the mistakes are where the learning actually happens. I’m still just a guy with sawdust-covered clothes and a garage full of half-finished dreams, but at least now I have a place to rest my feet while I watch more YouTube videos and plan my next project—hopefully one where I remember to measure twice before the walnut meets the blade.