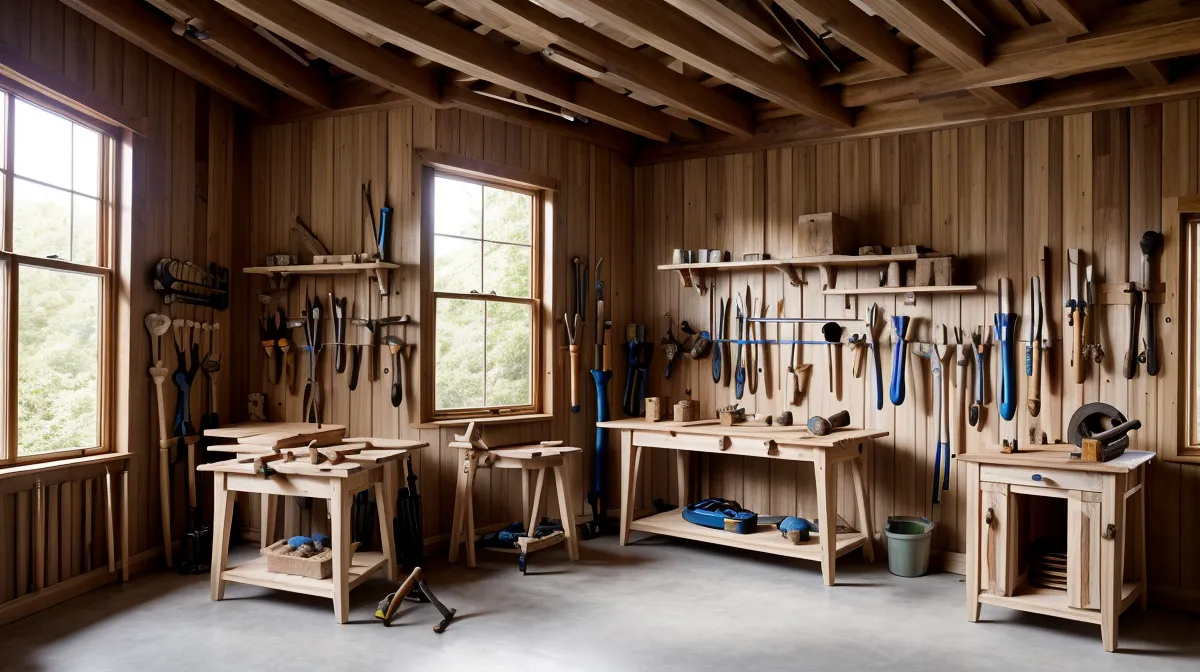
A floating nightstand and a traditional four-legged one solve two different problems before you've cut a single board — one hangs off wall studs, the other stands on its own legs, and picking wrong turns an easy weekend project into a structural headache.
That's the fork I hit when my wife's plastic storage bin finally retired from nightstand duty in our master bedroom, and it's why I reached for real woodworking plans instead of freehanding another lopsided experiment in the garage workshop. Quick disclosure up front: this site runs on affiliate links, and buying through one, including the plan library below, earns me a commission at no extra cost to you. TedsWoodworking is the one I actually used, for what that's worth. Building real DIY furniture from a downloaded plan means running into questions no YouTube tutorial bothers answering, so here's this nightstand build broken down by the ones I actually hit.
Sorting Through Plans for a Nightstand Build
No, and that's sort of the point — sorting through a library that size for two matching nightstand plans felt less like woodworking and more like paging through a requirements backlog nobody ever groomed. I dug through the TedsWoodworking catalog for something that wouldn't eat the whole footprint of the bedroom, since a king-sized bed already claims something like 80 percent of the floor. A floating, Shaker-style design fit both the space and the timeline. Whether the whole library is worth the sprawl is its own question — I've picked that apart in a full review elsewhere — but for this specific build, what mattered was a cut list precise enough to actually trust.
Why a Nominal 1x4 Isn't Four Inches Wide
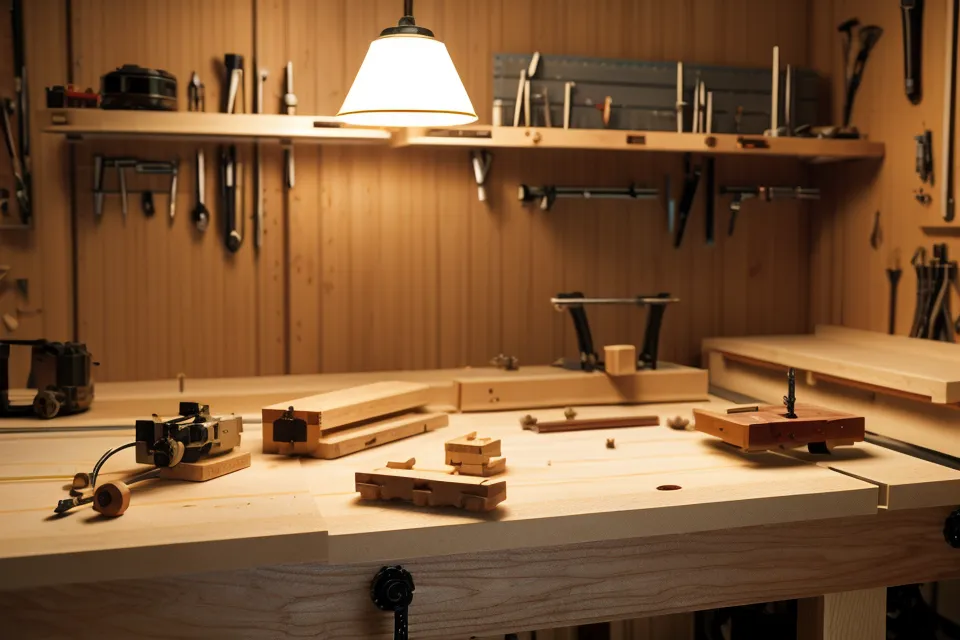
Lumber tags lie, or at least round up generously. A nominal 1x4 measures 3.5 inches actual width, not four, and if a plan doesn't account for that your finished piece ends up looking like it survived a bad resize. The plans I used were specific about it, with a cut list built around the real 0.75-inch actual thickness of the white oak stock I'd picked — species choice for something that'll live next to a bed for years is its own decision, one I go into properly elsewhere. For joining 0.75-inch stock, the standard is a 1.25-inch pocket hole screw; go longer and the tip pokes through the finished face like a bug nobody caught in code review.
If organizing something other than a bedroom sounds more useful, How to Build a DIY Shoe Rack for Entryway Organization This Season leans on a lot of the same joinery logic as this build.
Floating Brackets vs. a Traditional Four-Leg Frame
Most plans default to a traditional four-legged nightstand, which is a fine baseline but not the only option. A floating design — mounted to wall studs with nothing touching the floor — keeps the floor clear and makes a small bedroom read as noticeably bigger, which matters more than it sounds like it should when a king bed already eats most of the square footage. The tradeoff is that the mounting bracket system has to hold real weight without pulling out of the drywall, so I reworked the bracket spacing from the plan before trusting it with a lamp and a stack of books. Solid wood tops move with the seasons in ways plywood doesn't, which is a whole separate topic I get into properly elsewhere.
Before any of that, I'd already made the more basic mistake of buying a Harbor Freight workbench kit instead of just building a proper bench from construction lumber to begin with. The kit's top flexed enough under clamping pressure that squaring up a drawer box became a losing fight, and I tore it down and built a real bench before this project could even continue. A stable, dead-flat surface to work on isn't optional, and I've got a full writeup on building one if a wobbly kit bench is holding your project back too.
Fixing a Drawer That Won't Close
A drawer that won't sit flush is almost always a spacing problem, not a wood problem. Mine hit the back of the carcass by about an eighth of an inch after I'd followed the slide measurements from the plan, and my first instinct — the wrong one — was to grab a chisel and start hacking at the opening until it fit. Going back to the exploded view diagrams in the TedsWoodworking guide turned up the actual issue: I'd mounted the internal runners slightly too far forward. Fixing the spacing beat rebuilding the whole box from scratch, and it's the same troubleshooting instinct I use for joinery problems generally — diagnose before you start removing material, a lesson that gets its own full treatment in a piece about joinery mistakes and how to actually fix them.
Getting a Miter Joint Tight
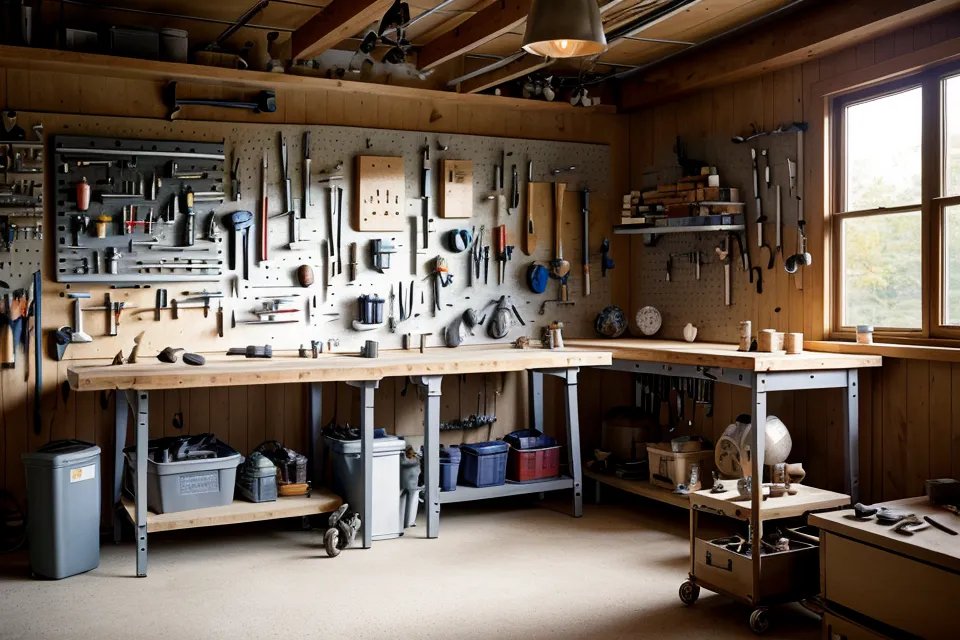
Squeeze the two halves of a 45-degree corner miter together and hold the joint up to the shop light — on one that's actually tight, no light gets through anywhere along the seam, not even a sliver at the tip. That's the test I use on every corner now, whether it's a drawer front or a face frame, because a miter that looks fine from three feet away can still be hiding a gap a fingernail would catch. Grain direction plays into how forgiving a joint is once it's glued, and matching it across a miter is its own small skill I go into properly in a piece about beginner mistakes with a cutting board build. On a nightstand, the corners that show — the ones at eye level next to the bed — are where I spend the extra time getting it right and let the ones facing the wall be merely good enough.
Finishing Furniture in an Unheated Garage Workshop
Sanding is the part no YouTube thumbnail warns you about. Working through the grits from 80 up to 220 with a random orbital sander left my hands with a lingering pins-and-needles ache that stuck around long after I'd set the tool down. Dust management matters here as much as technique does, and it's worth its own guide rather than a paragraph — I've written a separate rundown on setting up collection in a small garage for anyone whose shop looks like a flour bomb went off by the end of a build.
Finishing in a Minnesota garage workshop through the tail end of winter adds a wrinkle nobody mentions in the plans. My north wall stays cold enough that I feel it through my boot soles before the space heater catches up, and getting a finish to cure evenly means working around that instead of pretending it isn't happening — cold-weather woodworking gets its own full treatment elsewhere, because there's more to it than cranking a heater and hoping. I settled on a dark walnut polyurethane that brought out the tight grain in the white oak, which wasn't the finish I'd have picked blind but turned out right for the wood I had.
A finish that goes wrong is a special kind of disaster, and I've documented one of mine start to finish in another post if you want proof it can happen to anyone. None of it moves fast when your tools are mounted wherever you grabbed them last instead of by any real system — mine's still basically a pegboard sorted by whatever project I was in the middle of, which is exactly the case for setting up a proper storage wall instead.
Whether you're working from nightstand plans or something completely different, like Building a Portable DIY Generator Shed for Home Power Backup, having an actual roadmap beats guessing your way through it every time.
When a Plan Library Is Worth It for Two Nightstands
That depends on what else you'd use it for. A neighbor of mine spends his weekends in a deer stand on a family parcel up near Brainerd waiting on whitetail, and neither of us can really explain the other's hobby to people at work — his takes more patience, mine takes more sawdust in the dryer lint trap. For two nightstands alone, a single downloaded plan would have covered it.
What tipped it toward the full library for me was knowing the garage isn't done being a workshop after this project — the car hasn't parked inside it since last fall, and it's not getting that space back anytime soon. Whether that math works out for you depends on your own project list, and I've broken down real workshop costs, not just plan library costs, in a separate piece if you want the fuller budget picture before committing to anything.
If two mismatched nightstands next to a real bed frame sound like progress, you can get the same 16,000 plans I use right here and start your own list of small mistakes worth making.