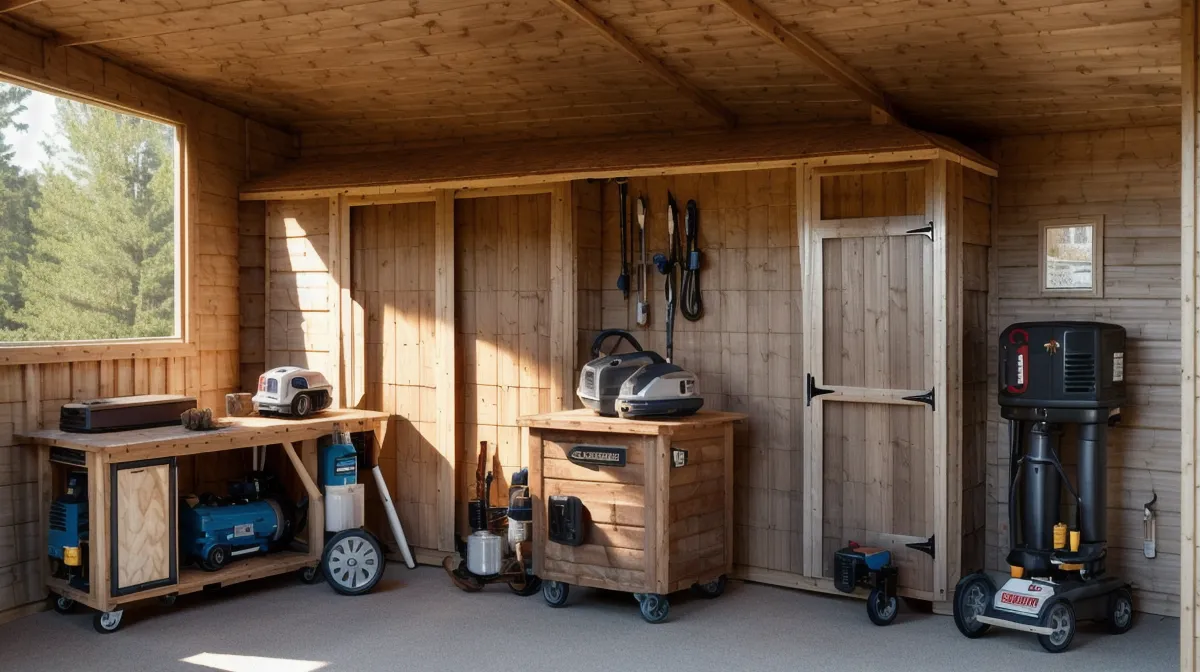
A generator running inside a sealed plywood box can choke on its own exhaust before anyone notices anything's wrong. That's the entire case for building a generator shed with real airflow built in, instead of just throwing a tarp over the machine and hoping for the best.
Quick note before the cedar dust starts flying: this page carries affiliate links, and if you buy a plan set through one of them I get a small commission at no extra cost to you. I only point toward plan libraries I've actually built from in my own garage, not ones I skimmed for five minutes.
Why Not Just Build a Sealed, Permanent Shed?
Because a tightly sealed enclosure traps exhaust heat and starves the engine of the airflow it needs, which is the opposite of what you want twenty feet from your house. Picture a server crammed into a closet with the vents blocked. Nothing about that ends well, and a running generator is a small combustion engine, not a decorative box. Minneapolis winters push the average January low down to around 9 degrees, which makes it tempting to insulate the thing like a doghouse. Resist that instinct. What the generator wants is a roof and a windbreak, not a thermos.
Outdoor woodworking projects like this live and die on one rule: airflow before insulation. Treat the box as a ventilated shelter, not a sealed cabinet, and the fire and carbon-monoxide risk drops considerably.
How Much Airflow Actually Keeps It Safe?
Enough that the exhaust never gets a chance to recirculate back into the intake. That's the short answer. The design that works is a zig-zag intake near the bottom and an exhaust port up high, ideally helped along by a small high-heat fan, so air moves through the box in one direction instead of pooling. If the exhaust loops back into the intake, the engine starts starving for oxygen, which is the mechanical version of a feedback loop eating its own signal. Line the walls with something that dampens sound, and it pays off twice. 5/8-inch plywood backed with fire-rated insulation knocked a generator's usual 72-decibel drone down to something closer to a low hum, not silence, but no longer loud enough to draw complaints from three houses down.
None of this requires exotic math. You're basically solving a stripped-down HVAC problem, figuring out how much air needs to move through the box per minute so the engine doesn't cook itself or gasp for oxygen.
Picking a Plan Set Instead of Winging It
A good set of plans works the same way a solid technical spec does on a software project — it heads off scope creep before the first board gets cut, a lesson learned early after a first-ever build that still holds paint cans in the basement because it's too embarrassing for anywhere upstairs. Layout work — panel sizes, cut list, screw spacing — happened entirely on the workbench before a single board touched the saw, the same way a project plan gets sketched out before anyone touches a keyboard.
Digging through the My Shed Plans library was the logical starting point, since it's built almost entirely around sheds and other outdoor structures and runs to something like 12,000 designs. For comparison, a few ideas also came out of the TedsWoodworking review notes — that library leans more general-purpose with its 16,000-plus plans, so the outdoor-specific options are thinner, though it's still worth a look if the library's already sitting in your account for other projects. Judging plan quality is its own skill: the ones worth paying attention to include a full material list and an exploded 3D view, and the ones that don't are usually a rough sketch with a guessed parts count. Either library costs less than one bad lumber run at full retail, so it didn't move the needle on the overall workshop budget the way a new dust collector or a table-saw upgrade would.
Cedar or Pressure-Treated: Where Each One Belongs
Anything touching the ground or resting on a concrete pad needs pressure-treated lumber rated for ground contact. That part isn't optional in a Midwest yard where everything below grade eventually gets wet. Above that base, cedar earns its extra cost on anything visible, partly because it resists rot on its own and partly because it takes stain evenly instead of blotching the way a lot of construction lumber does. Grain direction matters here too. Read it wrong on a rip cut and the board tears instead of slicing clean, a lesson every beginner learns exactly once. Wood movement doesn't stop just because a board is sitting outside instead of inside a climate-controlled house; cedar still expands and contracts with the seasons, so a hairline gap around a panel edge isn't a mistake, it's the design working as intended.
Cedar has this way of throwing off a sharp, almost peppery scent the second the blade drops below the surface — noticeable enough to tell which wood is on the saw with eyes closed. Finishing took longer than expected too, mostly because stain doesn't want to cure properly once the garage temperature drops, and the one real requirement from my wife was that the finished box actually match the house trim instead of looking like a plywood crate abandoned on the patio.
The Cut I Got Wrong
I didn't own a circular saw yet when this build started, so the long wall boards got ripped with a jigsaw clamped along a straightedge instead. It wandered off the line within the first couple of feet every single time, and what should have been a twenty-minute task turned into most of an afternoon spent fighting a tool that was never built for a cut that long. Lesson noted: a jigsaw is for curves and cutouts, not for ripping eight-foot boards down to width, and no amount of patience makes up for using the wrong tool for the job.
Cold weather made everything slower too. Batteries drain faster once the garage dips toward freezing, so keeping the DIY cordless drill charging station topped off mattered more on this build than on anything built indoors. Building through a Minnesota winter is its own kind of cold-weather woodworking problem: glue cures slower, hands go numb faster, and cuts get planned around whichever hour the garage is warmest. None of the joinery here needed to be fancy, either — it's butt joints, exterior screws, and construction adhesive holding panels together, not dovetails or anything that would call for a router table.
I told my friend Ray — an IT guy by day who refinishes furniture out of a rented storage unit on the side — about the jigsaw disaster, and true to form he wouldn't admit to a single one of his own project mistakes until he was well into his second beer.
Is the Wheeled, Portable Version Worth the Extra Work?
Yes, mostly because a generator running inside an attached garage or right against the house is a carbon-monoxide problem waiting to happen, and having the option to roll it well clear of doors and windows before firing it up is worth the extra framing. Locking casters add height and weight that a fixed base doesn't have to deal with, so measure the caster stack before cutting the vertical studs, not after. Storage is the other upside: once the generator's inside and the lid's down, the whole unit works as its own dedicated diy storage box, separate from whatever shelving or wall-mounted system already lives in the garage.
Dust management barely factors in on a build like this — most of the cutting happens outside or with the garage door wide open, so sawdust cleanup is a non-issue compared to an indoor furniture project.
Permits, Foundations, and the Bottom Line
Most cities set a size threshold under which a utility structure like this doesn't need a permit at all — mine allows freestanding structures under 120 square feet without one, and an enclosure sized for a portable generator comes in well under that. Skipping a poured foundation entirely and building on casters instead also sidesteps most of the usual outbuilding-foundation questions: no frost footings, no concrete pad, nothing that needs an inspector. Check the local rule before cutting anything, since that threshold isn't universal from city to city.
For anyone starting from zero, the My Shed Plans library is still where a beginner should look first for base dimensions, and the 12,000 plans at My Shed Plans are worth the browse if a tarp-and-bungee-cord setup has run its course for a home backup generator. Keep it ventilated, keep it mobile, and measure the casters before the cedar gets cut.