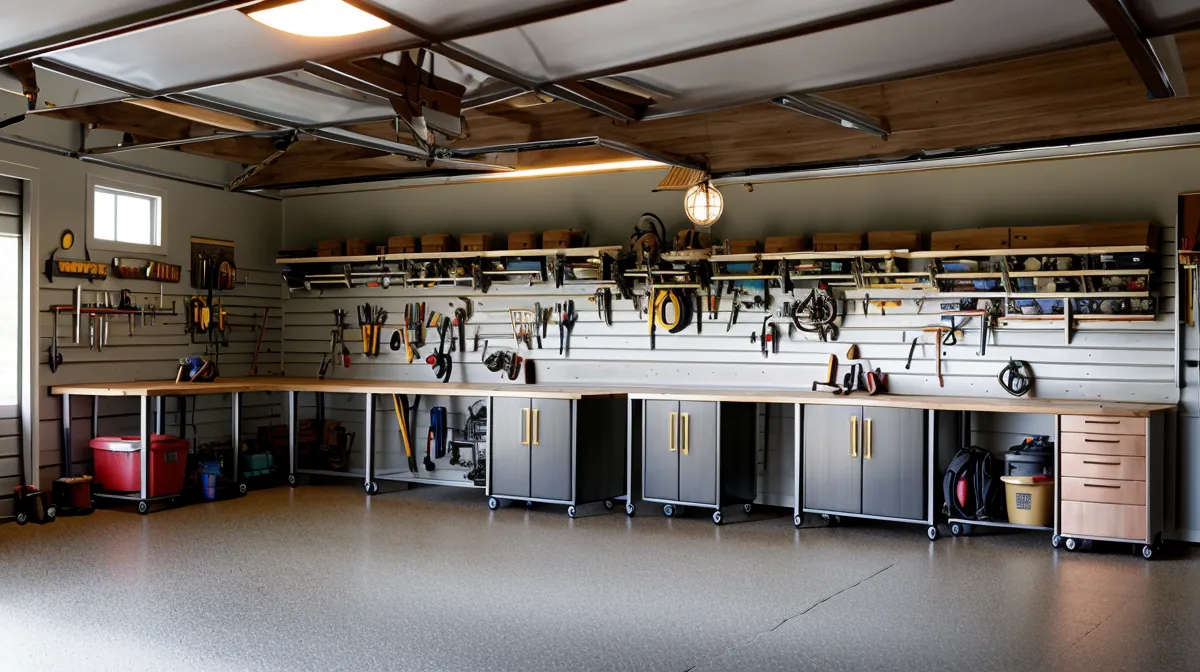
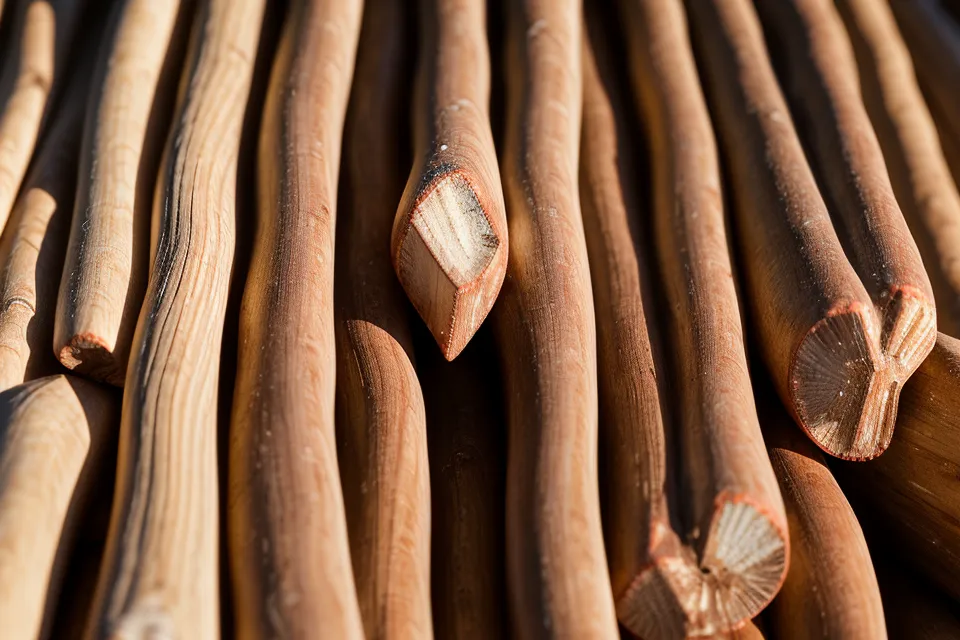
Standing in my freezing garage one snowy Saturday morning last February, I found myself staring at a stack of 'Select' pine from the big-box store that had turned into hockey sticks before I could even cut the first joint. It was a classic case of technical debt in the workshop; I’d prioritized convenience over quality, and now the wood was literally warping before my eyes in the dry Minneapolis winter air.
The Project Manager’s Dilemma: Yield vs. Quality
My project manager brain absolutely loathes waste, yet I spent the better part of my first year as a woodworker buying the wrong lumber because I didn't understand that 'grade' isn't just about quality—it’s about yield and intended use. In IT, we talk about optimization; in woodworking, that optimization starts at the lumber rack. If you buy a board that is 100% clear but only need 40% of it for small parts, you’re over-provisioning your budget.
To really get a handle on this, you have to look at how the pros measure things. Hardwood isn't sold by the linear foot like the 2x4s you use to frame a shed. It’s sold by the board foot, which is a volume measurement. The formula is actually quite logical: (Thickness in inches x Width in inches x Length in feet) / 12. That board foot divisor of 12 is the constant in my workshop spreadsheets. It’s the only way to compare the true cost of a 10-foot board of oak versus an 8-foot board of walnut.
Decoding the NHLA Grades (The Secret Language of Wood)
By early spring, I realized I needed to graduate from the big-box store aisles. I made my first visit to a real hardwood dealer, which is an intimidating experience for a guy who usually spends his days in Zoom calls. It’s where I learned about the National Hardwood Lumber Association (NHLA) standards. This isn't just arbitrary 'good' or 'bad' labeling; it’s a mathematical calculation of clear wood.
The top tier is FAS, which stands for First and Seconds. For a board to qualify as FAS, it must provide a minimum clear yield of 83.3% on its poorest face. If you’re building a massive dining table top where you want long, unbroken stretches of grain, FAS is your friend. However, for most of the stuff I build—side tables, boxes, and tool totes—paying the premium for FAS is like buying a high-end server to host a basic landing page. It’s overkill.
Below FAS, you’ll find No. 1 Common. This grade requires a No. 1 Common minimum clear yield of 66.6%. To an engineer, that sounds like a failing grade, but in the workshop, it’s often the sweet spot. You get smaller clear sections, which are perfect for the components of a chair or a small cabinet, and you save a significant amount of money. I’ve found that the 'defects' that knock a board down to No. 1 Common—small knots or mineral streaks—actually give the piece the 'soul' that store-bought furniture lacks.
Thickness and Surface: The 4/4 Mystery
One thing that tripped me up early on was the quarter system. At the hardwood yard, you don't ask for one-inch thick boards. You ask for 4/4 (four-quarter). A standard 4/4 thickness is 1 inch in its rough state. However, keep in mind that if you buy it surfaced, it’s going to be thinner. Most of the stuff I buy is S2S, meaning it’s been surfaced on two sides. By the time I get it home and run it through my own planer to get it flat, that 1-inch board is usually closer to 3/4 of an inch.
If you have the space, I highly recommend looking into how to build a vertical lumber storage rack for small garages. Keeping your wood organized by thickness and grade makes the 'pre-production' phase of a project much smoother. There is nothing worse than digging through a horizontal pile of maple looking for that one piece of 5/4 stock you know is buried at the bottom.
The Mid-July Walnut Revelation
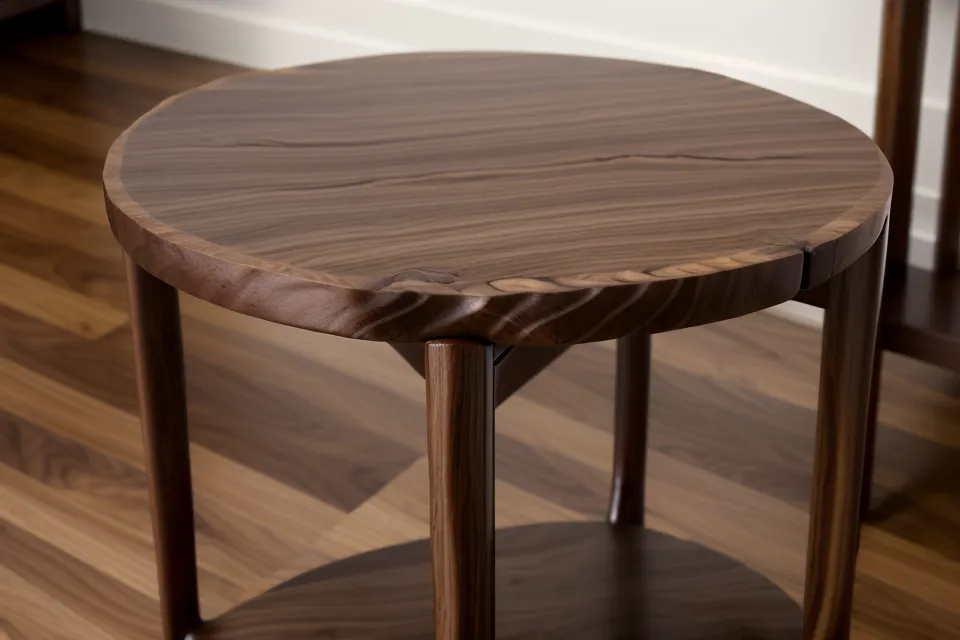
In mid-July, I decided to build a small side table for our guest room. I went against my usual instinct to buy the 'best' and intentionally picked out several boards of No. 1 Common walnut. As I began milling the wood, the sharp, peppery scent of freshly milled walnut sawdust hung in the dry, cold air of my Minneapolis garage—even in July, the shop stays cool enough to notice the aroma. It’s a smell that every woodworker knows; it’s earthy, slightly spicy, and vastly superior to the smell of burning pine from a dull blade.
By working around the knots and sapwood, I was able to piece together a tabletop that had incredible visual movement. The sapwood—the lighter-colored wood from the outer part of the tree—is often considered a defect in FAS grading, but I used it to create a natural 'frame' around the darker heartwood. During the assembly, I spent a lot of time thinking about the best way to keep it all together. I actually ended up using some techniques I picked up when I was researching the best wood glue for furniture projects after months of testing, ensuring those seams would hold up even when the humidity swings 60% in a single week here in Minnesota.
The Contrarian Angle: Why Construction Spruce Wins
Here is my hot take, and I know the purists will cringe: Stop buying premium Select-grade lumber for every weekend project. We’ve been conditioned to think that clear, straight grain is the only acceptable aesthetic, but construction-grade spruce or 'common' pine actually provides more character and massive cost savings for projects intended to look rustic.
A few weeks ago, I built a set of floating shelves for our mudroom using basic kiln-dried spruce. By being selective at the lumber yard—basically doing a 'manual sort' of the 2x10s—I found pieces with tight knots and interesting grain patterns that looked like expensive reclaimed wood once I applied a finish. If you’re going for a farmhouse or industrial look, the 'imperfections' of lower-grade construction lumber are actually a feature, not a bug. It’s like using an open-source library that has a few quirks but fits your needs perfectly, rather than paying for a proprietary license you won't fully utilize.
When Grading Mistakes Bite Back
Of course, there is a limit to how much 'character' you can handle. I learned this the hard way when I tried to force a knotty piece of No. 2 Common into a tight dovetail joint. I thought I could just 'power through' the defect. Instead, I heard the sickening 'pop' sound of a board splitting right down the middle because the internal stresses around that knot were too much for the thin pin I was cutting. It was a humbling reminder that while common grades save money, they require more strategic planning.
If you do go the route of using lower-grade or construction lumber, your finishing process becomes twice as important. Lower grades tend to be more porous and prone to blotching. That’s why I use wipe on poly for a smooth wood finish on almost all my 'rustic' projects. It builds up slowly and allows you to control how much the wood absorbs, preventing that muddy look that happens when you slap a heavy coat of varnish on soft lumber.
Matching Grade to Scale
The secret to not blowing your hobby budget is matching the grade to the scale of the project. If I’m building a jewelry box, I’ll buy the absolute best FAS cherry I can find because I only need two board feet. The cost difference is negligible. But for a dining table or a large bookcase, moving down to No. 1 Common can save you hundreds of dollars—money that is better spent on a new blade or a better sander.
Looking at the finished walnut table in my living room today, my wife doesn't see the 'No. 1 Common' defects I worked around. She just sees a piece of furniture that fits the space. Woodworking, much like IT project management, is about managing constraints. Once you understand the grading system, you stop being a victim of the lumber yard’s pricing and start being an architect of your own materials. Just remember to check for those 'hockey sticks' before you leave the parking lot.