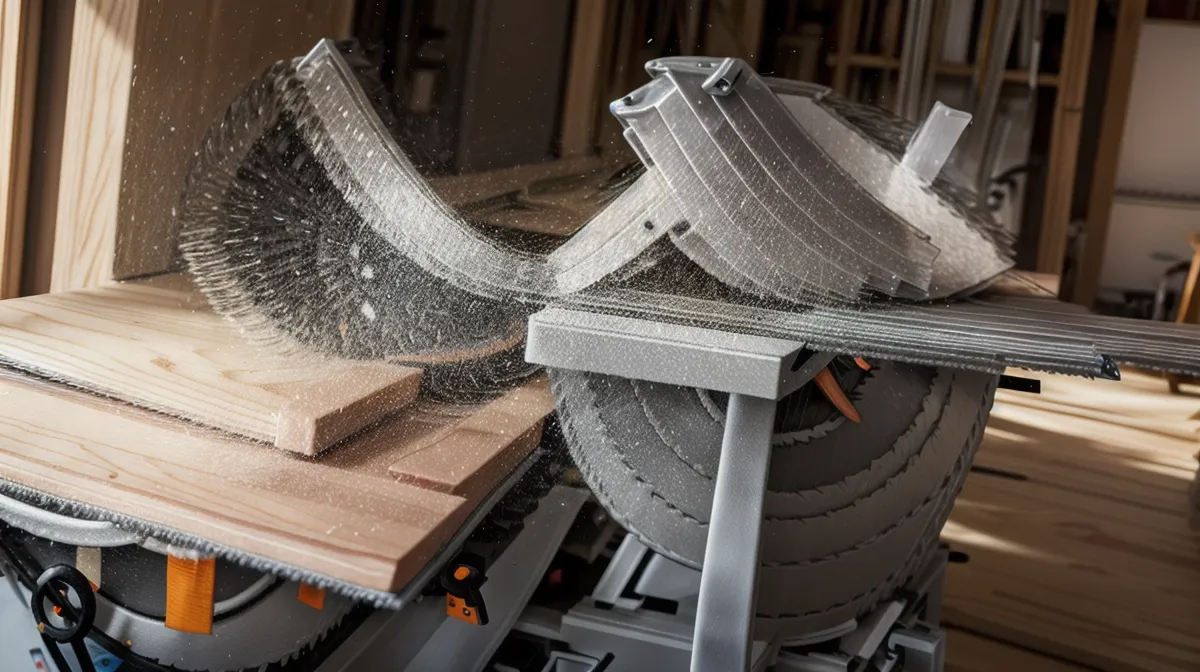
Late last October, a piece of walnut scrap caught the back of my table saw blade and launched across my garage like a rocket. It happened so fast that my brain didn't register the movement until I heard the sickening thwack of wood meeting drywall. I stood there for a full minute, my heart hammering against my ribs, staring at a fresh, jagged dent in the wall three feet from where my head had been. I’ve managed complex software rollouts with zero downtime, but in that moment, I realized my workshop 'uptime' was one mistake away from a permanent system failure.
I’d gotten cocky. After successfully building a few cutting boards and a decent coffee table, I started viewing safety equipment as a hurdle rather than a protocol. I’d even started leaving the riving knife in the drawer because it felt like it 'got in the way' of my flow. That walnut projectile was a hardware-level error message I couldn't ignore. If you're just starting out, your table saw is the most powerful tool in your shop, and it demands a set of Standard Operating Procedures (SOPs) that are more rigid than any corporate compliance manual.
The Physics of a 100 MPH Projectile
To understand why the table saw is so intimidating, you have to look at the raw specs. Most standard contractor or cabinet saws use a 10 inch blade powered by an induction motor spinning at approximately 3,450 RPM. When you do the math on the tip speed of those teeth, you realize they aren't just cutting; they are a high-speed conveyor belt. If a piece of wood catches the back of that blade, it can be ejected at a kickback velocity potential of nearly 100 mph. That isn't a 'nudge'—that's a lethal projectile.
Kickback occurs when the workpiece rotates into the rising teeth at the back of the blade. In my walnut incident, the wood pinched slightly as I reached the end of the cut. Because I didn't have a riving knife installed, there was nothing to keep the kerf—the 1/8 inch slot the blade creates—from closing up. When wood pinches the back of a blade spinning at 3,450 RPM, physics takes over, and the operator loses every time. It’s the ultimate 'latency' issue: by the time you feel the wood move, it’s already gone.
The Riving Knife: Your Non-Negotiable Firewall
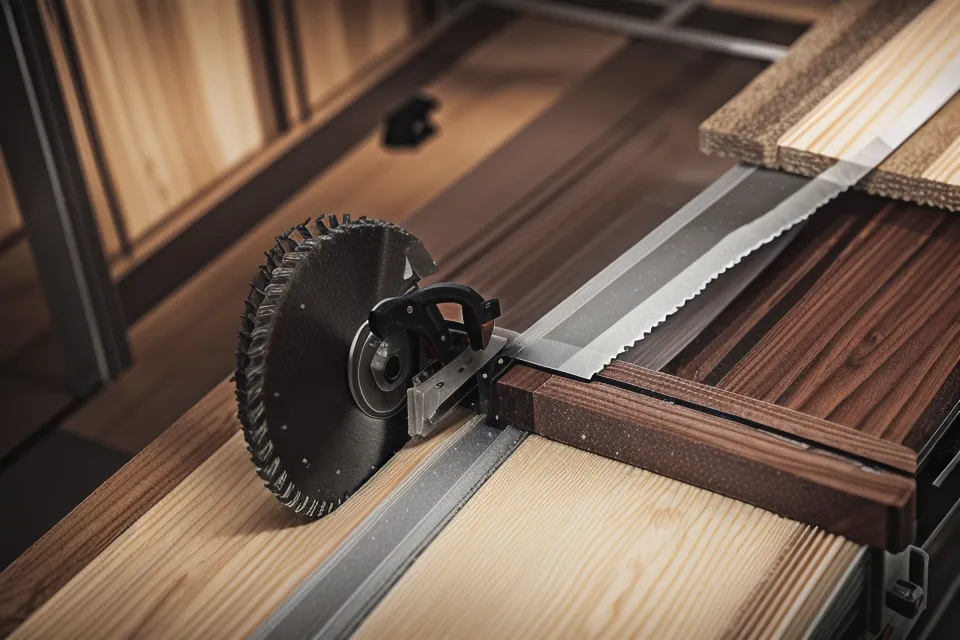
By mid-February, I had finally committed to a rule: the saw does not turn on unless the riving knife is installed. In the IT world, we don't disable the firewall just because it makes a specific port configuration slightly more tedious. The riving knife serves the same purpose. It sits just behind the blade and moves up and down with it, acting as a physical barrier that prevents the wood from closing and pinching the blade.
There’s a bit of technical nuance here that I missed early on. A riving knife must be slightly thinner than the blade kerf but thicker than the blade plate. If you’re using a standard full-kerf blade width of 1/8 inch, your riving knife needs to be perfectly matched to that thickness. If it’s too thick, the wood will snag on the knife; too thin, and it won't prevent the pinch. Getting this right is like ensuring your hardware drivers match your OS version—it’s the foundation of everything else. If you're still building out your kit, checking for a well-aligned riving knife is a key step when looking at Essential Woodworking Tools for Beginners Starting a Garage Workshop.
I remember one humid Saturday in July when I was ripping down some cherry for a small box project. The wood was particularly stressed, and as I pushed it through, I could smell it—the acrid, sweet smell of scorched cherry wood when a board isn't moving through the blade fast enough. Because the riving knife was there, the board stayed straight even as the internal tensions of the wood tried to make it twist. Without that knife, that scorched smell would have been followed by another hole in my drywall, or worse.
The Zone of Danger and the Fence Trap
We often talk about the 'zone of danger' as the area directly in front of and behind the blade, but it’s more about the relationship between the blade and the fence. One of the most common beginner mistakes is using the rip fence as a stop block when crosscutting. This is a recipe for disaster. If you press a short board against the fence and try to cut it horizontally across the blade, the offcut gets trapped between the spinning blade and the fence. With nowhere to go, it will kick back with enough force to ruin your month.
I learned this the hard way—thankfully without injury—when I was trying to batch out some small blocks for a jewelry box. I noticed the wood beginning to vibrate against the fence, a high-pitched chatter that signaled the board was binding. I shut the saw down immediately, but I felt that cold, tingling sensation in my fingertips that lasts for ten minutes after a close call with the blade guard. It’s a visceral reminder that the machine doesn't care about your project; it just wants to move material.
The Unique Angle: Why Outfeed Support Trumps Push Sticks
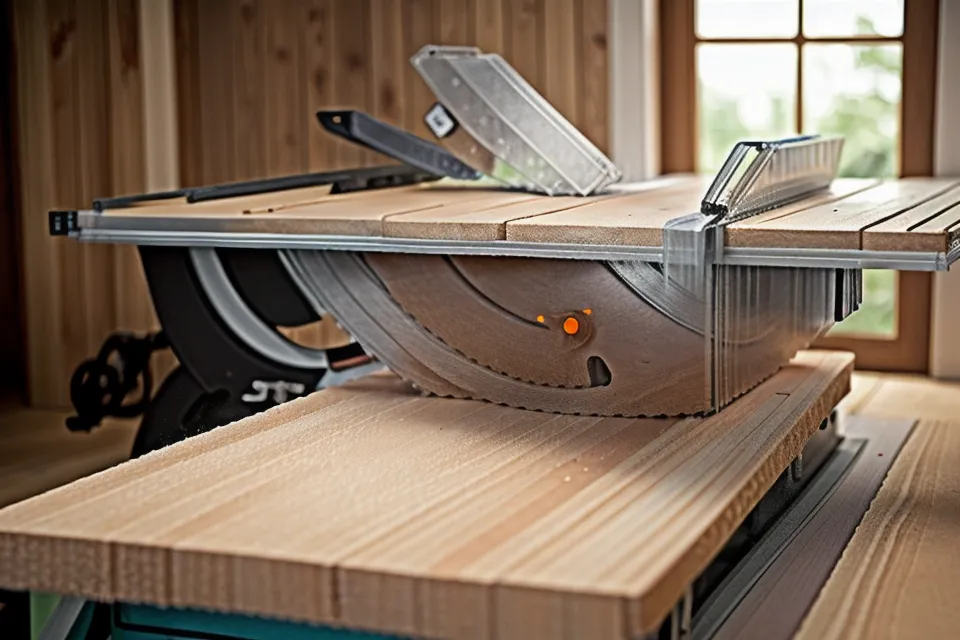
If you watch enough YouTube, you'll see endless debates about which push stick design is 'safest.' While push sticks are recommended for any rip cut narrower than 6 inches to keep hands away from the blade path, I’ve found that they are often a band-aid for a much larger problem: poor outfeed support. In my experience, most kickback accidents occur when long boards bind due to uneven table exits.
Imagine you're ripping an eight-foot length of oak. As the board passes the blade, more than half of its weight is hanging off the back of the saw. If you don't have a table or rollers back there, the board will naturally want to tip downward. When the front of the board lifts up, it pivots right into the back of the blade. No push stick in the world can stop a heavy oak board from pivoting once gravity takes over. You end up struggling to hold the front of the board down while simultaneously trying to push it forward—a 'multi-threading' task that humans are notoriously bad at under pressure.
After about six months of shop time, I realized that my safety improved dramatically not when I bought a fancy push block, but when I focused on my outfeed setup. Providing a flat, stable surface for the wood to land on ensures that the board stays parallel to the table throughout the entire cut. Speaking of support, when I was Building a Mobile Workshop Assembly Table Using Garage Shop Plans, I realized just how much a flat exit surface changes the safety equation. It turns a high-stress balancing act into a predictable, boring movement. In woodworking, 'boring' is exactly what you want during a cut.
Developing Your Shop SOPs
Every time I walk into the garage now, I treat the table saw with the same respect I’d give a live server rack during a migration. It’s about a sequence of checks that happen before the power switch is flipped. I check the fence alignment, ensure the riving knife is secure, and verify that my outfeed path is clear of sawdust and scrap wood. If the floor is slippery with dust, I stop and sweep. A slip near a spinning blade is a 'system-wide crash' you can't recover from.
- Never reach over a spinning blade, even if the cut is finished. Wait for the 3,450 RPM motor to come to a complete stop.
- Use featherboards to keep the wood tight against the fence, which prevents the 'pivoting' that leads to kickback.
- If a cut feels wrong—if the wood is resisting or you smell burning—stop the saw. Don't 'power through' a hardware error.
My workshop routine is certainly slower than it was when I started during COVID. I spend more time setting up outfeed rollers and checking my riving knife alignment than I do actually cutting wood. But the quality of my furniture is better because my mind isn't clouded by the fear of a walnut rocket. Safety equipment isn't for cowards; it's for craftsmen who want to keep their fingers and keep their 'uptime' at 100%. If you can manage a spreadsheet or a project timeline, you can manage the physics of a table saw. Just don't let the 'project manager' in you get impatient with the safety 'engineer' in you.