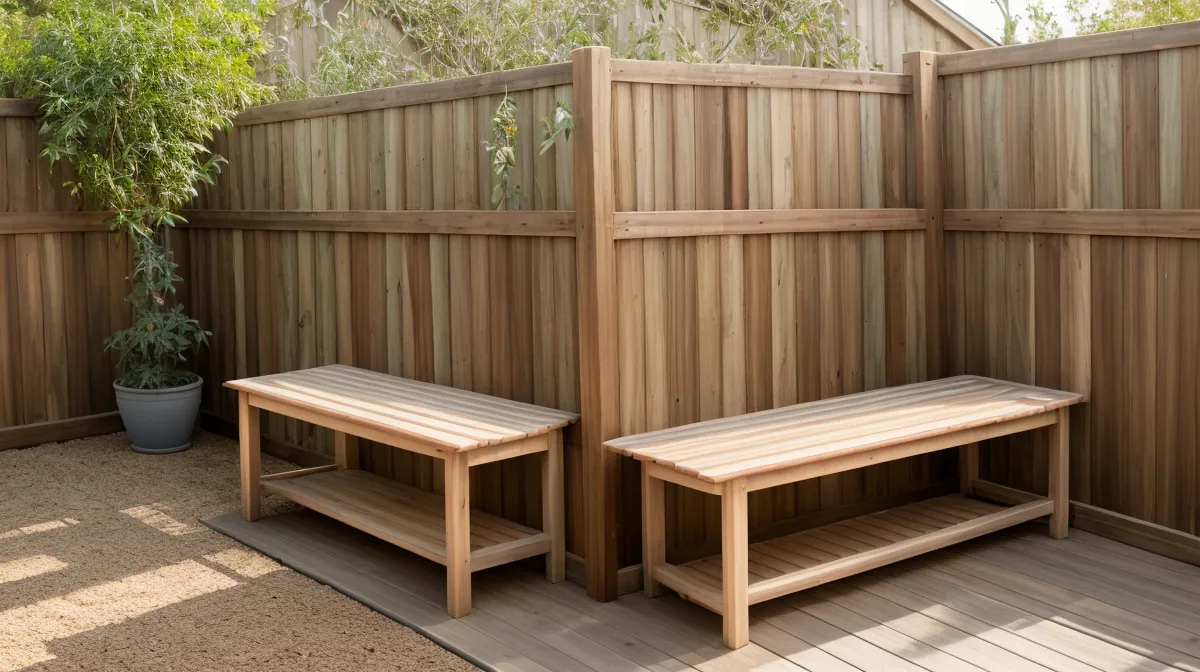
Sixteen thousand. That's roughly how many woodworking plans live in the Teds Woodworking database, and I burned most of a Saturday scrolling through option after option before I found a garden bench design I trusted enough to actually buy lumber for. My wife wanted somewhere to sit near her flower beds, and after the leaning bookshelf debacle from a couple years back, a piece of furniture so far off level it eventually got demoted to holding paint cans in a corner of the basement, I wasn't about to freehand another outdoor project and just hope for the best.
Sixteen Thousand Woodworking Plans, One Saturday Afternoon
In my day job I manage software rollouts, and a missed dependency in a project plan means a server goes down somewhere at 2 a.m. In woodworking, a missed measurement just means I've built expensive kindling instead. Scrolling that plan library felt a lot like digging through an old shared drive nobody ever bothered to organize (plans filed under vague names, duplicates everywhere, half of them calling for tools I don't own). I wasn't hunting for a showpiece — I needed a design a weekend hobbyist with a garage full of basic tools could actually finish, with a cut list clear enough that I couldn't argue my way around it.
A mission-style bench turned up a few pages in: clean lines, a real backrest instead of a flat board, and a materials list that made sense at a glance. That last part mattered more than anything else. Plenty of the plans I clicked through looked sharp in the photos and fell apart the second you tried to figure out which board went where.
Why I Split the Material Budget Between Pine and Cedar
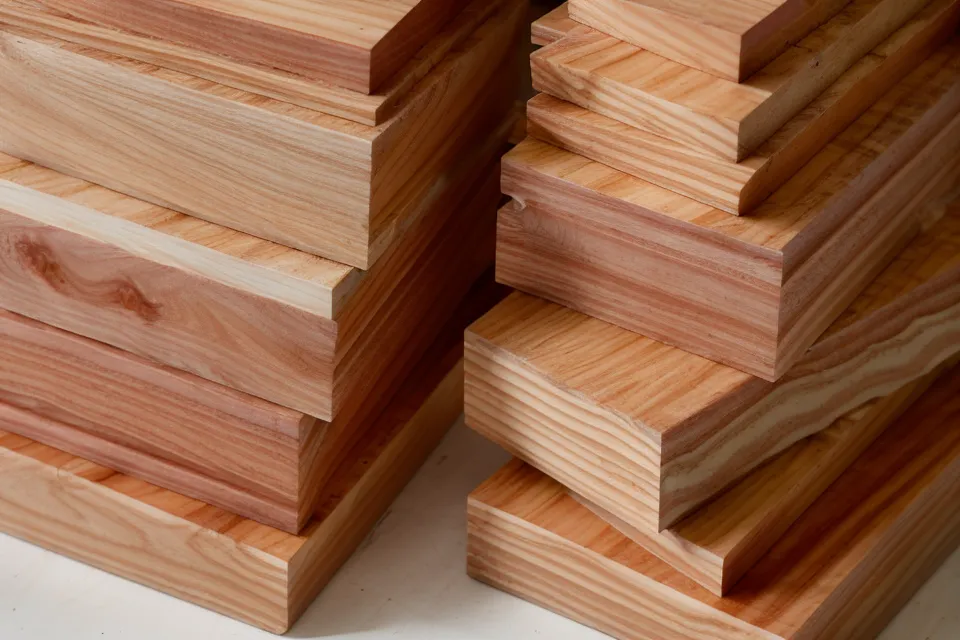
Pricing out full cedar construction for a bench this size made my stomach turn a little, so I split the materials instead — pressure-treated pine for the base and legs, cedar only where hands and legs actually make contact, which is the seat slats and the backrest. Cedar cuts clean and gives off a sharp, almost peppery smell under the blade, which made the garage a genuinely nice place to spend an afternoon.
Marcus, my next-door neighbor, wandered over while the pine was stacked on sawhorses and asked why I wasn't just building the whole thing out of cedar. Marcus owns more bar clamps than he has projects going at any given time, so I take his opinions on tools seriously and his opinions on budgets with a grain of salt. I explained the split, he shrugged, and went back to whatever he was clamping that week.
Instead of the usual exterior-grade wood primer, I sealed the pine with a couple of coats of grey automotive primer before the final paint. It grips difficult surfaces better than most of the latex primers I've tried in the past, and it held up fine through the whole build — I can't promise it's the textbook answer, only that it's the one that worked for me here.
Cutting to the Wrong Width
Everything went fine until I hit the stretchers. A pressure-treated "2x4," as I have known for years and apparently forgot for one very expensive afternoon, is not actually two inches by four inches — it measures 1.5 by 3.5. I calculated a whole run of notches off the nominal number anyway, the woodworking equivalent of a project manager forgetting his own spreadsheet formula, and didn't catch it until I dry-fit the pieces and found a joint that should have sat flush gapping open by a good quarter inch.
Two stretchers went straight into the scrap pile, and I made a second trip to the lumberyard, which is never a fun conversation to have with yourself on the drive over. It's the kind of mistake that reminds me a professional plan can hand me every measurement in the world, and I'm still the one running the saw.
That wasn't even the first time pine had gotten the better of me. On a shelf project a while back, I skipped the wood conditioner before staining a piece of pine and ended up with a blotchy, streaky finish that never fully evened out no matter how many extra coats I added — a lesson I apparently needed twice, since I almost skipped that same prep step again on this build before I caught myself.
Assembly, Humidity, and the Long Wait for Paint to Cure
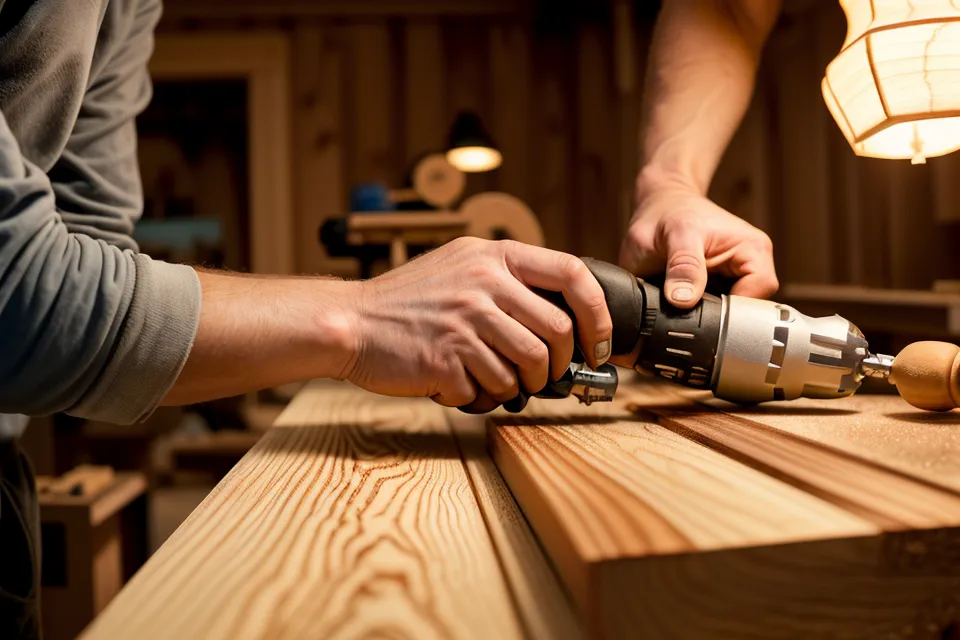
Outdoor furniture in Minnesota lives through humidity swings that would make a server-room administrator nervous — soaking summers, bone-dry winters, and not much gentle middle ground in between. Wood movement is a big enough topic that it deserves its own explanation somewhere else on this site, but the short version for an outdoor build is simple: fasten everything bone-tight without planning for expansion, and the piece eventually pulls itself apart at the joints. I used stainless screws, pre-drilled every pilot hole near the board ends, and swapped my usual yellow glue for a waterproof formula rated for wet conditions.
Theo, a friend from the monthly woodworking meetup I go to at a makerspace nearby, stopped by while I was staining the cedar slats and ran a thumb across one of the boards, frowning at something only he could apparently see. Theo is the type who will strip a face back down and resand it two or three extra times over a scratch nobody else would ever notice, so when he studied my slats and reached for nothing but his coffee, I counted it as a genuine win.
Wiping on that first coat of Danish oil with a rag left my fingertips coated in a thin, sticky film that took two washes to fully get off — not a great feeling in the moment, but a decent sign the wood was actually soaking it in instead of letting it sit on top.
Did the Plans Actually Make This Weekend Project Easier?
By around week seven, the frame was assembled and primed, sitting on sawhorses looking less like scrap lumber and more like an actual piece of furniture. My wife walked past on her way out to the car, stopped, backed up a step, and said something like "wait — that actually looks like a bench," which from her counts as a rave review. That was the first moment the project felt like it was going to land instead of turning into another basement fixture.
Most winters I'd rather be out on the classic trails at Theodore Wirth Park than stuck in the garage, but this particular year, the weekends I'd normally spend skiing went into reading cut lists and rechecking joinery diagrams instead. Having a documented plan didn't erase the mistakes — I still cut two boards to the wrong width — but it meant the mistakes were mine, not the design's, and that distinction ended up mattering more than I expected going in.

What This Garden Bench Build Taught Me About Trusting a Cut List
By early June the bench sat out back near the flower beds — level, sturdy, and for once without a pile of mystery leftover screws on the bench when I finished. If you're short on space to stay organized through a build like this one, building a mobile tool cart for a small two car garage solves a decent chunk of that problem; mine cut down the chaos considerably once I started actually using it instead of just building it and forgetting about it.
The real takeaway wasn't the bench itself. It was realizing that a documented plan doesn't replace paying attention — it just moves the errors from the design stage to the execution stage, where at least they're my errors and not something baked into instructions I have no control over. That's a trade I'll take on every future project, garden bench or otherwise.