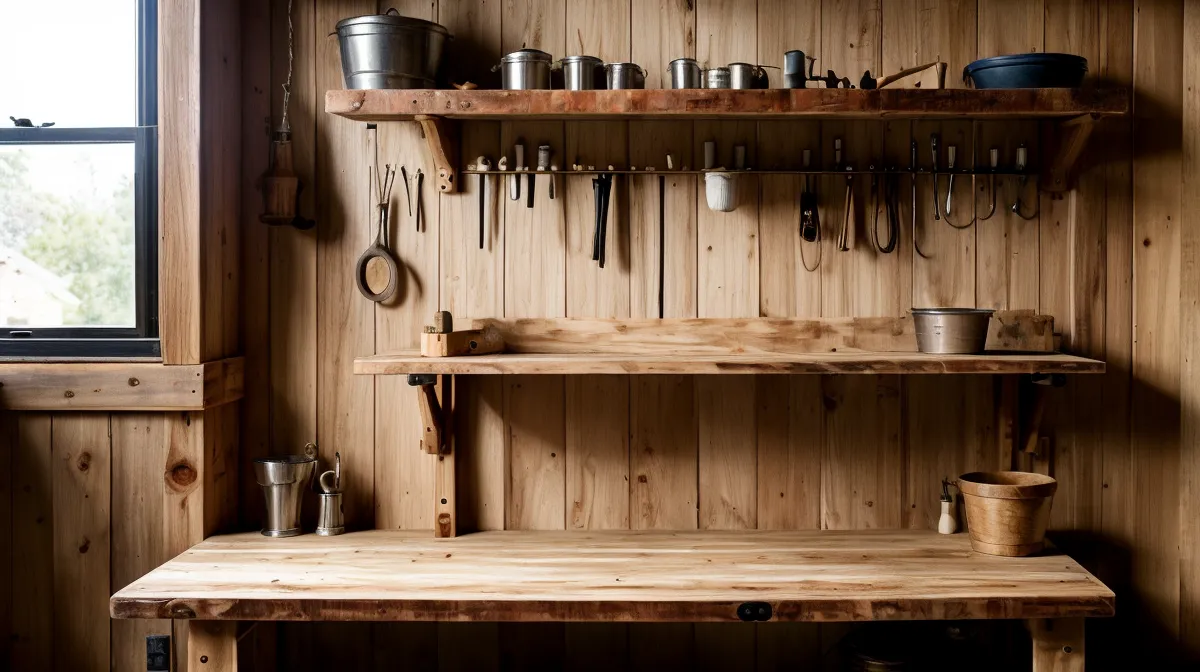
A folding table and a workbench share a tabletop and a set of legs, and that is where the resemblance ends. One buckles the moment you lean a hand plane into it; the other becomes the fixed point a whole garage workshop organizes around. I found that out the hard way, which is close to the only way beginner woodworking lessons ever stick, and it's why I finally worked from a real set of garage shop plans instead of nailing together whatever scrap lumber I had on hand. This is the workbench build that came out of that decision — not fancy, not furniture-grade, just the first thing in my garage that stopped needing babysitting.
Three things make a bench actually worth building: enough mass that it doesn't walk across the floor when you're planing, a top that stays flat through a Minnesota winter's humidity swings, and a height that matches whatever tool you'll be feeding boards into most. Skip any one of the three and you're back to babysitting a wobbly surface. That's the checklist I used to pick a plan instead of designing my own, and it's the same one I'd hand a beginner asking where to start.
The Garage Shop Plans Did Math I Didn't Trust Myself To Do
Materials came from Menards on American Blvd in Bloomington, further than my usual hardware run but the only nearby yard with straight 4x4 stock in the lengths the plan's cut list called for. I went with kiln-dried Douglas fir for the legs and stretchers, which is about as budget-friendly as structural lumber gets and holds up fine through our humidity swings between February and July.
Working out a Bill of Materials before buying anything is the boring part nobody enjoys, the woodworking equivalent of a project charter nobody wants to write, but skipping it is exactly how I've ended up with mismatched hardware more than once before. Having the plan's list already worked out meant one trip instead of the usual three, which is a bigger win than it sounds.
While the glue on the frame cured, I finally tackled the clamp pile that had been living on my garage floor for months, which turned into building a DIY woodworking clamp rack for a small garage shop instead of just waiting around doing nothing.
Base Joinery: Mortise-and-Tenon Versus the Lag-Bolt Shortcut
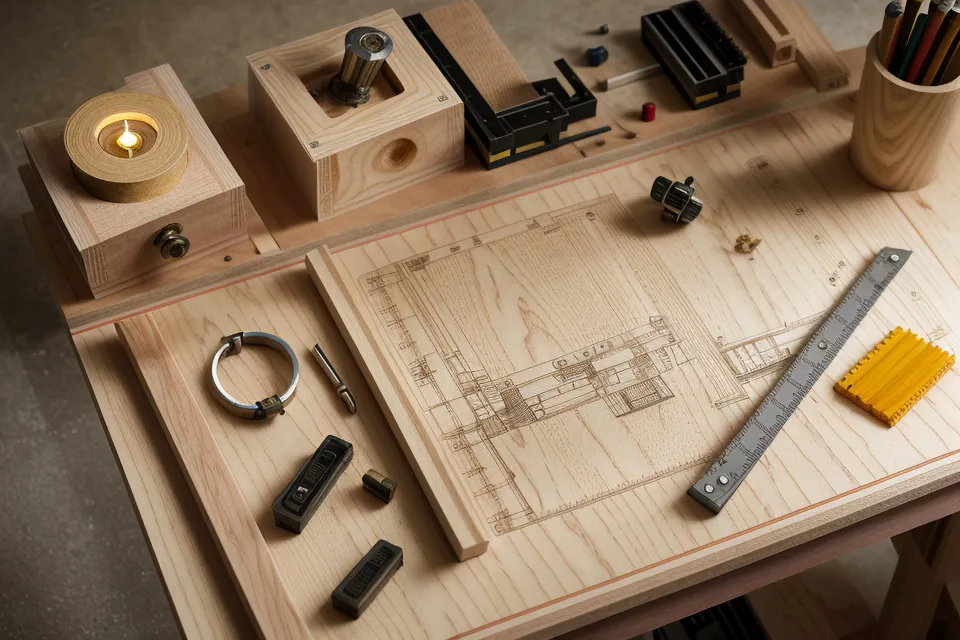
The plan called for a mortise-and-tenon base instead of the lag-bolt-and-bracket shortcut I would have defaulted to on my own — that's a full topic I've gotten into elsewhere when I was debugging my own joinery mistakes, so here I'll just say the extra hour of layout up front is why this bench doesn't rack sideways under a hand plane the way the shortcut version always would. Overall height landed around thirty-five inches, matched to my table saw so the bench doubles as an outfeed table when I'm breaking down full sheets by myself — building to match a tool I already owned turned out to be more useful than any number off a plan's spec sheet.
Adding Mobility to Your Workbench
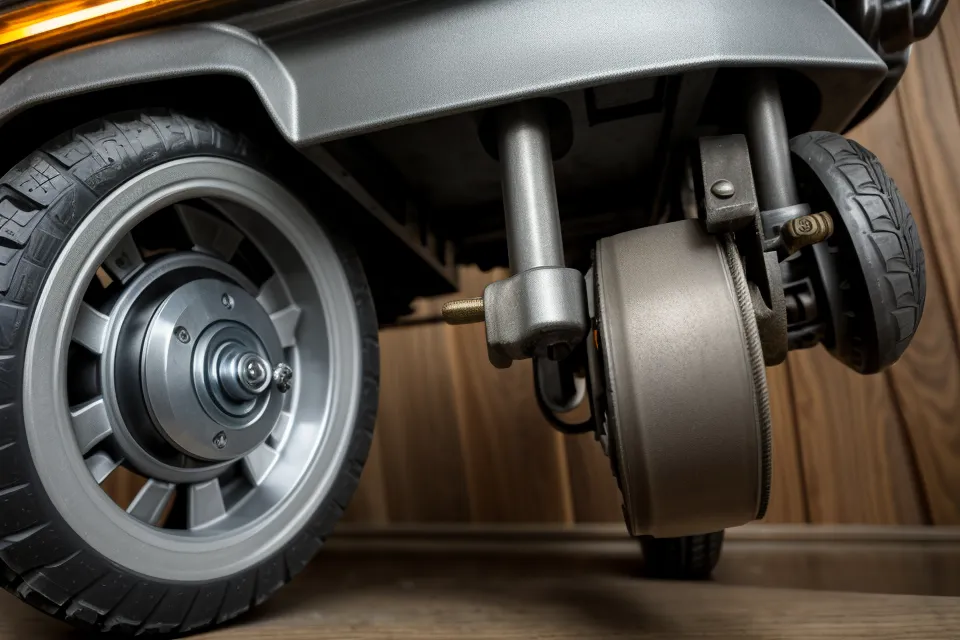
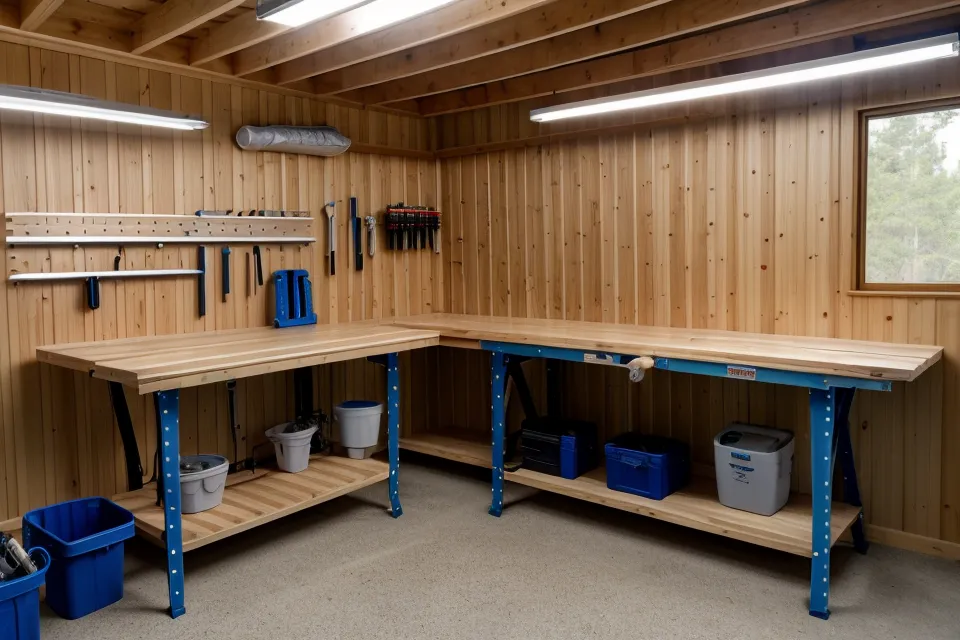
Locking casters went on all four legs, because a two-car garage that turns into a parking hazard every time I need to move something is not a workshop, it's a liability. I skipped the sandbags and permanent floor bolts most shop plans recommend and built the mobility in from the start instead. Storage is a separate problem, mostly solved with a wall-mounted system I've written about elsewhere, so I won't retread it here.
Rethinking how things move around a small shop is a pattern I keep repeating — the same idea sits behind building a mobile tool cart for a small two car garage, just applied here to something too heavy to lift by hand.
Ripping Long Boards Before I Owned the Right Saw
Before this build, the tool I reached for out of habit was a jigsaw, which is fine for curves and a genuinely bad way to rip an eight-foot board straight when you don't own a circular saw yet. Every cut wandered a little, and I spent more time cleaning up edges with a hand plane afterward than I did actually cutting the board. Owning the right tool sooner would have saved me a weekend, which was really just me being too cheap to admit I needed one.
The Workbench Build, Ten Weekends In
Ray Ambrosio, a guy from work who's gotten into furniture refinishing on the side, stopped by once the frame was glued up. He allowed — only after finishing his beer, which for Ray passes as an early confession — that his own bench could have used the same wide stance mine ended up with, instead of the narrower one he built first.
Walter Schiemann, a regular at the Rockler on Nicollet Avenue who's never short on opinions, had thoughts when I mentioned I'd bought plans instead of drawing my own. He can turn an offhand comment about sharpening stones into a half-hour seminar, so I steered him toward plan quality instead — his take was that a paid plan only earns its keep if the cut list actually matches the drawings, which is truer than it sounds once you've been burned by one that doesn't.
By the tenth weekend of working at the new bench, I flipped a finished walnut cutting board face up and the end-grain checkerboard pattern caught the light glossy enough that I set it down just to look at it before boxing it up for its owner. Grain direction is a big part of why that pattern lines up as cleanly as it does, which is its own topic for another time, but the flat, motionless surface underneath it is what let the glue-up sit square in the first place.
What Doesn't This Bench Solve Yet?
Wood movement across a Minnesota summer and winter is a real concern for anything glued up from solid boards, though that matters far more for something like a dining table than it does for a plywood-topped bench — a longer conversation for another post. Species selection barely came into play here either, since construction lumber isn't chosen for figure or hardness the way a cutting board or a piece of furniture demands; that decision tree belongs in its own reference, not folded into a workbench build.
Dust management is the other system I still haven't solved. The bench throws plenty of shavings and I sweep more than I'd like to admit, but building an actual collection setup is a project I keep pushing to next spring instead of tackling now.
This Bench Finally Earns Its Spot in the Garage
Finishing isn't part of this build, since the top stays bare on purpose so I don't mind chewing it up with a chisel or a glued-down jig. I did get into all of that when I wrote about my mistakes building a DIY modern coffee table for the living room, a project where the finish mattered a lot more than it does here.
Late afternoon light angles in through the half-open garage door this time of year, laying a thin gold stripe across the concrete that reaches almost to the bench legs before it fades out. It's the kind of small thing you only notice once you've got a reason to stand still in the garage instead of just passing through it.
The lesson that actually carries over to the next project isn't about lumber or casters, it's about sequencing: get a real plan worked out before buying a single board, because every regret I've had in this hobby traces back to skipping that step. A stable bench just made the old mistakes easier to spot once I'd already made them.