How many pairs of shoes are actually sitting in your entryway right now, and how many of them are exactly the same height? Sneakers, snow boots, one stray sandal, one work boot with a sole thick enough to throw off any shelf spacing you'd planned for the rest. Most DIY shoe rack plans never ask that question. They hand you a cut list for four evenly spaced shelves, call it a home organization fix, and leave you to sort out the boots on your own.
Two designs cover almost every entryway shoe rack, a specific kind of entryway furniture, whether you buy one or build it yourself as a beginner woodworking project. There's the fixed-shelf version: flat boards, evenly spaced, done in an afternoon. And there's the modular, notched version, where the support bars move up or down depending on what's in rotation that season. I've built both, one considerably more successfully than the other, and the choice matters more than most plans let on.
Most Entryway Racks Are Solving the Wrong Problem
Fixed-height shelves assume every household owns four pairs of identical low-profile sneakers. Mine doesn't, and yours probably doesn't either; hiking boots, flip-flops, and a pair of snow boots tall enough to hit the shelf above them rarely coexist on the same rack without someone jamming a boot in sideways. I fell down a multi-night rabbit hole of woodworking videos before I touched a board, and most of the plans I found shared this same flaw. Hard-coding a shelf height is like hard-coding a production URL into your source: it works fine until the environment changes, and then everything breaks at once.
That flaw shows up just as often in the plans you pay for as in the free ones. If you're shopping for a downloadable plan instead of sketching your own, that's a separate rabbit hole of quality control; some are clearly drafted by people who've never built the thing they're selling. For a shoe rack specifically, the fix doesn't require a total redesign. It just requires building in some flexibility instead of assuming everyone's closet looks like yours.
Building the Modular, Notched Version for Entryway Organization
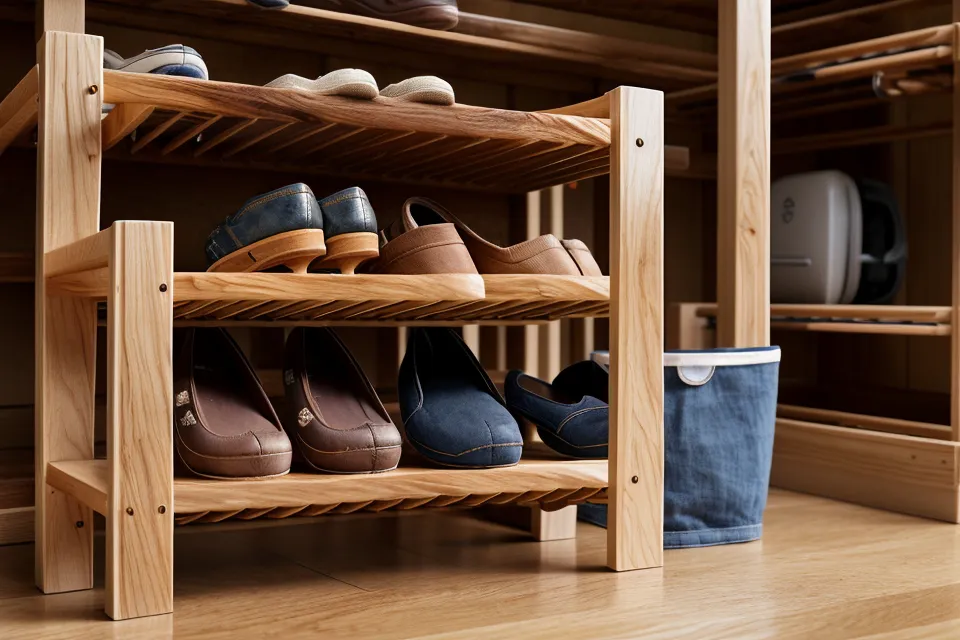
My answer was a modular, gravity-supported design instead of permanent slats. Notches cut into the vertical supports let the shelf bars sit at different heights or angles depending on what's currently piled by the door; move the support bars up for boot season, drop them down for flip-flop season. It takes more precision to lay out than a fixed shelf does, and it's a genuinely different build, not just a fancier version of the same one.
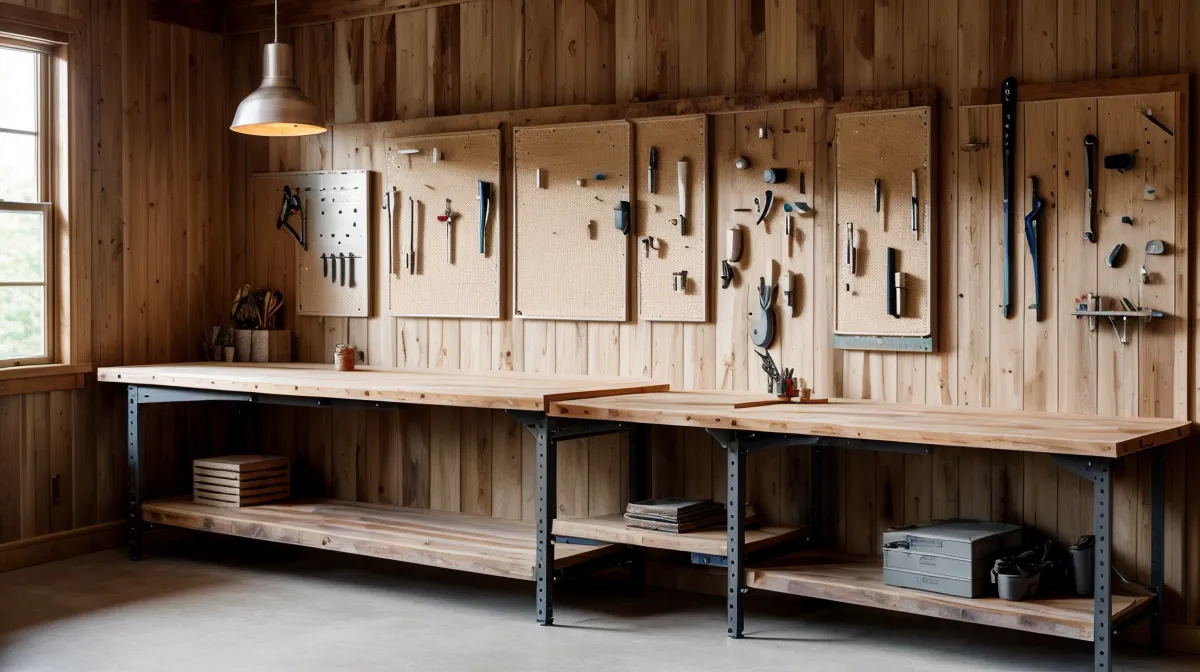
Before I even started cutting, I'd already learned an expensive lesson about doing this right the first time. Early on I bought one of those cheap folding workbench kits instead of just building a proper bench from scratch, and it racked side to side under any real clamping pressure; it was useless the moment precision actually mattered. I ended up building a real bench later, which is the only reason the notches on this rack came out consistent instead of wandering.
Lesson learned, the expensive way.
A trip to Ax Man Surplus in St. Paul turned up a bag of odd hardware and a roll of felt pads that ended up more useful than anything from the actual lumber run; I'll say more on the felt pads later. My neighbor was loading his truck that same weekend for a hunting trip to a family parcel up near Brainerd, opening weekend for whitetail, which is how I ended up with an entire uninterrupted Saturday in the garage instead of trading tools back and forth over the fence.
For materials, I stuck with pine: soft, easy on beginner tools, and inexpensive enough that a bad cut doesn't sting much. Species choice for a project like this is its own conversation with more variables than people expect, but for a rack that gets kicked and scuffed by boots year-round, pine holds up fine once it's finished properly. The board thickness that actually matters is the real one, not the labeled one: a nominal 1x4 measures 0.75 inches thick, and I used that number to calculate every notch so the shelves would sit flush instead of rattling. At a 10-inch width per pair of shoes, a 30-inch-wide rack comfortably holds three pairs per level; push much past 36 inches and you need a center support or the shelf sags under a winter's worth of boots.
Joinery-wise, I leaned on pocket-hole joinery rather than anything more traditional; plenty of purists look down on it, but for a guy with a day job, it holds a shoe rack together just fine. Grain direction on the vertical supports mattered more than I expected going in, which is a bigger topic than one project can cover; I got into it properly when I wrote about Beyond the Lopsided Bookshelf: The Walnut Cutting Board That Saved My Woodworking Ego. Here it mostly meant orienting the boards so the notches wouldn't chip out under load. I also managed to cut one support leg an eighth of an inch short by marking the wrong side of the blade; it was cheaper to toss the board and start over than live with a permanently crooked shelf.
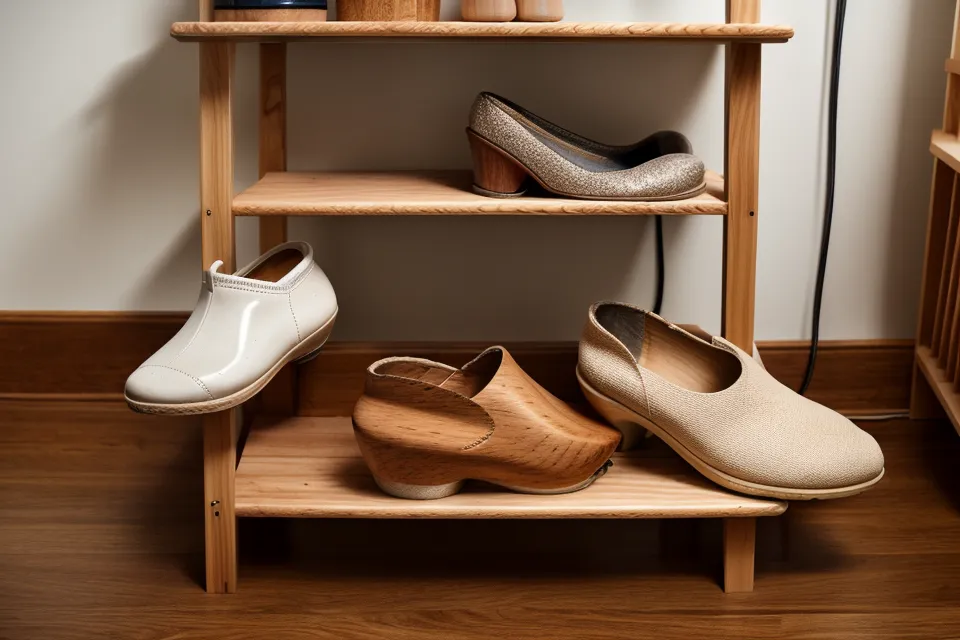
The moment I actually trusted the design was the dry-fit, before any glue touched the joints. I set the whole frame down on the garage floor and all four corners landed flat against the concrete at the same time, with no rocking and no gap under any leg, which told me the notches were square before I'd committed to anything permanent. Humidity complicates things after that point more than people expect; wood movement is a deep enough topic that it deserves its own article, but the short version is that pine raises its grain the moment humid air meets a fresh finish, so sanding through several grits and using a pre-stain conditioner on softwood isn't optional if you want an even stain. Minnesota garages add their own seasonal wrinkle to finishing schedules, which is a conversation for colder months.
Where Does the Fixed-Shelf Design Still Win?
None of this makes the fixed-shelf version a bad choice; it just serves a narrower situation well. A household where everyone wears roughly the same shoe height, or an entryway that's mostly sneakers and dress shoes, doesn't need adjustable notches at all. Fixed shelves cut faster, waste less material because there's no notch layout to fuss over, and forgive measurement mistakes that would throw off a modular design's fit. For a genuinely first-ever build, that forgiveness matters more than flexibility does.
Speed is the other real advantage. A fixed-shelf rack is a realistic single-session project even for someone who's never touched a pocket-hole jig, while the modular version easily eats a full weekend once you add sanding and finishing on top of the notch layout. If your entryway chaos needs solving before next weekend and not eventually, that's a legitimate reason to skip the adjustable version entirely rather than a failure of ambition.
Pick the Design Based on What's Actually in Your Entryway
Build the fixed-shelf version if your household's footwear is genuinely uniform, if you want this done in a single Saturday, or if this is your first build and you'd rather learn basic joinery without adding notch math on top of it. Build the modular, notched version if your entryway has to handle everything from flip-flops to snow boots in the same season, if you've got at least one full weekend to give it, and if you've already got a square, comfortable-enough build or two behind you. Neither one is the "correct" answer; they're solving different problems that happen to look like the same piece of furniture.
Mine ended up modular, with the bottom shelf angled for my wife's heels and the top two flat for sneakers and kid-sized boots, plus a felt pad under one leg that's still a sixteenth of an inch shy of level. That's the trade-off nobody puts on the cut list: the flexible version keeps working long after your footwear collection changes, but it asks for more patience up front than a rack has any right to demand.