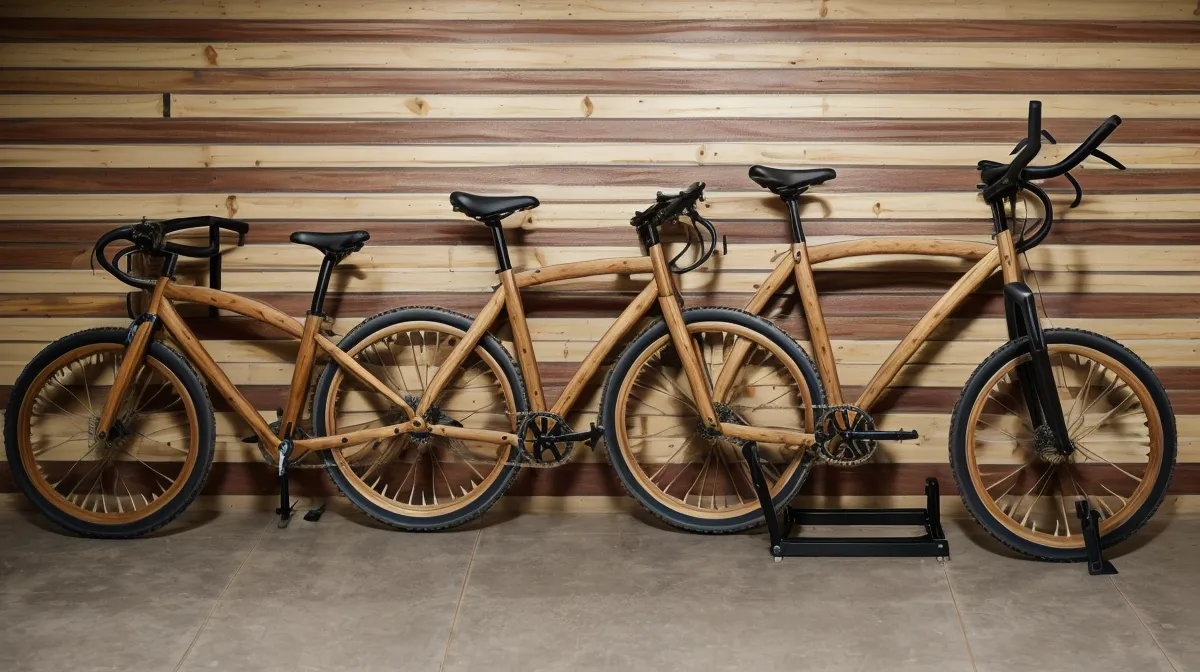
Sawdust is still settling over the folding rule when my daughter's mountain bike tips sideways and clips a paint can, again, on its way past the table saw. The garage organization problem I'd been stepping over all fall — handlebars, pedals, one helmet balanced on a nail that was never meant to hold a helmet — is exactly the kind of recurring incident an IT guy like me would flag as high-frequency, low-severity, except there's nobody else to assign the ticket to. A wooden bike rack, built from scratch instead of bought off a shelf, turned out to be the actual fix, and it's a solid beginner project if the most complicated thing you've built so far is a birdhouse.
Quick disclosure before any of the actual building: a few links below are affiliate links, and if you buy a set of plans through one I earn a small commission at no cost to you. I only link to libraries I've actually opened on my own tablet out in the shop, and there's a full policy page if you want the details.
That workshop is half of a two-car attached garage in a 1970s rambler here in Brooklyn Park — concrete block on two sides, and the wall facing north turns into something like a walk-in cooler for a good chunk of the winter. None of that stops a project, it just means extra layers and shorter sessions once the cold really sets in. It's the same garage where a lopsided bookshelf turned into a dining table my wife actually lets guests see, and where keeping glue and finish workable once the thermometer drops near freezing has turned into basically its own skill — one I still don't have fully figured out.
Why a Freestanding Wooden Bike Rack Beats a Wall Mount for Renters
My first instinct, project-manager habit, was to write out requirements: sturdy, freestanding, modular. Freestanding mattered because I don't want to drill anything permanent into a house I might not own forever, and the same logic applies to friends nearby in apartments who can't put a single extra hole in a rental wall. A rack that stands on its own, using gravity and decent joinery instead of lag bolts into a stud, works for both situations. A French-cleat wall system solves a similar no-drilling problem for hand tools, though that's really its own build with a different set of trade-offs than a floor-standing rack.
I started digging through the plan libraries I already had loaded — mostly TedsWoodworking, since the catalog runs to something like 16,000 plans and finding a decent floor rack design in there is less about a lack of options and more about narrowing them down. Whether a library that size is actually worth it if you only want one project is a longer review I've written elsewhere. Budgeting for a plan subscription versus just winging it with scrap lumber is its own math problem too, and I don't think there's one right answer. A wall-mounted hook system was off the table from the start — hoisting a loaded mountain bike overhead after a long ride is a chore I'd skip within a month, so I wanted a floor-based slot design instead.
Three weekends of sketching later (the day job doesn't leave much daylight for shop time), I settled on a design built from plain construction lumber — no exotic hardwood needed for a garage organizer. Grain direction matters a lot when you're gluing up a wide panel that has to stay flat, but for narrow ladder-style pieces like this one it's barely a consideration. If you want the deeper rundown on which species actually make sense for indoor furniture versus a garage utility piece, I put together a Wood Species Glossary: Hardness, Grain & Workability Reference that covers it properly. Standard construction-grade pine, picked over at the store rather than ordered special, did the job here.
Reading the Cut List Before You Touch the Saw
Case in point on doing this wrong: the first version of this rack came from a YouTube build I watched twice and then started cutting from memory, instead of pulling up the actual cut list the guy had linked in his own description. The boards I cut fit together well enough on their own, just not well enough for the tire slots to line up evenly across all four uprights, and I ended up re-ripping half my spacers before the base ever got test-fit together. Watching a demo is not the same as reading the spec sheet — same mistake that's bitten me in more than one status meeting at the day job.
Getting those slot widths right is really a joinery question in miniature. There's a wide range of ways to join two boards — screws, dados, splines, all the way up to hand-cut joints — and this project only needed the simplest end of that range. The one wrinkle: construction lumber never actually measures what the label says, so the spacers had to be sized against the real board thickness in hand, not the nominal number printed on the tag at the store. My go-to bar clamps, the inexpensive ones I've had since the bookshelf days, kept slipping under pressure during the glue-up, so I ended up borrowing a neighbor's heavier set to get a clean joint.
Checking that joint mattered more than I expected. When I lined up the last leg's 45-degree corner against the light coming through the garage door track, the seam just disappeared — no sliver, no gap, nothing for a fingernail to catch on. That's the real test for a miter, more reliable than eyeballing it with a square, and it's the same corner I go back and check on every project since.
What Keeps a Freestanding Rack From Tipping Over
Stability on a freestanding rack comes down to the base-to-height ratio. The wider the footprint relative to how tall the loaded rack stands, the lower the center of gravity sits, and the less likely the whole thing is to tip when someone yanks a bike out sideways instead of lifting it straight up. That matters more here than on a wall-mounted design, since nothing is anchored to a stud to bail you out if the geometry is wrong. Wood movement across seasons, which is a real concern on a wide glued-up panel like a tabletop, barely factors in on a rack built from narrow ladder pieces — there's no wide glue-up here for humidity to fight against.
Screws, Glue, and the Ladder Base
Assembly used a mix of wood screws and glue together rather than picking one. Screws hold everything in position while the glue sets, and relying on both beats trusting either one alone — it's the same redundancy logic I'd apply to backing up a project file in more than one place. All of it got clamped up on the long workbench that runs the back wall of the shop, more pencil marks than bare wood at this point, plus enough dried adhesive smeared along one edge that I've stopped trying to scrape it clean.
If you finish a project like this and catch the organizing bug, the same joinery logic carries over well to a How to Build a DIY Shoe Rack for Entryway Organization This Season — it clears out that trip-hazard zone by the door using pretty much the same ladder-and-slot thinking.
Quick Notes From the Build
A few things worth flagging from the workbench. Tire width isn't universal — a road bike tire is skinny enough to rattle around in a slot sized for a mountain bike, so the slots on my wife's side of the rack needed to be narrower than mine. Sanding is really just the entry point into a bigger finishing conversation, and this project stopped at a single pass of 120-grit and no topcoat at all, since a garage utility rack doesn't need the finish schedule a piece of furniture would. All that cutting and sanding makes a genuine mess, too — with no dust collection or at least a shop vac running nearby, expect to be sweeping fine dust off every flat surface in the garage for days afterward. Garage floors also tend to slope for drainage, so I added simple adjustable feet to the bottom rather than trust the slab to be level.
The Garage Finally Has Floor Space Again
Standing back with the bikes finally vertical and out of the walkway felt like a genuine win — about four square feet of floor reclaimed, which doesn't sound like much until you've been playing Tetris with three bikes every time you need the table saw. My daughter rides that mountain bike down to the Lake Harriet Bandshell lawn most weekends now, and getting it out of the garage no longer means moving two other bikes first. Darlene, my wife's book-club friend who apparently leaves five-star, paragraph-long Google reviews for anyone she thinks did competent work, saw it propped up by the door and asked, half-joking, whether I take commissions.
Reclaiming that space has already got me sketching the next build — maybe a firewood rack for the patio, along the lines of this How to Build an Outdoor Firewood Rack to Keep Your Logs Dry guide, though that's a different project for a different season. I used TedsWoodworking for this one, but My Shed Plans is worth knowing about too if you're eventually moving projects out of the garage entirely — a comparison I'll save for its own post rather than cram in here.
None of this needs to be perfect to work. My rack has a couple of extra screw holes where a measurement went sideways, and the finish is nowhere near showroom quality, but it holds three bikes off the floor and my shins have been pedal-free ever since. If the garage chaos sounds familiar, grab some 2x4s and a solid set of beginner-friendly plans — your shins will thank you.