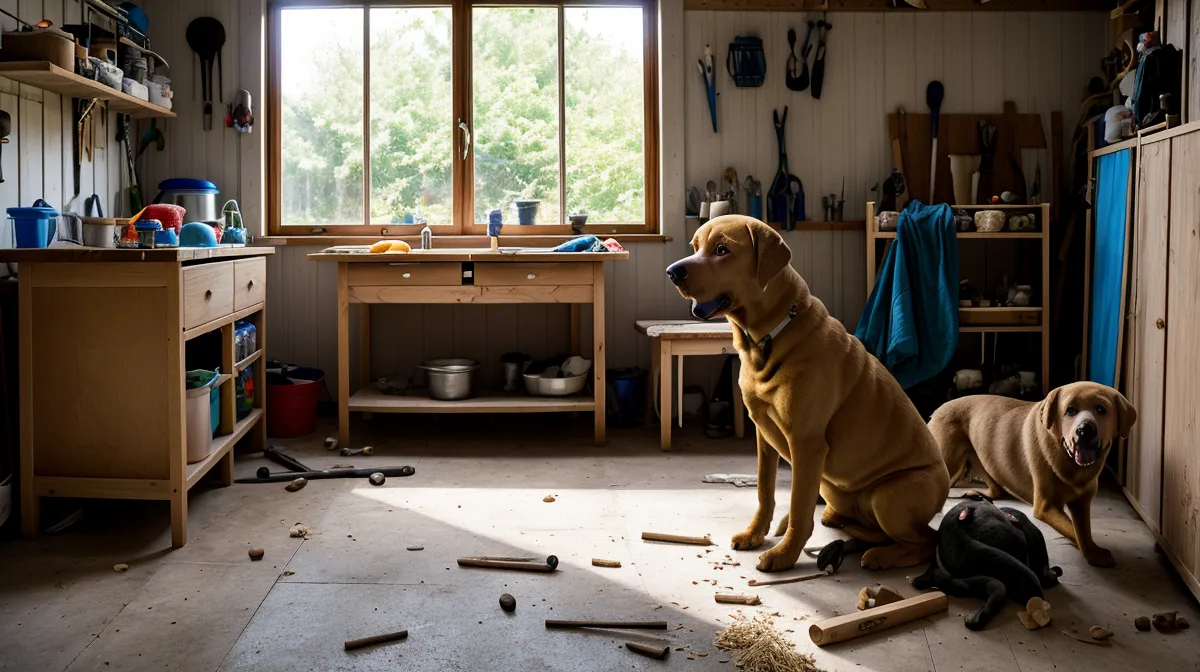
Every elevated feeder plan floating around online tells you to build it as tall as your dog's shoulder for maximum comfort; almost none of them mention that a narrow base at that height is what actually sends a full water bowl skidding across the tile. That's the trade-off nobody flags in the beginner-friendly project roundups, and it's the one that mattered most once I started turning scrap plywood in my garage workshop into pet furniture for my aging Labrador instead of another cutting board.
Six years of weekend projects have taught me that a fixed number rarely survives contact with reality, and dog feeder height is no exception. What actually decides whether a raised feeder helps or hurts is your own dog's chest measurement and how wide you're willing to make the footprint under it — not a chart. A few vets have also pushed back on assuming taller is automatically kinder, flagging it as something worth a quick conversation for deep-chested breeds before you commit to a tall box, so I stopped treating any single height as gospel and started treating it as a number to check against the dog actually eating from it.
Height Charts Assume Every Dog Is Built the Same
Picture two dogs at the same shoulder height — a barrel-chested Lab and a narrow-chested sighthound — standing at the exact same feeder. One eats comfortably. The other tips forward at an angle that undoes half the point of raising the bowl in the first place. Charts that hand you one universal number skip that entirely, which is the same mistake I used to make estimating server capacity off a vendor's default recommendation instead of my own traffic numbers. The fix in both cases is the same: measure your own situation before trusting somebody else's average.
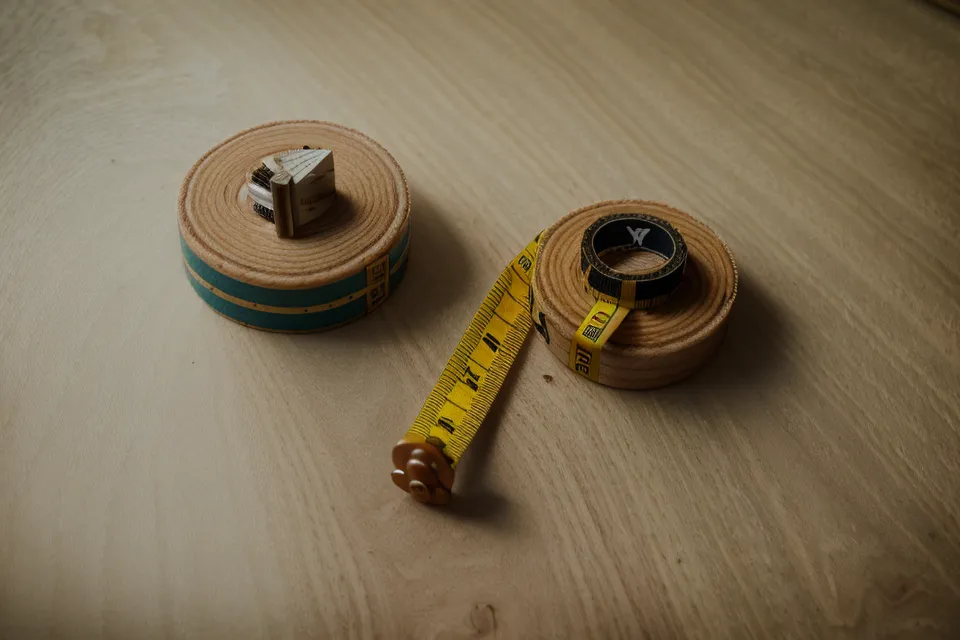
Does New Lumber Really Beat What's Already in the Garage?
A while back I grabbed a stack of construction-grade pine off the shelf at the Menards on American Blvd in Bloomington, figured it would hold up fine sitting indoors, and watched every board cup and twist within two weeks of coming into the house. That failure sent me digging through the scrap corner instead of back to the lumber aisle for this build, where I turned up a decent stash of plywood offcuts left over from the dining table project — cabinet-grade oak that had been sitting untouched since that table got finished.
Four legs and a flat top is basically the same geometry problem as the DIY picnic table using beginner friendly woodworking plans from an earlier build, just scaled down and minus the bench seats. I still think about flipping over a walnut cutting board I'd sanded through several grits and catching the end-grain checkerboard glowing almost glassy under the kitchen light — that's the kind of payoff you only get from wood that's actually worth the trouble, and the pine sitting warped in my scrap pile was never going to give me that for a dog feeder either. Oak scraps it was.
Cutting Bowl Holes Without Losing a Board
Marcus, my next-door neighbor, wandered over while I had the frame glued and clamped, took one look, and offered to lend me another clamp from what might be the largest bar-clamp collection anyone with this few active projects has ever assembled. I had plenty, but I appreciated the offer.
The bowl cutouts were the real test.
I was working off a 2-quart stainless bowl about 8.5 inches across, and my first pass with a hole saw came out a quarter-inch too wide. The bowl slid straight through and clattered onto the floor — a specific kind of dumb feeling once you've already sacrificed your best sheet of oak plywood to it.
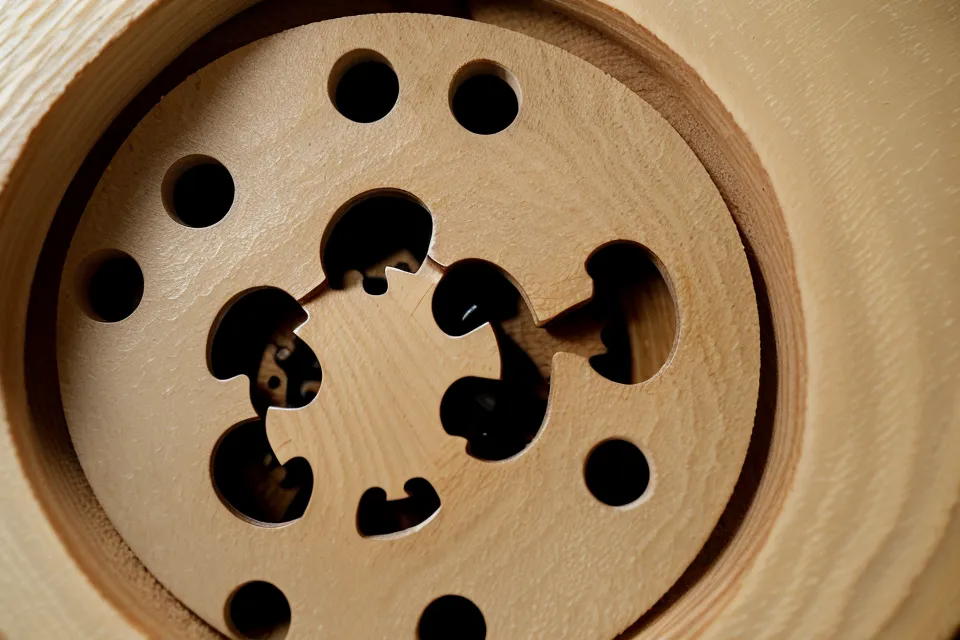
Swapping the hole saw for a jigsaw fixed it; more control, and I could trace the rim width instead of guessing at it. Oak's density, rated on the Janka rating scale, meant I could sand those edges smooth without much fear of splintering, which mattered because a dog's nose ends up right at that rim every single meal. Anyone who's built a backyard playhouse for kids knows the same rule applies whenever small faces get close to raw wood: sanding isn't optional, it's the difference between a finished project and a trip to urgent care.
The Real Fix for a Wobbly Feeder Isn't Extra Height
Theo, from the woodworking meetup group I go to, is the kind of guy who'd re-sand that same hole a third time over a scratch nobody else could find under the finish. I ran a finger around the edge, felt nothing catch, and called it good enough — a difference in standards that says more about him than about the feeder. The topcoat itself came from a can I had left over from a DIY step stool for kids build, a water-resistant finish that made sense given how messy a dog gets around a full water bowl.
None of that finish work matters if the base is too narrow, though, and that's really the whole argument against chasing extra height. A wide, low stance beats a tall, narrow one every time a dog leans in fast or a leash gets tangled around a leg mid-walkthrough. I ended up widening my footprint by a few inches past what I'd originally drawn on that first sketch, which cost nothing but scrap and kept the whole thing planted instead of rocking. If you're deciding between an inch taller and an inch wider on your own build, wider wins; every time I've tested it, the narrow-base setups are the ones that end up getting a strip of scrap screwed to the bottom later as an emergency fix.
A Beginner-Friendly Pet Furniture Build Worth Repeating
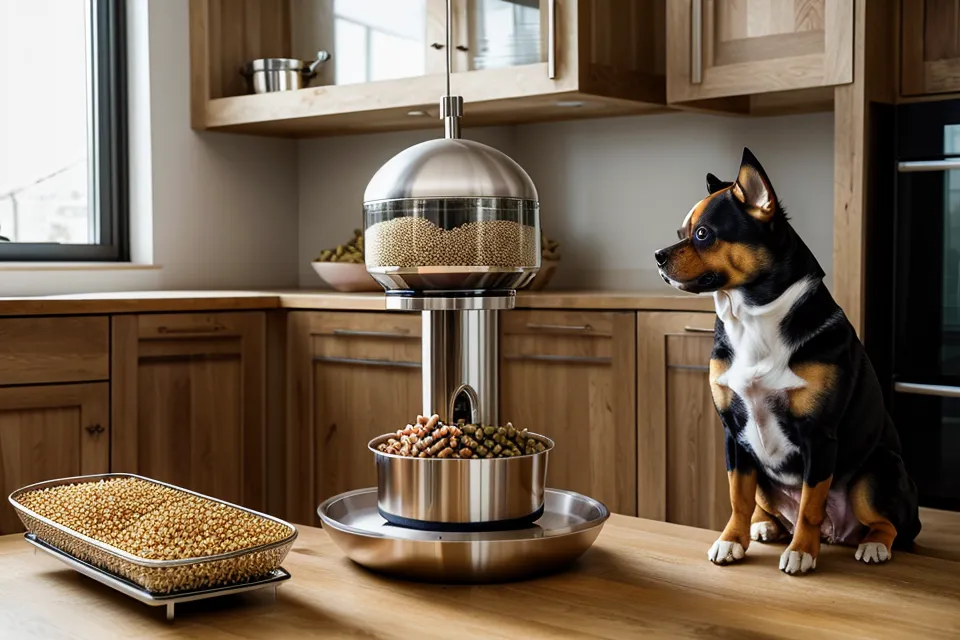
The feeder sits in the kitchen doing its job now, and my Lab eats without splaying her legs out or straining her neck sideways to reach the bowl. That's a nicer outcome to point to than the actual lesson from this build, which has less to do with dogs and more to do with trusting a tape measure over a chart: check the animal in front of you, check the wobble test, and only then decide which part of a plan you found online is optional. A scrap-wood, beginner-friendly pet furniture project doesn't need a single fact from the internet's height guides to succeed; it needs someone paying attention to the dog actually using it.