
One Saturday morning last fall, my wife pointed at a blank wall in the living room and used the word 'minimalist,' which I've learned is code for 'I need you to build something that looks like it's floating.' In the IT world, we call this a 'requirement gathering' phase, though usually, my stakeholders don't expect me to produce physical objects out of thin air. She wanted three long, thick shelves that looked like they grew out of the drywall—no brackets, no visible screws, and definitely none of those wobbly wire racks from the big-box stores.
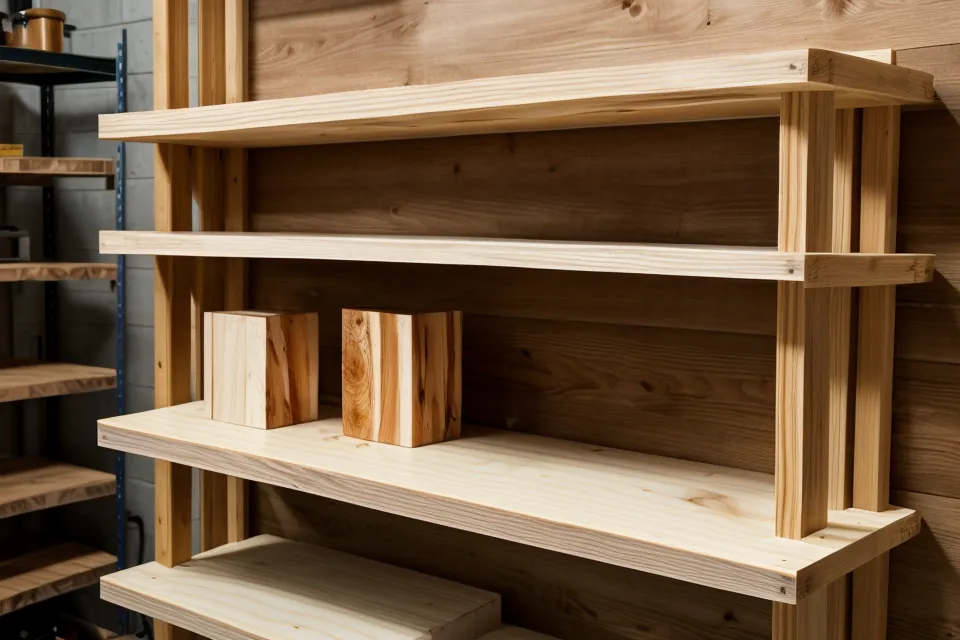
I spent that late October afternoon researching the 'torsion box' method versus using heavy-duty steel brackets. The steel brackets are popular on social media, but they cost a fortune and require you to drill massive holes into your studs. As a guy who still feels a little nervous every time I pull the trigger on my miter saw, I decided to build my own internal frames. I figured I could use standard dimensional lumber to create a structural 'skeleton' and then slide a pretty sleeve over it. It’s basically the woodworking equivalent of a wrapper class in Java—hiding the messy logic inside a clean interface.
The Engineering Behind the Float
The first thing you realize when you start building anything for a 'modern' living room is that the wood you buy isn't actually the size it says it is. I headed to the lumber yard for some 2x4s to build the internal frames. For those who haven't spent too much time in the sawdust aisles, the nominal vs actual 2x4 dimensions are a constant source of frustration: a 2x4 is actually 1.5 inches by 3.5 inches. If you don't account for that half-inch discrepancy in your math, your 'minimalist' shelf will quickly become a 'monumental' disaster.
I decided to use White Oak for the outer sleeves because of its incredible durability. On the Janka hardness scale for White Oak, it clocks in at 1360 lbf. This means it’s tough enough to handle my wife’s heavy ceramic vases without denting, but it also means it’s a lot harder to sand than the pine I used for my lopsided bookshelf back in 2020. I’ve learned the hard way that picking the right wood is half the battle; if you're curious about other types, I actually put together a Wood Species Glossary: Hardness, Grain & Workability Reference that I still check before every trip to the store.
The Contrarian Approach: Skip the Toggle Bolts
If you search for floating shelf tutorials, most people will tell you to use heavy-duty wall anchors or toggle bolts. I’m going to tell you to stop using them. In my experience, even the 'rated for 100 lbs' anchors eventually sag. Drywall is essentially just compressed chalk and paper; it’s not meant to handle the leverage of a 10-inch deep shelf pulling outward. Instead, I opted for a French cleat system mounted directly into the wall studs.
The standard US residential stud spacing is 16 inches on center. I used a stud finder—which detects changes in density to find the wood behind the drywall—to mark exactly where my 'skeleton' would attach. By screwing a beveled 2x4 directly into at least three studs, I created a mounting point that could probably hold me up if I felt like climbing the walls. It’s the difference between a temporary 'hot-fix' in a server room and a properly racked-and-stacked hardware installation. You want the structure to be part of the house, not just hanging on it.
The Mid-Project Meltdown
The following Saturday morning, I was feeling confident. The familiar smell of sawdust filled the garage as I cut the miters for the outer sleeves, trying to get those 45-degree angles tight enough to hide the plywood grain. I wanted the shelf to look like a solid slab of oak. Everything was going great until the silent frustration of realizing I cut the top panel a quarter-inch too short because I forgot to account for the blade kerf. For the non-woodworkers, the 'kerf' is the width of the saw blade itself—usually about an 1/8 of an inch. If you make four cuts and forget the kerf every time, you lose half an inch of material. It’s the 'rounding error' of the workshop, and it’s ruined more of my projects than I care to admit.
After a quick trip back to the lumber yard and some muttered apologies to the wood-gods, I got the sleeves assembled. I used plenty of wood glue, which is technically stronger than the wood itself once fully cured, provided the joint is tight. I clamped everything together and left it for the night. One chilly evening in November, I returned to the garage to start the sanding process. I spent about three hours in the garage moving from 80-grit to 220-grit sandpaper. By the end, the vibration of the orbital sander making my palms tingle long after I turned the power off was all I could feel. It’s a weird, buzzing sensation that reminds you that you’ve actually put in the work.

Dealing with 'Potato Chip' Walls
The moment of truth came when I brought the finished sleeves into the living room. I held them up to the wall and my heart sank. Our 'modern' house has walls as wavy as a potato chip. There was a visible 1/8-inch gap between the back of the shelf and the wall in some places, and it looked terrible. This forced me to learn how to scribe the back of the shelf to fit the uneven drywall. Scribing involves using a compass to trace the contour of the wall onto the wood, then carefully sanding or shaving the wood down to match that specific wave.
It’s a tedious process, much like debugging a legacy codebase where nothing is documented and everything is slightly broken. But once I finished the scribing, the shelves slid onto the internal 2x4 frames and sat flush against the wall. It looked like they were part of the original architecture. If you're just starting out and find this kind of detail work daunting, you might want to try something with a bit more wiggle room first, like building a DIY picnic table using beginner-friendly woodworking plans, where a 1/8-inch gap just adds 'character.'
Final Deployment and Reflection
Stepping back as the sun set to see the shelves finally mounted, level, and actually holding the weight of my wife’s heavy ceramic vases without sagging was a massive win. I had successfully navigated the kerf errors, the wavy walls, and the tingle of the sander. I finished them with a simple matte polyurethane to keep that raw oak look, which fits the 'minimalist' vibe perfectly.
Looking back, this project taught me that the hardest part of woodworking isn't the wood—it's the house you're putting it in. Every wall is a lie, and every measurement is a suggestion until you account for the blade thickness. But that’s why we do it, right? If it were as easy as assembling flat-pack furniture, I wouldn't have nearly as many excuses to buy new clamps. If you're interested in seeing where I've messed up before, you can read about my mistakes building a DIY modern coffee table, which was a whole other level of learning the hard way. For now, though, I’m just going to enjoy the fact that these shelves are still standing and haven't dropped a single vase yet.