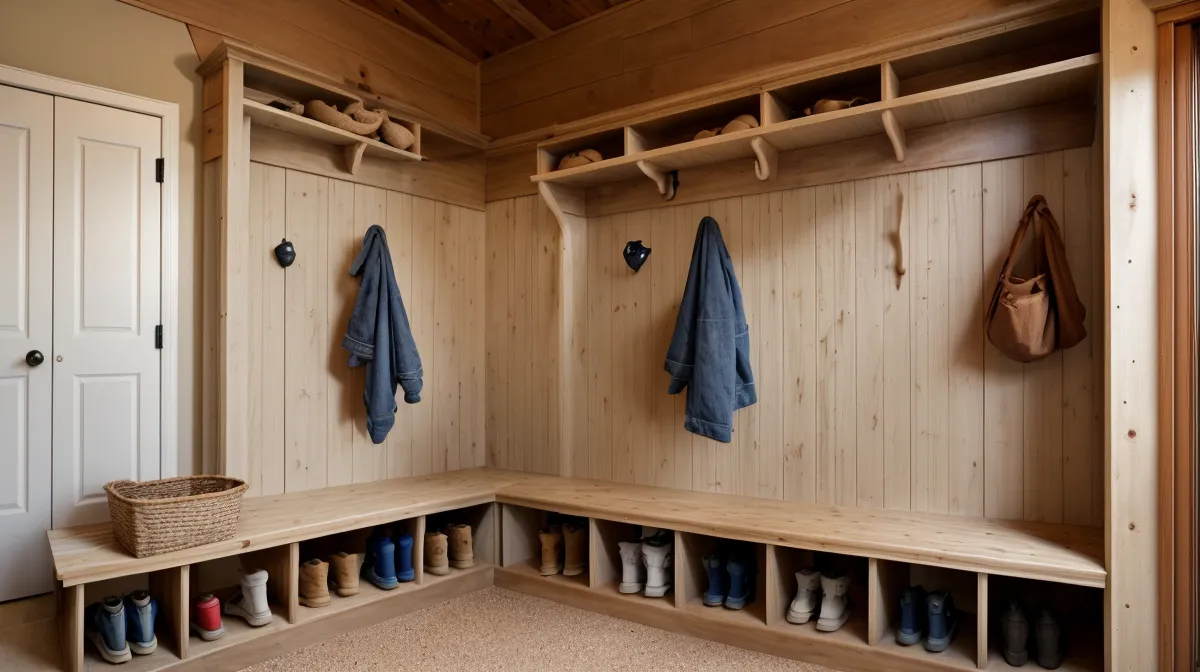
One evening late this past February, I tripped over a pile of snowy boots in the dark entryway, spilling my laptop bag and my dignity. My wife’s look said it all: the garage workshop needed to produce something functional, and fast, before our mudroom became a primary safety hazard. I’m an IT project manager by trade, which means I spend my days managing dependencies and 'synergy'—terms that mean absolutely nothing when you’re staring at a pile of wet footwear and a bruised ego.
Woodworking has become my decompression chamber since 2020. I started with a lopsided bookshelf that looked like it was suffering from a permanent inner-ear infection, but I’ve slowly graduated to things that actually stand level. Still, building something that needs to support three grown adults at once felt like moving from a sandbox environment to a production server launch. There’s no 'undo' button once the saw blade hits the wood.
Sifting Through 16,000 Options (The Blueprint Phase)
Realizing my 'winging it' phase from the bookshelf days wouldn't cut it for a piece that needs to survive a Minnesota mud season, I dove into my digital archive. I maintain a massive database of woodworking plans—about 16,000 plans in total—to find a design that balanced storage with a small footprint. For an engineer-minded guy, this is the 'requirement gathering' phase. I needed specific parameters: height, depth, and the ability to hold a lot of weight without bowing like a cheap plastic shelf.
I settled on a design that prioritized structural integrity. One of the first things I learned is that there is a standard ergonomic bench height of 18 inches. If you go much higher, your feet dangle; much lower, and your knees end up in your chin. Neither is a great look when you’re trying to pull off a stubborn winter boot. I also decided on a depth of 15 inches—deep enough for my size 12s, but shallow enough that we could still actually open the front door.
The Plywood Reality Check: 3/4 Inch and the Myth of Level Floors
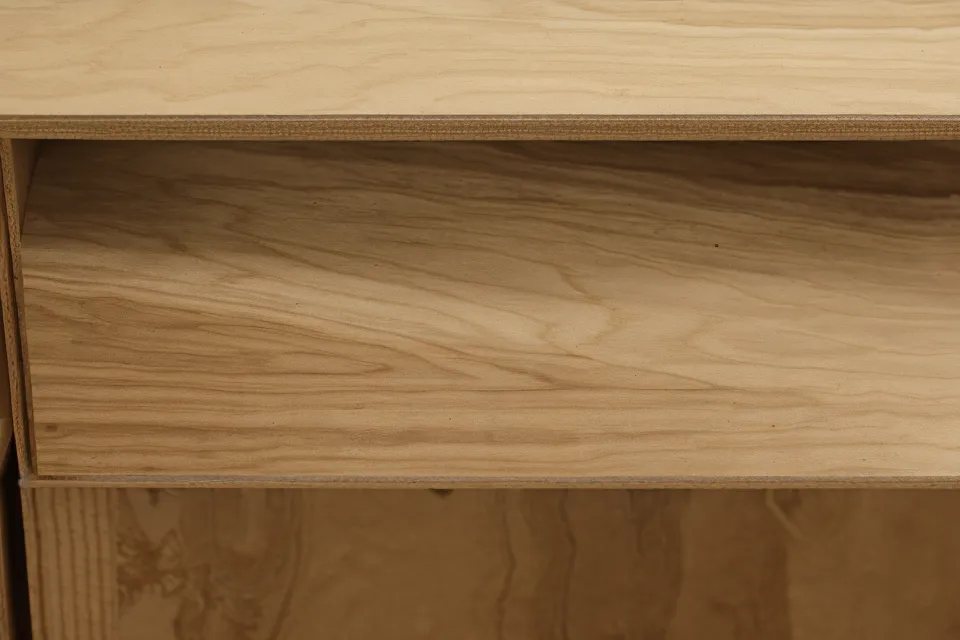
By early April, the garage had thawed enough that I could spend late nights out there without my breath fogging up my safety glasses. I opted for 3/4 inch cabinet-grade plywood for the main carcass. In the world of woodworking, 3/4 inch is the 'gold standard' for structural furniture. It’s the load-bearing wall of the cabinetry world. I picked up a few sheets from the local lumber yard, making sure to avoid the warped stuff at the top of the stack.
The build started with a harsh lesson in suburban reality: a level floor is a myth. My garage floor, like most in Minnesota, is pitched toward the center drain. Trying to build a square box on a sloped surface is like trying to write code on a laptop while riding a unicycle. I eventually had to build a temporary leveling platform just to get my cuts to line up. I spent those late nights in the garage, the smell of cedar shavings mixing with the cold draft from the garage door during a late-night sanding session, wondering if I should have just bought something from a big-box store. But where’s the fun in that?
Why I Stopped Building Boxes (The "Wet Boot" Strategy)
Here is where I took a hard turn from most of the 'modern farmhouse' plans you see on social media. Many people want to hide the mess with cabinet doors. They want a clean, closed-box look. From a project management perspective, this seems like a win for 'UI,' but it’s a disaster for the 'backend.' In our climate, boots aren't just shoes; they are mobile water-retention systems.
Stop building closed cabinets for mudroom storage. Trapping wet boots in airtight boxes creates ideal environments for mold and structural wood rot. Wood is a natural material that needs to breathe. If you seal a damp boot inside a plywood box, you’re essentially building a petri dish. I opted for open cubbies. It allows for airflow, which protects the wood and ensures the boots actually dry before the next morning’s commute. It’s the difference between a well-ventilated server room and a closet with no fans—one stays functional, and the other leads to a catastrophic system failure.
The Measurement Error That Saved the Project
One Saturday afternoon in May, I hit the 'turning point' that happens in every one of my builds. I discovered a major measurement error in the cubby dividers. I had cut all six of them exactly 1/2 inch too short because I had forgotten to account for the thickness of the bottom plate in my mental math. I was staring at a gap in a miter joint just wide enough to hide a nickel, and for a moment, I decided wood filler was a woodworker's best friend.
But the 'engineer' in me couldn't let it go. If the dividers didn't fit tight, the bench top would eventually sag. I had to go back and actually read the plan's assembly instructions instead of relying on a YouTube video I watched once while eating lunch. It turns out, I had skipped a step regarding the internal bracing. If you're still getting the hang of hiding screws, I actually wrote about some easy pocket hole joinery tips for better woodworking projects that helped me stop blowing out the sides of my panels when I was re-doing these dividers.
Joinery and the Janka Scale
For the joinery, I leaned heavily on pocket-hole joinery. It’s a preferred method for DIY furniture because it hides fasteners while providing significant structural integrity. It’s fast, it’s strong, and it doesn't require the three years of apprenticeship needed to master hand-cut dovetails. I’m a project manager; I have deadlines, even if those deadlines are just 'finish this before the next snowstorm.'
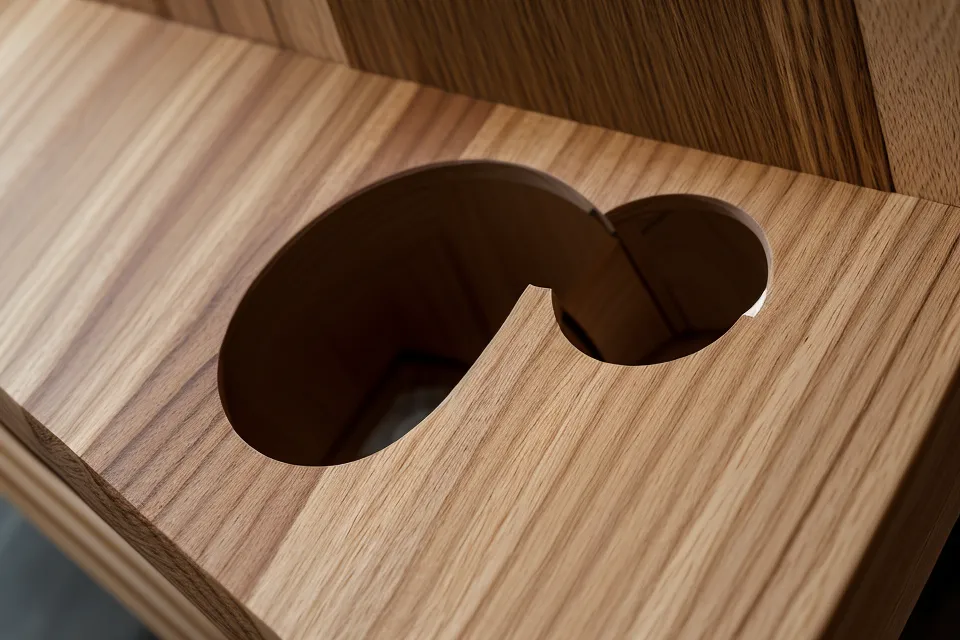
When it came to the bench top, I chose a solid piece of white oak. When selecting wood for a seat, you have to consider the Janka Scale, which measures the hardness of wood. Domestic hardwoods like maple or oak are typically chosen for high-traffic seating because they prevent denting from keys, grocery bags, and the occasional dropped tool. Softwoods like pine might look nice in a 'rustic' photo, but three months of kids jumping on it will leave it looking like a topographical map of the moon.
- Rule 1: Always use 3/4 inch plywood for the base; 1/2 inch will flex and eventually fail.
- Rule 2: Open cubbies are non-negotiable for wet climates to prevent rot.
- Rule 3: Match your wood hardness to the utility of the piece.
- Rule 4: Check your floor for level before you blame your saw for a crooked cut.
The Final Polish (and Hiding the Evidence)
I spent more time than I’d like to admit trying to fix that miter joint I mentioned earlier. I eventually realized that perfection is the enemy of the finished project. I sanded everything down through the grits, starting at 80 and working my way up to 220. I learned the hard way that you can't skip steps here. If you want to avoid swirl marks, you have to be methodical. I actually put together a guide on how to sand wood for a professional finish every time based on the mistakes I made during this build.
For the top, I went with three coats of my favorite finish, which is why I use wipe on poly for a smooth wood finish on almost everything that’s going to see high traffic. It’s easy to apply, doesn't require a spray booth, and it’s durable enough to handle the salt and slush that inevitably hit the entryway. It provides a barrier that lets the natural grain of the oak shine through without looking like it's encased in plastic.
The finished bench now sits in our entryway, surviving the tail end of mud season and proving that even an IT guy can build something that doesn't wobble when you sit on it. It’s not perfect—there’s still a bit of wood filler hiding in a corner that only I can see—but it’s sturdy, it’s functional, and most importantly, I haven't tripped over a boot in weeks. My wife even lets guests see it, which in the woodworking world, is the ultimate 'User Acceptance Testing' pass.