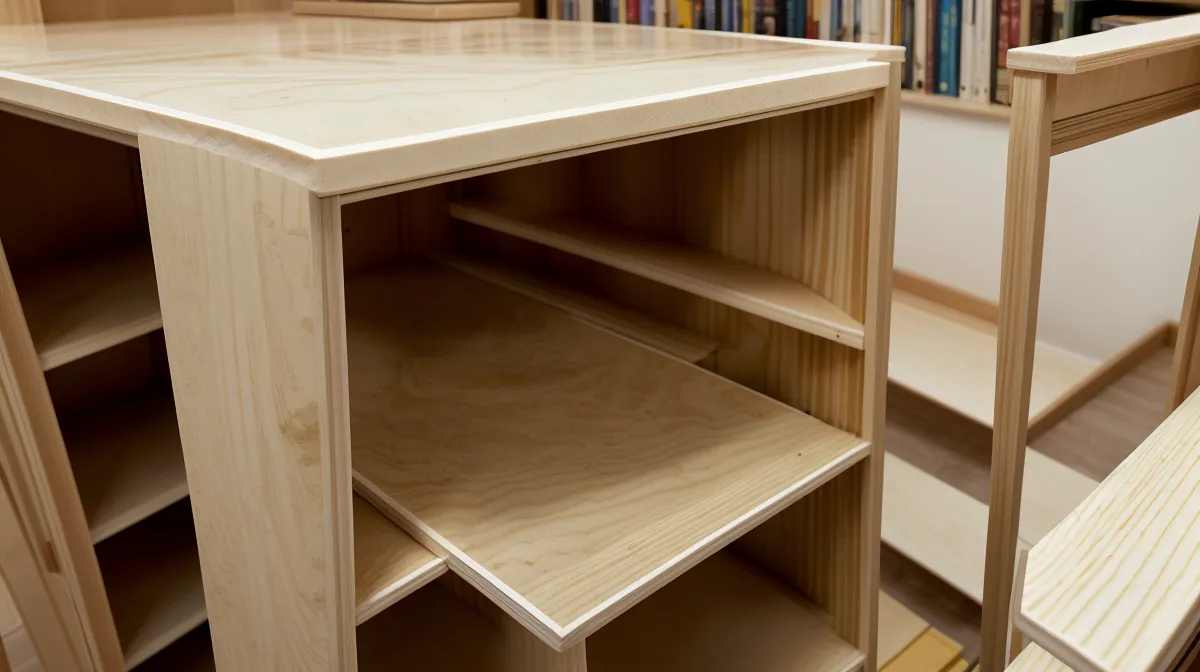
One freezing Saturday morning last February, with the space heater humming in my Minneapolis garage, I stared at three sheets of maple plywood, terrified of repeating the lopsided mess of my first COVID bookshelf. That early pandemic build leaned noticeably to the left. This time, I was determined to follow proper plans and build something square.
The Digital Blueprint and the Reality of Plywood
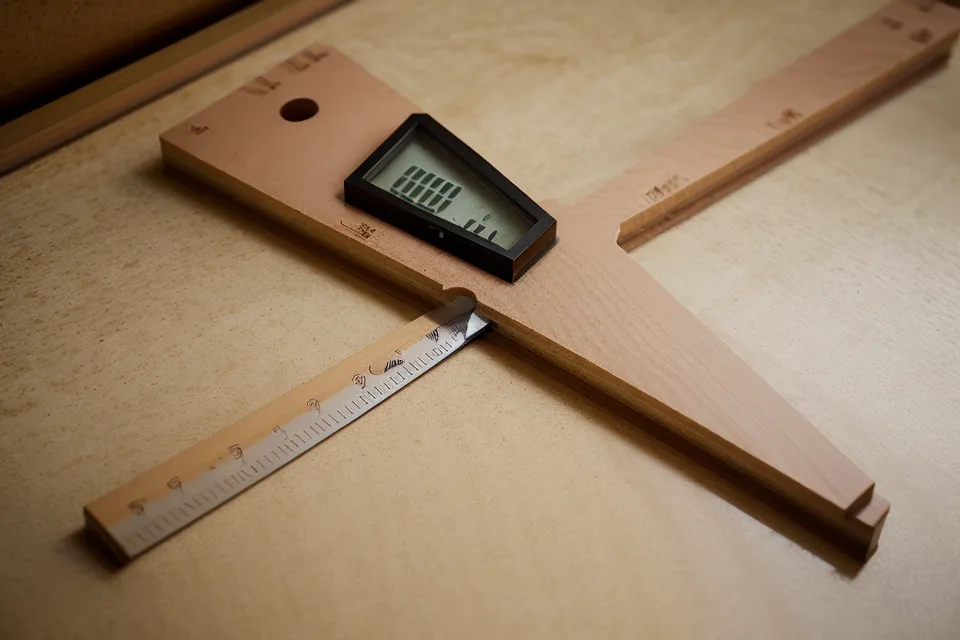
In my day job as an IT project manager, diving into execution without a documented architecture is a great way to blow a quarter's budget. Woodworking is remarkably similar, except when you make a bad cut, you cannot just revert the Git commit; you are left with an expensive piece of kindling. For this project, I spent hours combing through my digital plan archive looking for a tall bookcase design that actually specified cut lists, exploded joinery diagrams, and precise spacing specs for shelf pins rather than just giving vague hand-waving dimensions.
The first technical curveball hit before I even made a cut. When you buy cabinet-grade hardwood plywood labeled as nominal 3/4-inch, it is almost universally milled to 18 mm—which measures out to an actual thickness of 23/32 inch. If you cut standard 3/4-inch fixed dadoes based on nominal lumber tags, your shelves will rattle around like loose teeth. Good plans account for this discrepancy, prompting you to use undersized plywood router bits or dedicated dado blade shims.
Before ripping down my eight-foot sheet goods on the jobsite saw, I set up outfeed supports and reviewed my setup. If you are wrestling full sheets by yourself in a tight garage, it pays to brush up on Essential Table Saw Safety Tips for Every Beginner Woodworker so you do not catch kickback while trying to balance fifty pounds of awkward veneer.
The Workflow Shift: Drilling Before Assembly
Here is the fundamental mistake I see in nearly every beginner tutorial: people love building the carcase first. There is an immediate dopamine hit when you glue and screw the outer box together and stand it upright. It looks like furniture within an hour. But then comes the penalty phase—crawling inside a dark, cramped 12-inch-deep wooden cave with a hand drill, trying to bore eighty perpendicular shelf pin holes without throwing your back out.
The single most important lesson I took from professional casework drawings was simple: build the adjustable shelving system flat on the workbench before you ever touch a bottle of glue. Machining both upright panels while they are lying horizontal allows you to clamp guides securely, reference identical edges, and guarantee plumb holes.
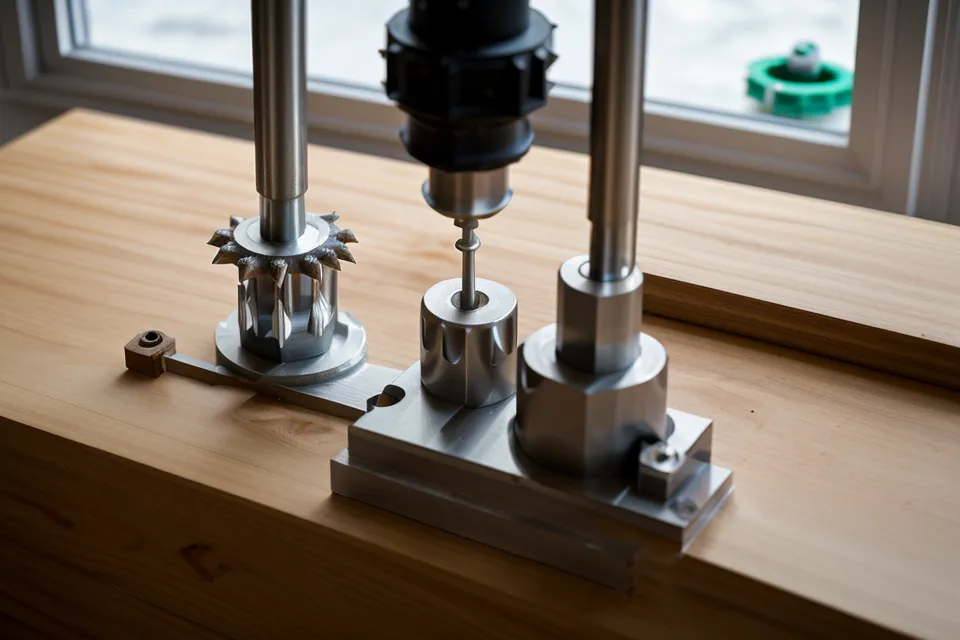
For spacing, the plans adhered to the European 32 mm cabinetmaking system, where shelf pin and hardware holes sit exactly 32 mm apart on center. I opted for a standard shelf pin diameter of 1/4 inch, utilizing brass L-shaped shelf supports with retention grommets. Drilling two parallel columns of holes along the front and rear edges of each upright panel requires absolute repetition. To achieve that, you need a dedicated drilling jig with hardened steel bushings.
The Three-Millimeter Wobble
Even with good plans and jigs, woodworking has a humbling way of catching you when you get complacent. It was late March during a late snowstorm when I reached the test-fitting stage. The storm was dumping wet snow outside, the garage was drafty, and I was feeling pretty smug about my progress.
I took my completed uprights, laid them out, and inserted four 1/4-inch pins to dry-fit the lowest shelf. Dropping a shelf into place and watching it rock corner-to-corner because I indexed the drilling jig from opposite ends was an instant gut-punch. One side was referenced from the top edge of the panel, and the other from the bottom. Because the total height was not an exact mathematical multiple of 32 mm, that minor oversight produced a sickening three-millimeter wobble.
In software, we call that an off-by-one error. In the garage, it meant taking a deep breath, setting down my drill, and resisting the urge to kick the trash can. Because the cabinet sides were still loose panels on the bench rather than a glued-up box, the fix was manageable. I plugged the misaligned row with matching maple dowels, flushed them with a pull saw, re-referenced the jig strictly from the bottom edge of both panels, and re-drilled. Had the carcase already been assembled, fixing that alignment would have been an absolute nightmare.
Addressing Span and Face Frame Strength
Once the pin holes were dialed in, I turned my attention to shelf stiffness. I have a lot of heavy technical manuals and hardcover history books. According to the Sagulator—the cabinetmaking load guideline used to calculate deflection—unsupported 3/4-inch plywood shelves should be limited to 32 inches or less in width under heavy book loads to prevent visible sagging over time. My design called for a 30-inch interior opening, putting me safely under that threshold.
To give the shelves additional rigidity and hide the raw plywood edges, I milled solid maple edge banding slightly wider than the 23/32 inch shelf thickness. This small lip acts as a structural girder, virtually eliminating deflection while giving the unit the profile of substantial, traditional millwork.
For the case itself, I assembled the top, bottom, and fixed middle divider using pocket screws tucked into non-visible faces, backed by a 1/4-inch plywood backer panel set into a rabbet. That rear panel is critical: without it, tall bookcases want to rack laterally under weight.
Finishing and Final Assembly
After about three weeks of evenings in the garage, the woodwork was done, leaving only the finishing steps. The cold sting of garage concrete through my work boots as maple sawdust settled across the cast-iron table saw top is a sensory memory that sticks with you after hours of sanding. I worked progressively from 120-grit up to 180-grit, vacuuming between passes to ensure no loose grit scratched the fresh veneer.
When it came time for topcoats, I skipped the heavy brush-on varnishes. In an attached garage that houses a lawnmower and winter road salt, airborne dust nibs are public enemy number one. I explain my general approach in Why I Use Wipe on Poly for a Smooth Wood Finish, and this bookcase was no exception. Three thin wiped coats of satin polyurethane brought out the subtle curl in the maple grain without creating an artificial plastic sheen.
With the help of my wife, we hauled the empty case up the stairs and parked it right next to our dining table. Every shelf dropped into place onto its four brass pins with a reassuring, flat thud—zero wobble, zero shims. Following a structured plan did not remove every mistake from my weekend, but it gave me the roadmap needed to diagnose errors early, build systematically, and turn garage hours into furniture we are actually proud to display.