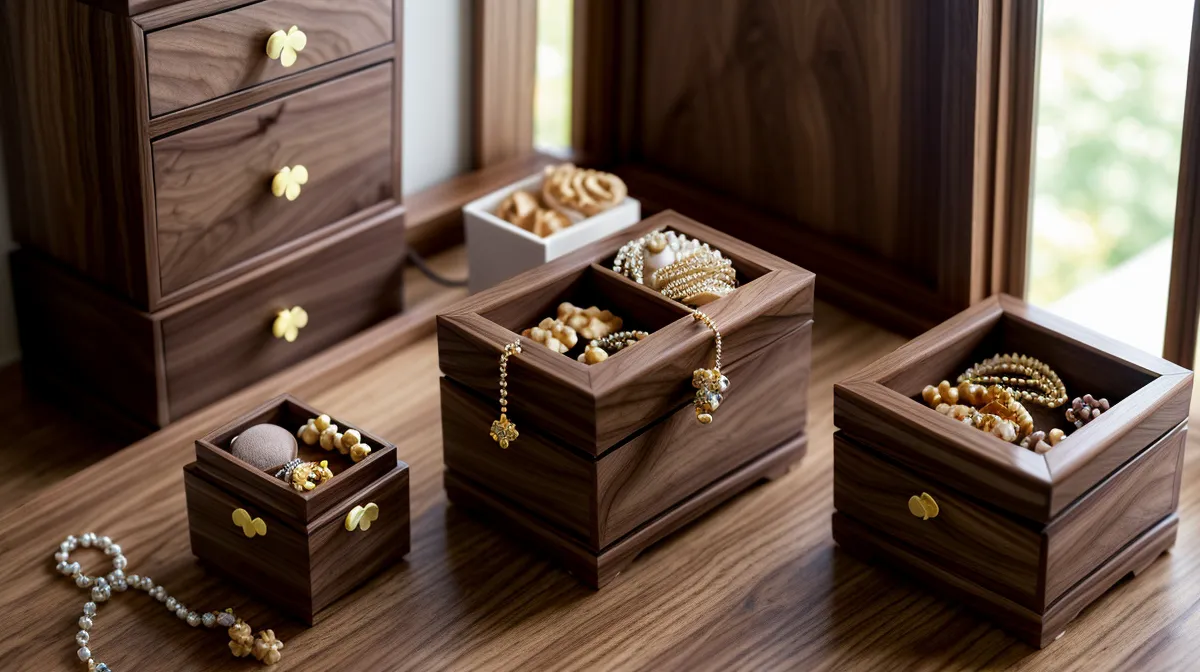
How many corners on your first jewelry box do you think will actually sit flush? Mine were zero for three attempts running, which is a strange thing to admit from a guy who used to explain to entire teams why a project without a clear spec was doomed. Woodworking for beginners gets humbling fast once you leave forgiving furniture behind and shrink everything down to the scale of a jewelry box built in a garage workshop.
Quick disclosure up front: a few links below lead to woodworking plan libraries that pay me a small commission if you buy through them, at no cost to you. I only link the ones I have actually pulled measurements from for my own builds, including this box.
Compared to the farmhouse console table I built the winter before, a jewelry box is an entirely different kind of precise. Big furniture forgives a sixteenth of an inch because nobody runs a fingernail along the seam looking for it. A box lid forgives nothing, and that difference caught me off guard more than once.
Picking Wood That Won't Fight You
Walnut is my usual choice for a box like this — it is black walnut specifically that takes a crisp edge without chipping out under a chisel the way some open-grained species do. Grain direction matters more on small parts than it ever did on a table top; flip a two-inch strip the wrong way and the tear-out shows up immediately, which is a lesson better learned on scrap than on a lid everyone will see. Picking the right species for a project is really its own topic, but for a first box, a straight-grained hardwood beats fighting a knot-heavy pine offcut every time.
A Repeatable Cut List Beats Winging It
Three evenings of watching different builders explain the same box their own way left me with more contradictions than direction, since every builder measured things a little differently and none of it added up to one clear plan. I ended up hashing out the whole plan-versus-guesswork problem on a walk through Minnehaha Falls Regional Park while a glue-up cured back home, which tells you something about how much head-space this hobby quietly takes up. A neighbor of mine who has spent years brewing all-grain IPAs in his basement put it better than I could when I mentioned it: batch consistency beats intuition, every time, whether you are measuring hops or plywood.
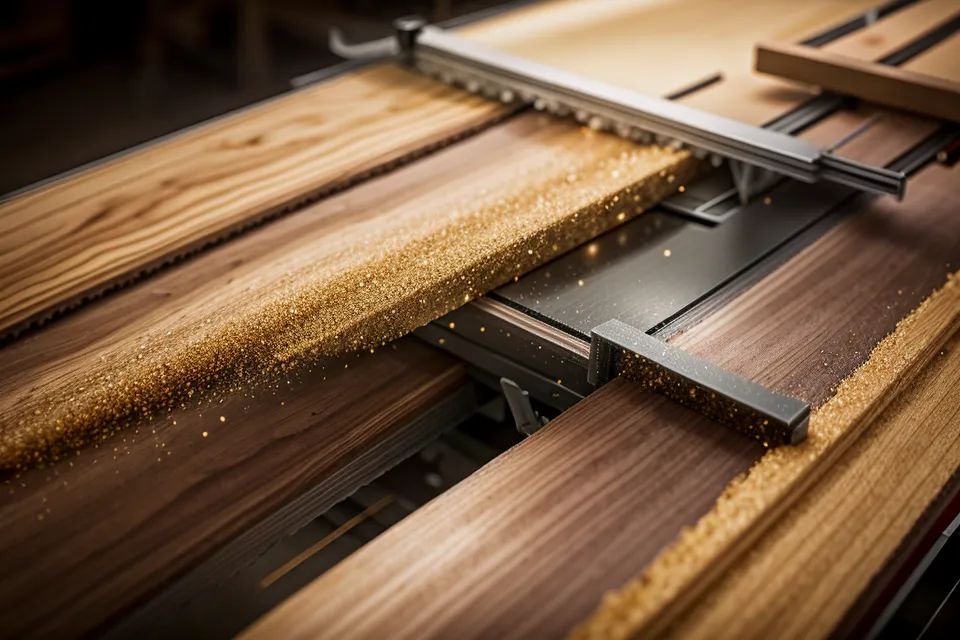
What finally worked was writing my own cut list and accounting for kerf — that eighth-inch of wood the blade turns into dust with every pass — because skip that step and the finished box comes out smaller than the plan called for. That's roughly when I stopped stitching together five different videos and started pulling from an actual plan library instead. I ended up working from a database of roughly 16,000 downloadable woodworking plans, which sounds like overkill until you are the guy who needs an exact cut list instead of a vibe. There is a longer, more honest review of that specific library elsewhere if you want the full pros and cons, but the short version is that having a real blueprint saved me from cutting the same board twice.
Perfect Miters Aren't Necessary to Build a Decent Jewelry Box
Here is the first real decision on a box like this: miters or butt joints. Perfect mitered corners look great in videos, but for a beginner they are closer to landing a plane in a crosswind than a skill you pick up in a weekend. I gave up chasing tight miters on my second box and switched to simple butt joints reinforced with corner splines instead, and the results looked more intentional, not less. Matching joinery to your skill level is a whole conversation on its own — dados, rabbets, box joints and so on — but for a first box, butt joints plus splines is the one combination that forgives a slightly-off cut while still looking like you meant to do it.
A spline hides more sins than it should.
Knowing When a Glue-Up Actually Worked
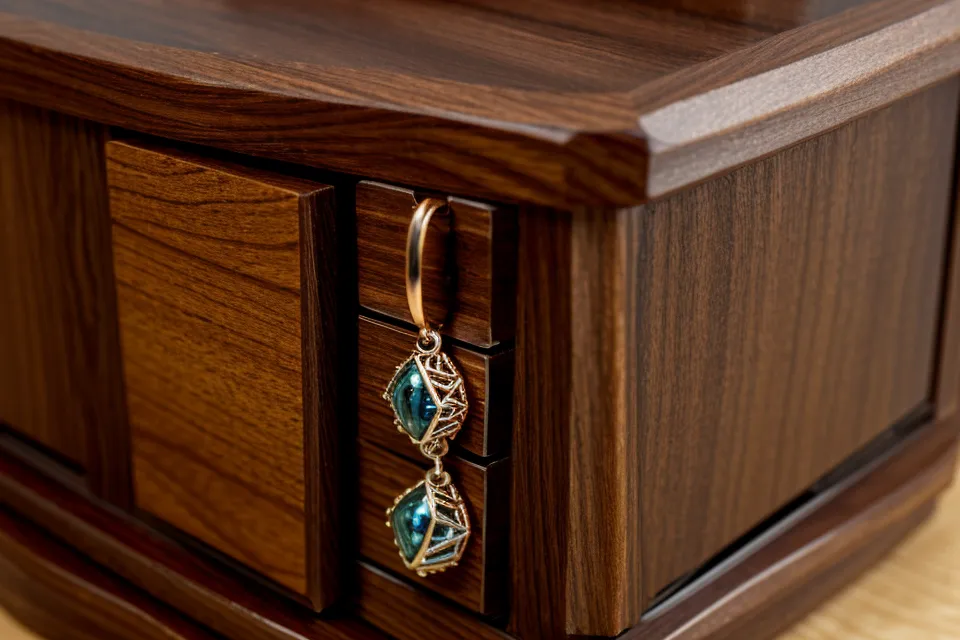
The real test comes after the clamps, not before. The first time I peeled blue tape off a spline glue-up and ran a finger straight across the seam without catching an edge, that told me more than any square or gauge could have. If you cannot find the joint by touch once the glue has dried, it is tight enough. If you can feel a step, sand it flush before you move on to finish, because finish only makes an uneven seam more obvious, never less.
Setting Up Just Enough Garage Workshop to Get Started
None of this required a fully tricked-out shop. If you are just starting a garage workshop, a decent tape measure, a square, and one saw you trust get you further than a wall of tools you have not learned to use yet. A stable work surface matters more than an impressive one — mine is just construction lumber running the length of the back wall, nothing that would photograph well, and it has outlasted two fancier setups I almost bought instead. Dust management is worth solving early rather than late, since fine walnut dust ends up in your lungs and your finish alike, though that is a deeper topic than fits here.
Tool storage matters too — mine ended up as a wall of hooks organized by whatever I used last, which sounds chaotic but beats digging through a drawer every five minutes — and the actual cost of getting a garage workshop functional is usually lower than people assume before they start pricing things out. There is a sister plan library aimed more at outdoor structures that I have been eyeing for something down the road, but it was not built for anything this small or this fussy about tolerances.
The Bottom Panel Has to Float, Not Get Glued In
Wood is not a static material, and that matters most on the one part of this box you might be tempted to just glue solid: the bottom panel. That panel needs to float in a groove instead of getting locked down with glue, because seasonal humidity changes make wood move, and a glued-in panel has nowhere to go when it does — which is how lids and bottoms crack. Wood movement is a deep enough topic to deserve its own article, so I will not turn this into a lecture, but the rule for a small box is simple: groove it, do not glue it, and leave a hair of room at the ends.
Finishing in an Unheated Minnesota Garage
My north wall is uninsulated block that does not climb out of the thirties from November through March, and finish is where that first cost me. I brushed oil-based polyurethane onto a box in that garage one January and watched it stay tacky to the touch for nine straight days before it finally cured — a mistake I have made exactly once. Cold-weather woodworking has its own rules that most beginner guides skip entirely, and finish schedule is the first one people miss: check a can's minimum application temperature before you pick up a brush, not after.
Choosing Plans Without Wasting a Beginner's Weekend
Good plans do not replace practice, but they cut out most of the guessing that turns a two-hour project into a two-weekend one. If you are picking your first library to work from, spend less time comparing marketing pages and more time checking whether the plans include an actual cut list and not just a finished photo — that is the single biggest difference between something useful and something that just looks good in a thumbnail. The plan database I mentioned earlier, with roughly 16,000 project blueprints, is right here if you want to see what a proper cut list looks like before you commit a board to the table saw.
Foolproof isn't really the goal here, and it doesn't need to be. A jewelry box does not have to be museum-grade to earn a spot on a dresser; it has to be square enough, tight enough at the joints, and finished well enough that nobody goes looking for problems. That is a lower bar than the perfectionist videos suggest, and it is the bar that actually gets projects finished instead of abandoned halfway through in a corner of the garage.