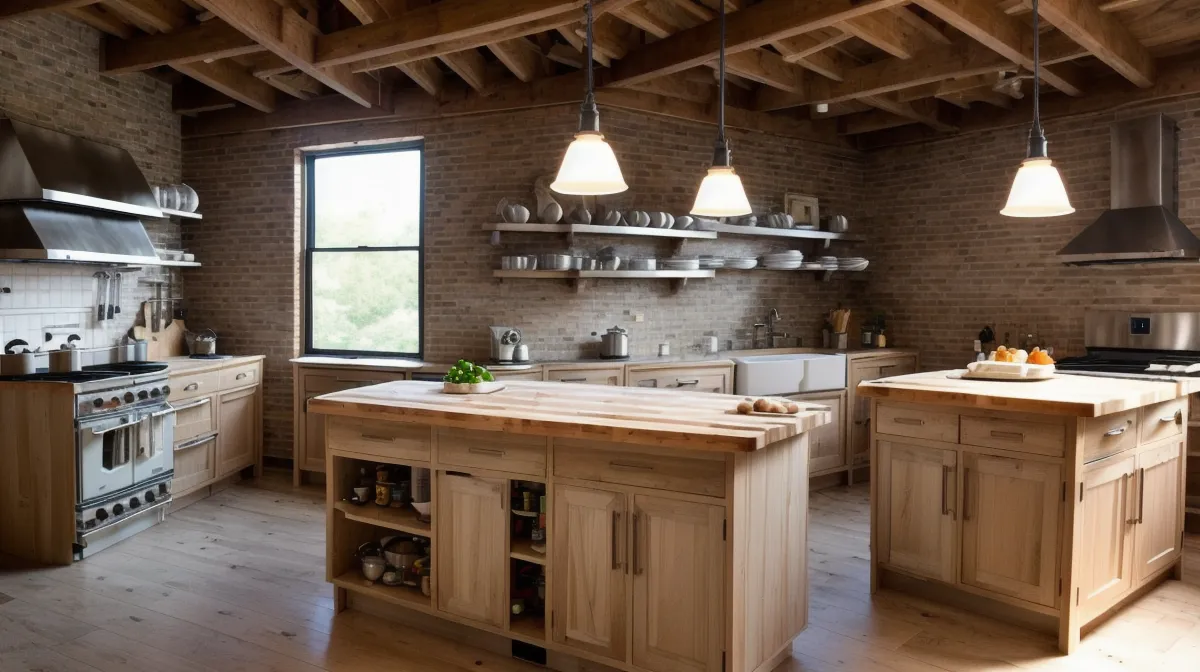
Nine days. That's how long a coat of oil-based polyurethane sat tacky on an unrelated shelf project in my unheated garage last January before it finally cured, a cold-weather finishing mistake that ended up teaching me more about butcher block finishing than any tutorial did. I bring it up because when you're deciding how to build a DIY kitchen island with a butcher block top, the finish matters almost as much as the joinery, and it's the kind of detail most kitchen-remodel guides skip. This is the comparison I wish someone had laid out for me: build the slab yourself, or buy one pre-made and just build the base underneath it. Either route gets you a solid piece, and either one is doable for a beginner woodworker with a basic tool kit — they just ask different things of you.
The trigger, if you're wondering, was a wobbly rolling cart doing island duty in our kitchen. My wife was chopping vegetables on it, it rocked badly enough that a wine glass nearly went over the edge (she was not amused), and that's a fine reason to start a project but a bad reason to skip the planning. Before cutting anything, I had to pick a lane: glue up hardwood into a slab myself, or let a warehouse store handle the lamination and just focus on the cabinet underneath it.
Both paths still have to hit the same numbers, so it's worth settling those first. Standard counter height under International Residential Code and NKBA guidance lands around 36 inches, and if anyone's going to sit at the island, you need roughly a foot of overhang past the base for knee clearance. Too shallow and people eat with their knees against the cabinet; too deep, and the top can flex or someone leans on the unsupported edge wrong. That part doesn't change no matter which top you end up building.
Two Ways to Get a Butcher Block Island
There are really only two paths to a butcher block top, and most build guides only walk you through one of them. Path one: buy hardwood boards, joint and glue them into a slab yourself, and finish it to your own spec. Path two: buy a pre-made butcher block slab — sold as an unfinished countertop blank — and skip straight to building the cabinet base. I actually stood in front of a stack of those slabs at the Costco in Eden Prairie before deciding, and it came down to three things: how much shop time I had, how much say I wanted over the wood species, and whether I trusted my own glue-up more than a factory press.
What You Get When You Buy the Slab
Buying the slab gets you a flat, uniform-thickness top without needing a jointer, a planer, or the small fleet of pipe clamps a full glue-up demands. That matters if your shop is really just a corner of the garage with a portable workbench and not much clamp storage yet — plenty of first-timers are in that spot, and there's no shame in it. It's also the faster route, and usually the cheaper one once you count the lumber, the finish, and the sandpaper a DIY slab burns through, even without me attaching an actual number to it. The tradeoff is that you're stuck with whatever species and grain pattern the store has that week, and quality varies more than people expect — some of those blanks are genuine edge-grain hardwood, some are a thin veneer over something softer (you won't always know which until you're sanding it).
Building Your Own Top: Where the Time Actually Goes
Building your own top starts with rough hardwood — I used maple, mostly because it's dense enough to take a beating from a chef's knife and forgiving enough for someone who'd never run a jointer before this project. Species selection matters more than most first-timers assume; a soft wood looks fine on the rack and dents inside its first week of actual use. You joint one edge of each board flat, glue them face to face into long strips, flip the whole assembly, and glue those strips together — figuring out how many clamps that takes is basically capacity planning for a server migration, and guessing low means everything queues up on you at once. Somewhere in the middle of that glue-up I looked up and three hours had gone by without my phone buzzing once, which almost never happens on a weekday.
Does the Frame Matter as Much as the Top?
The base cabinet is where a lot of people, myself included the first time, put in less thought than the top deserves. A basic pocket-hole frame is plenty strong for an island — you don't need hand-cut joinery to stop a countertop from wobbling, and there's a whole world of joinery methods to fall down if you want to, but pocket screws hold up fine under normal kitchen use. What you can't skip is leaving room for wood movement: the top expands and contracts across the grain as humidity shifts through the year, so it has to attach to the base with slotted holes or figure-eight fasteners, never glued flat. Skip that step and the top eventually cracks itself fighting screws that won't let it move. Dust is the other thing nobody warns you about: gluing and sanding a slab this size throws a lot of it, and without some way to pull it out of the air, you're wiping grit off every flat surface in the garage for a week afterward. If an 80-pound glued-up slab sounds like a lot to start with, building a DIY step stool for kids uses the same basic pocket-hole joinery at a much smaller, much lighter scale.
Why the Finish Almost Ruined Both Options
Finish is the one step where buying the slab doesn't save you any trouble — you still have to seal it yourself, and it still has to be food-safe if anyone's cutting directly on it. That rules out standard polyurethane, which is the mistake behind that nine-day cure time from earlier: an oil-based poly on an unrelated shelf project, left in a garage that sits well under 40 degrees for a good chunk of the Minnesota winter, and it simply never cured on schedule. Food-grade mineral oil is the standard answer for butcher block, applied in several thin coats until the wood stops soaking it up, and I won't walk through every coat and grit here — that's really a topic of its own. What I will say is that cold-weather woodworking changes your finish timeline more than your build timeline, and it's worth planning around before you're stuck waiting on a coat that refuses to dry.
So Which One Should You Build?
Buy the pre-made slab if your shop space, tools, or patience are limited, or if this is your first real furniture build and you'd rather learn base-building without also learning slab lamination at the same time — that's a reasonable place to start, and whatever plan you follow matters here too, since one with an actual verified cut list is worth more than a video with none. Build your own top if you already have basic clamps and a way to joint a straight edge, want a species the stores don't stock, or just want the whole thing to have come out of your own garage.
I went with the DIY top mostly because most of the tools were already sitting on my pegboard wall, and a friend of mine who spends his weekends brewing all-grain IPAs in his basement pointed out I'd already sunk the time into learning the fun part — might as well finish it. By the time the last clamp went on, the light through the half-open garage door had thinned into that narrow orange bar it gets late in the afternoon, crossing the concrete like a sundial marking how long the glue-up actually took. Either path gets you a top and a base that outlast the wobbly cart they're replacing. The only real mistake is picking one path and building it with the other path's assumptions.